|
Last Updated
23 June, 2005
|
|
|
Back to Start
Page
 1
2 3
4 5
6
7
8
9
10
1
2 3
4 5
6
7
8
9
10
 |
|
|
UNDER CONSTRUCTION
Installing the 3SGTE
|
|
| |
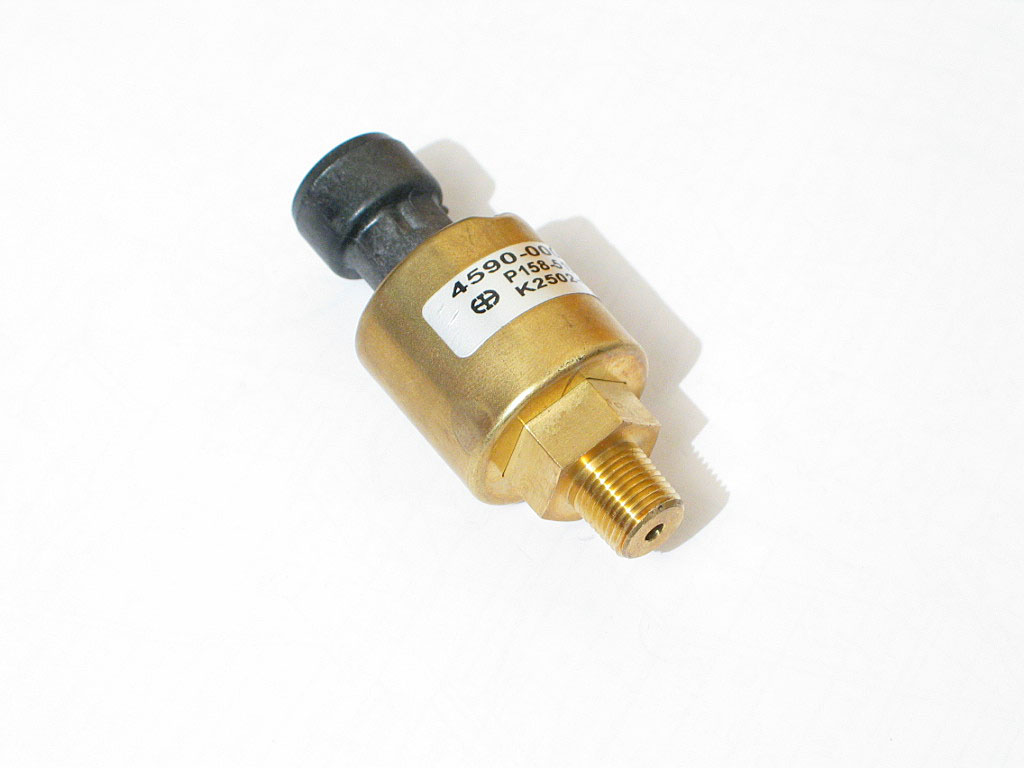
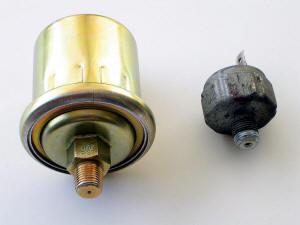
Next I had to deal with the oil pressure
sending unit for the Auto Meter gauge. It's much larger than the stock unit:
|
|
| |
During the
rebuild,
I'd quickly determined that there was no way the new sender was going to fit in
the stock location. I planned on mounting it remotely, which in turn would
require running a hose from the cylinder head to the sender. I decided to clamp it to a small
bracket, then bolt it to an unused cylinder head mounting hole.
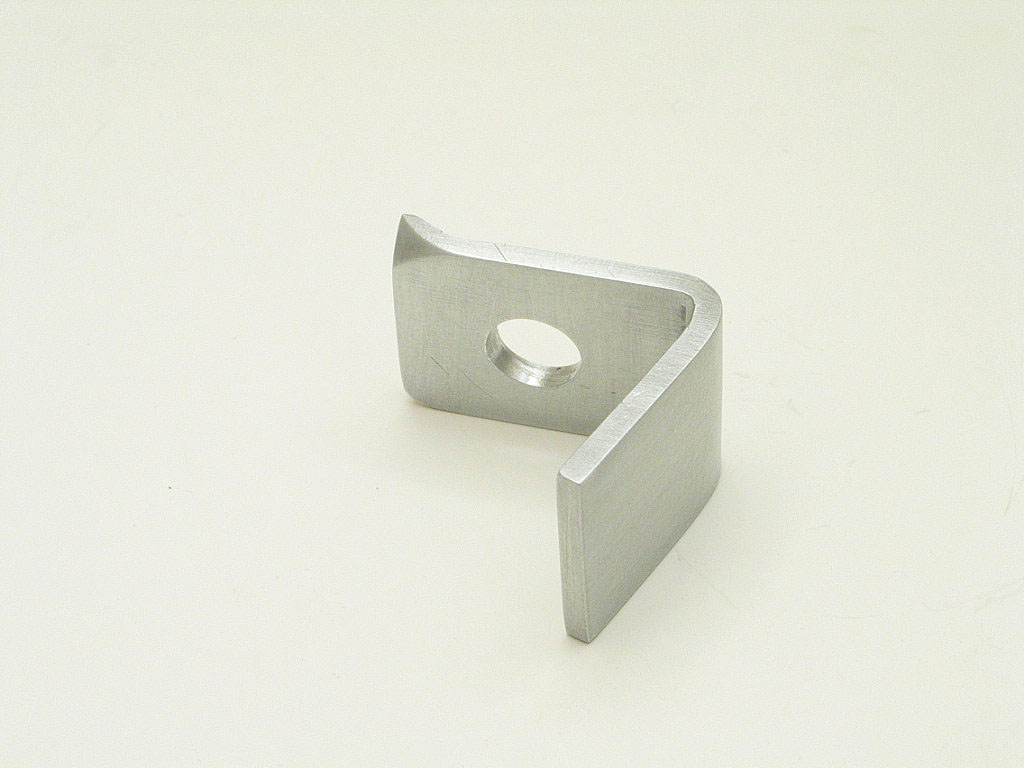
The bracket was a simple "L" design, made of 1" wide x ⅛" thick aluminum
stock:
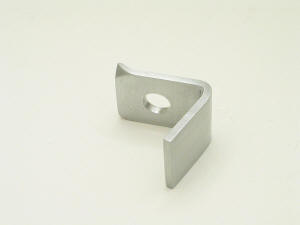
The bent corner should keep it from slipping out of position.
|
|
| |
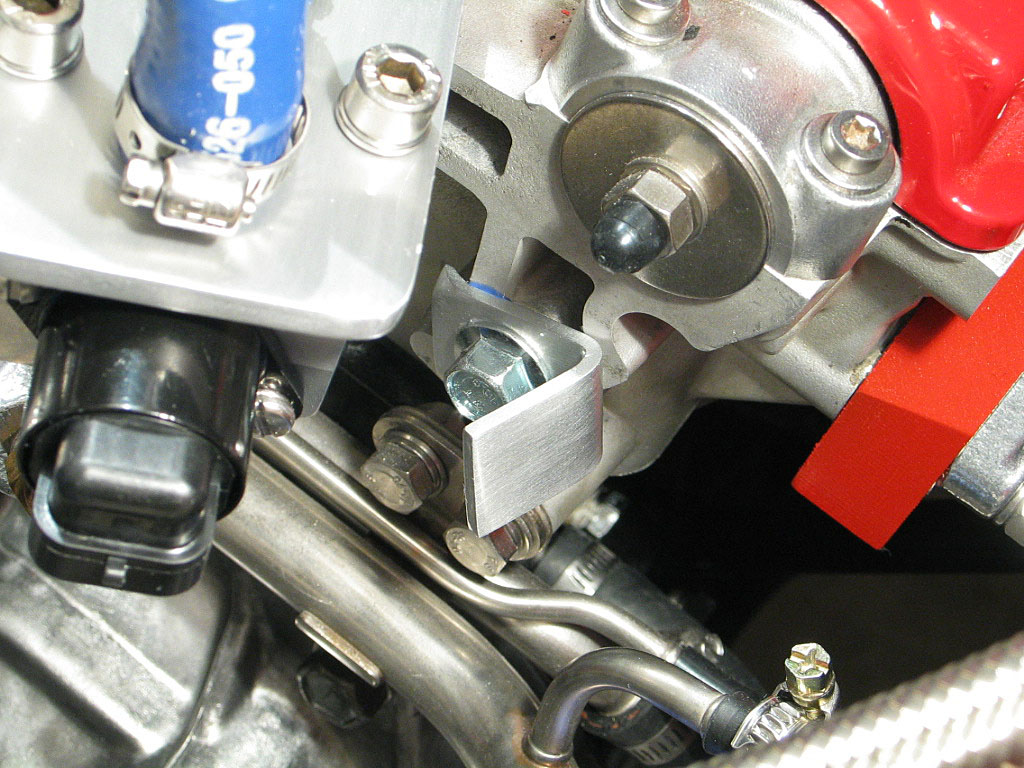
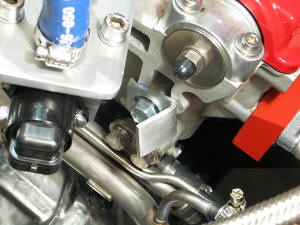
I mounted the clamp onto the head:
|
|
| |
I wrapped some scrap hose around the sensor to
reduce the vibration, then used a hose clamp to secure it into
position:

|
|
| |
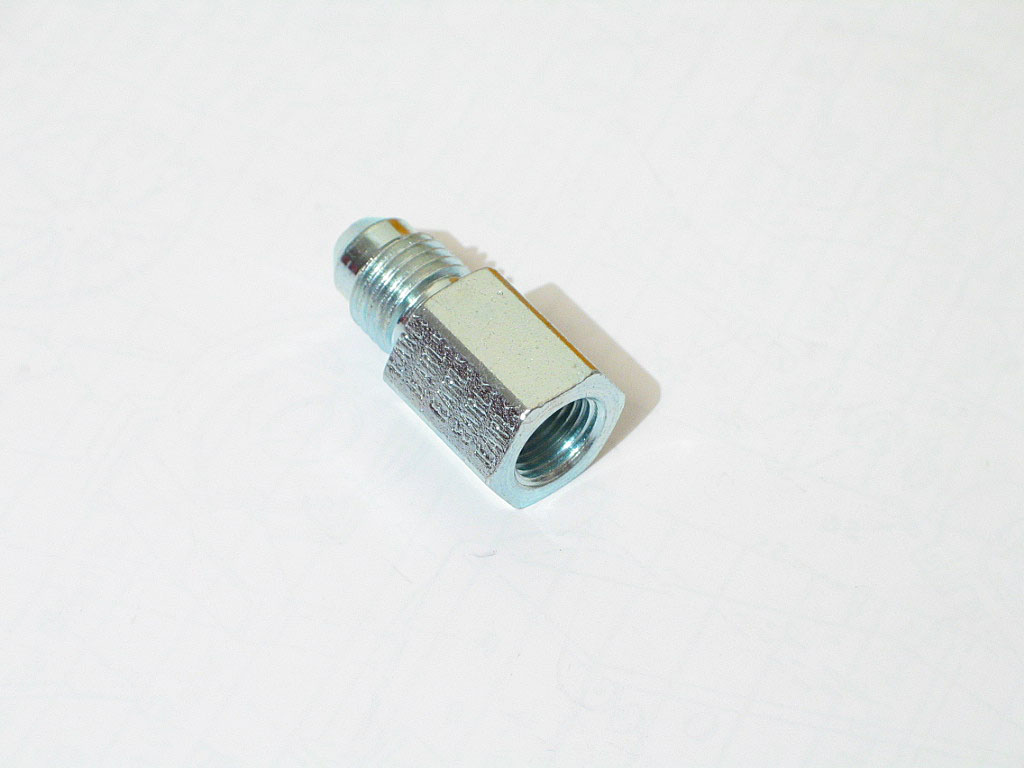
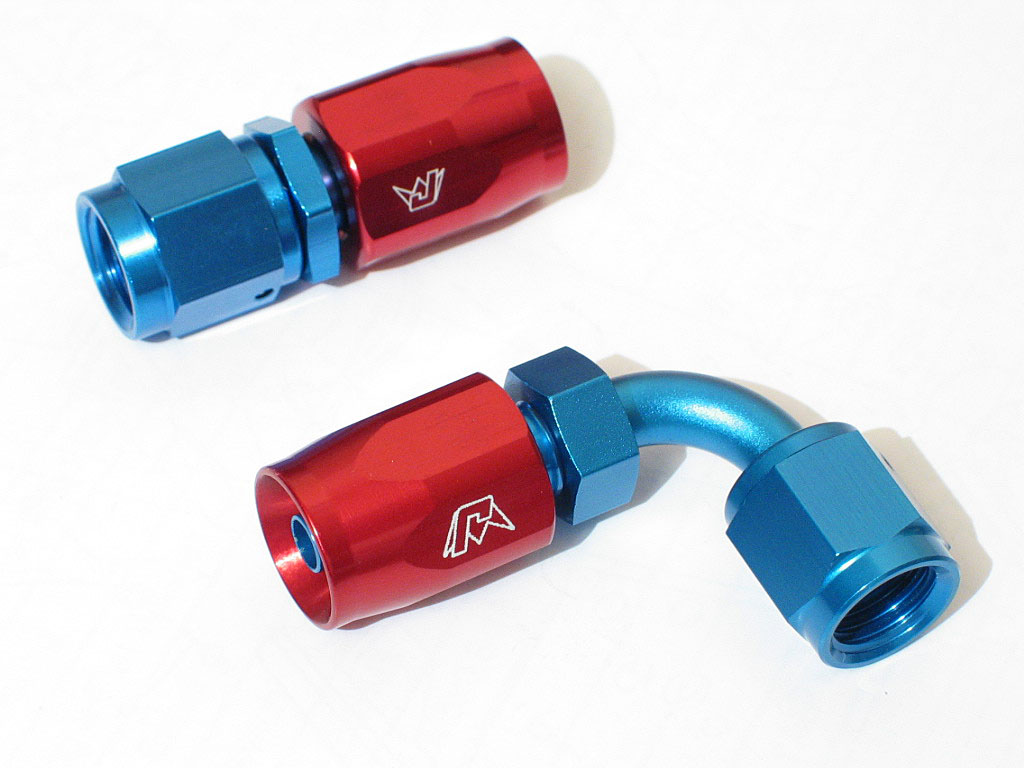
I couldn't find hose ends
for the ⅛"-NPT male fitting on the sending unit.
Earl's makes both
straight and 90ş adapters in steel for this purpose, called Gauge Head Adapters.
They convert the ⅛"-NPT male
fitting on the sender to a male flare fitting for a standard -4 AN
female hose end.

|
|
| |
The only -4 AN swivel hose ends I've been able to find are from
Jeg's:
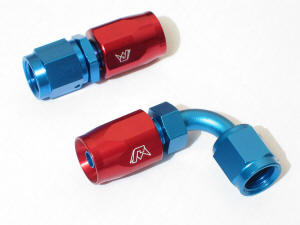
Earl's and Aeroquip only offer a non-swivel version in that
size.
|
|
| |
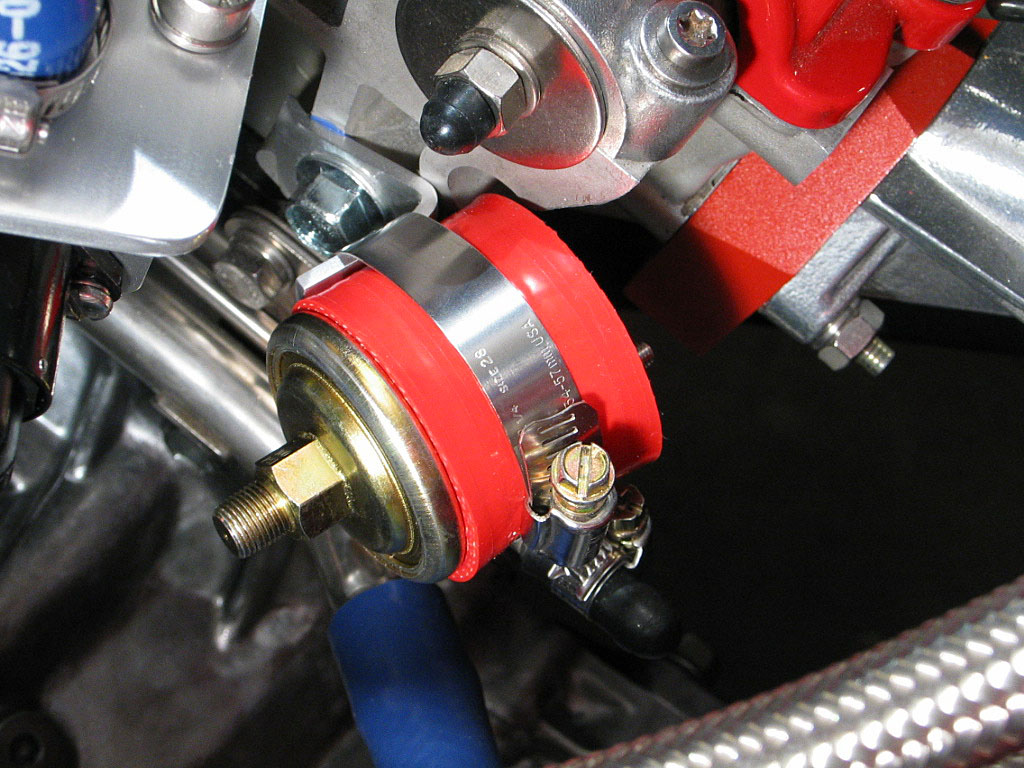
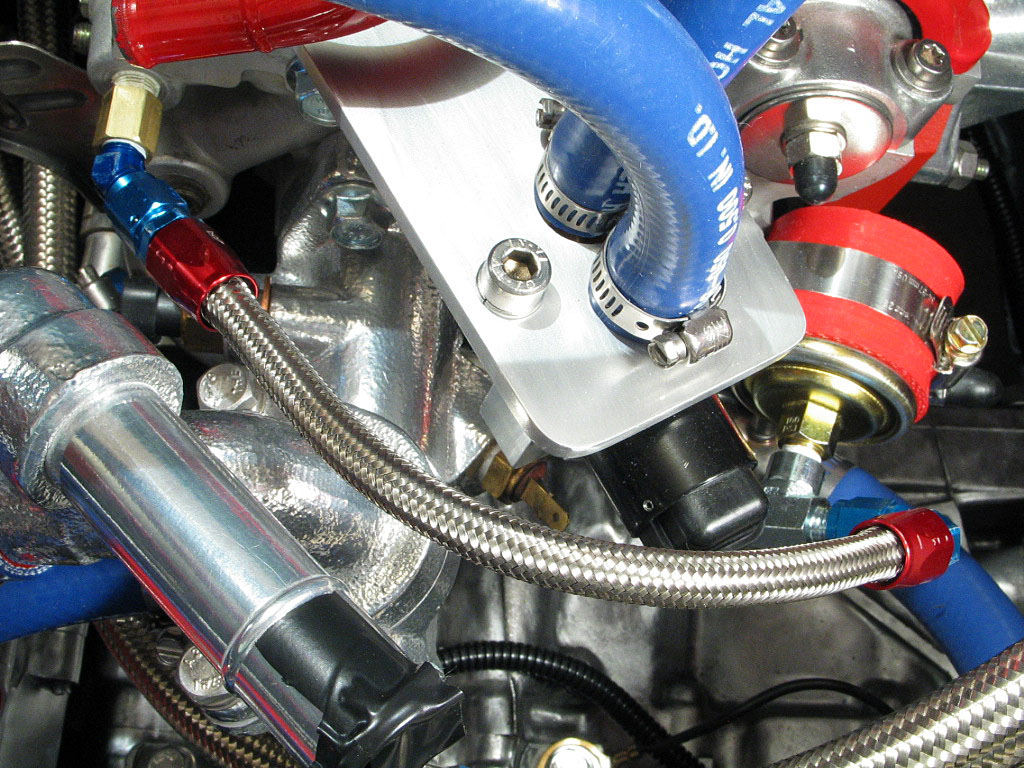
I tried several different hose
configurations, and here's what I ended up with:
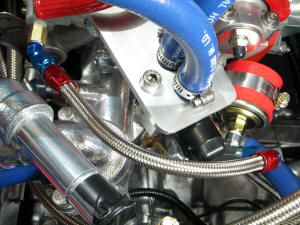
I used a 45ş adapter at the head. This is an aluminum fitting that has
⅛"-NPT male and a -4AN male end. To this I attached a -4AN hose end:
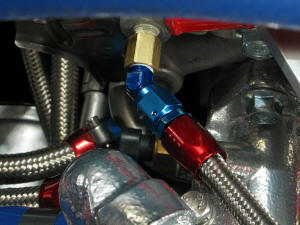
The other end was more complicated, as I had to allow for the bend radius
of the hose and also keep it out of the way of the connector to the IACV
valve. I used a 90ş steel gauge adapter on the sending unit, then a 90ş
-4AN hose end on the hose:
|
|
| |
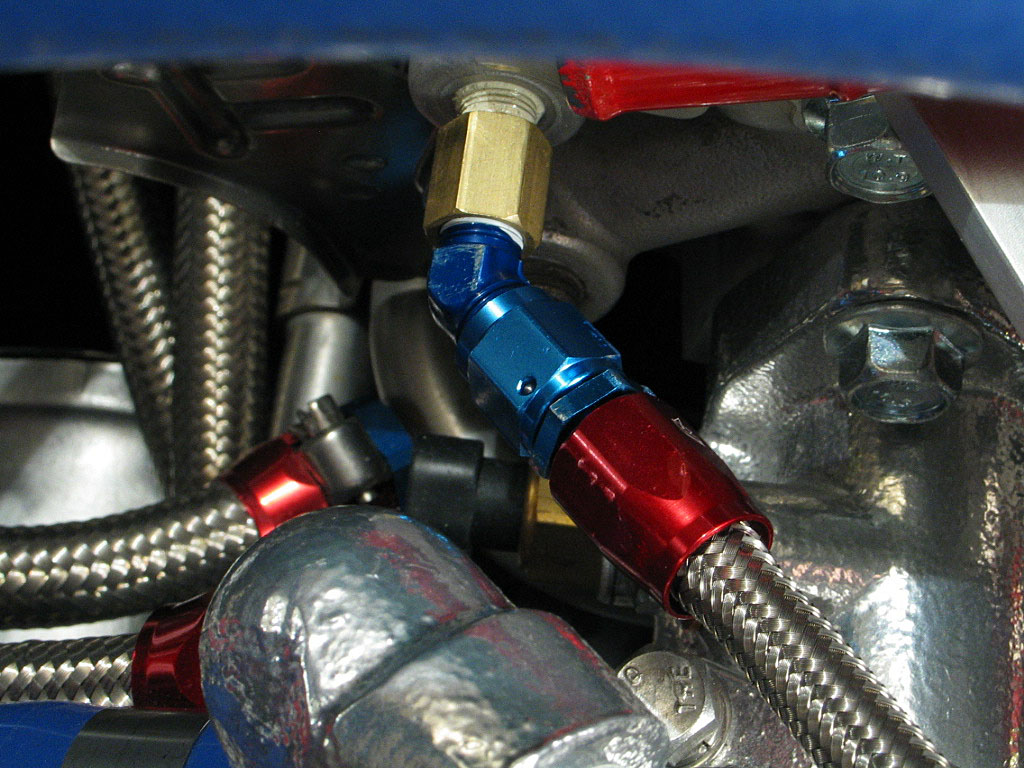
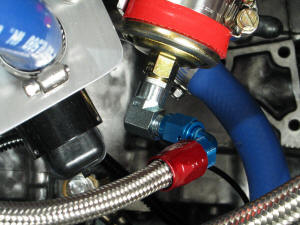
The
fuel pressure sender is similar to the oil pressure sender:

It also uses a ⅛"-NPT male fitting on the
sending unit, so another gauge head adapter is required:
|
|
| |
I mounted the sending unit with a cushion
clamp to the rear bulkhead, next to the APR. I then used a 90ş adapter
that converts a ⅛"-NPT male end to a -4AN male end. On the sending unit, I
used a straight gauge head adapter. A length of -4AN stainless hose with
straight swivel hose ends finishes the job:

|
|
| |
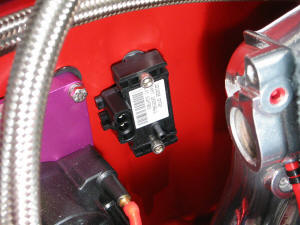
Another component that's found a home is the
MAP sensor for the TECł. I chose to mount it next to the DFUs, on the
trunk bulkhead:
|
|
| |
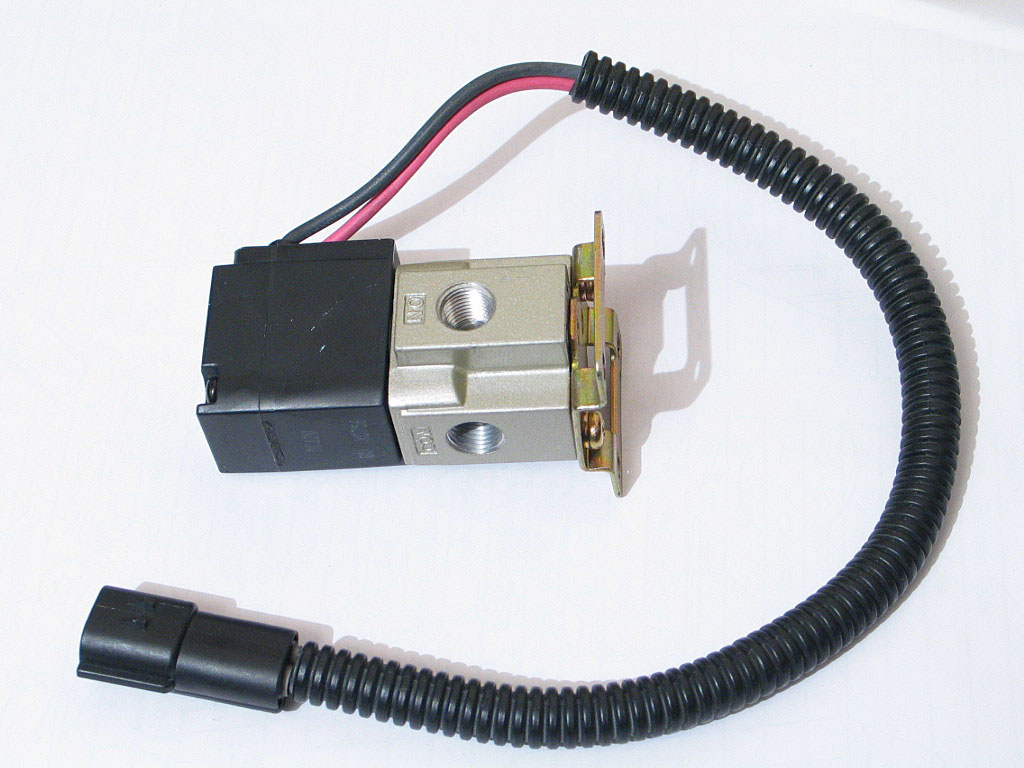
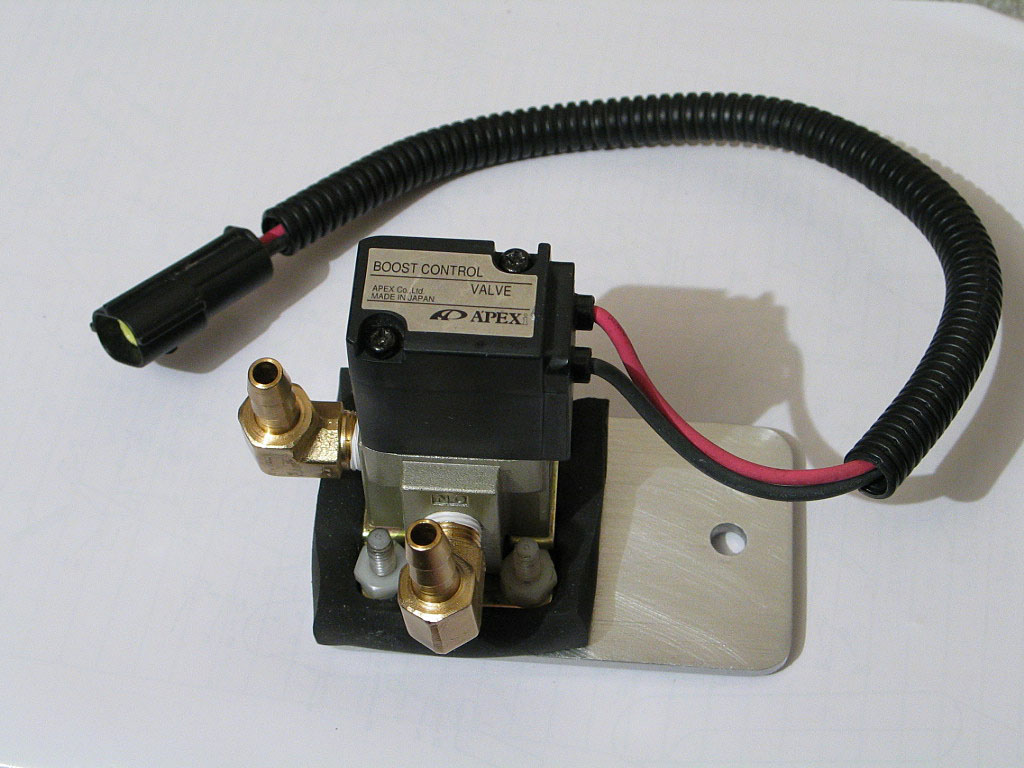
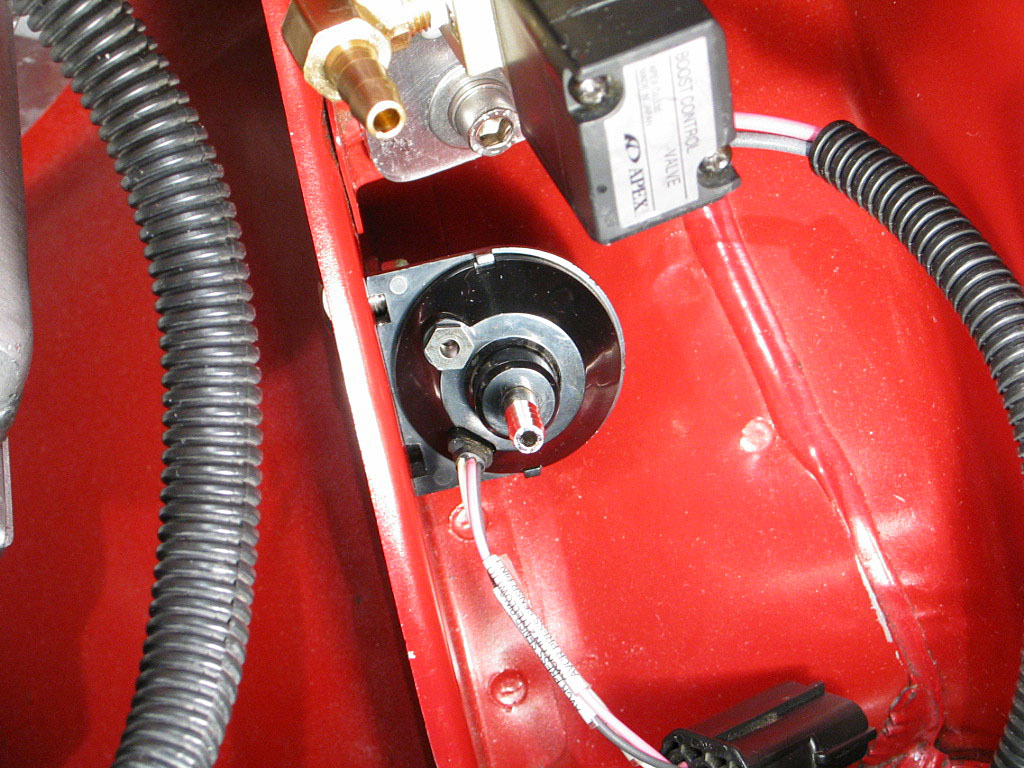
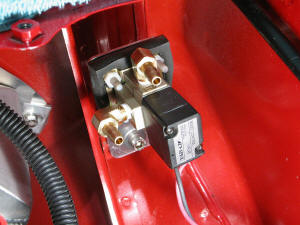
The AVCR electronic boost controller uses a
solenoid to control the wastegate:
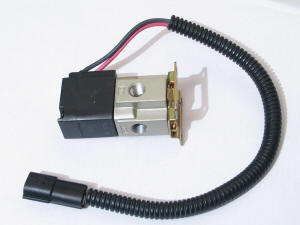
From previous experience, I know that
it needs to be isolated from direct metal-to-metal contact, as it is
extremely noisy in operation. It also needs to be mounted fairly close to
the wastegate, yet away from extreme heat.
|
|
| |
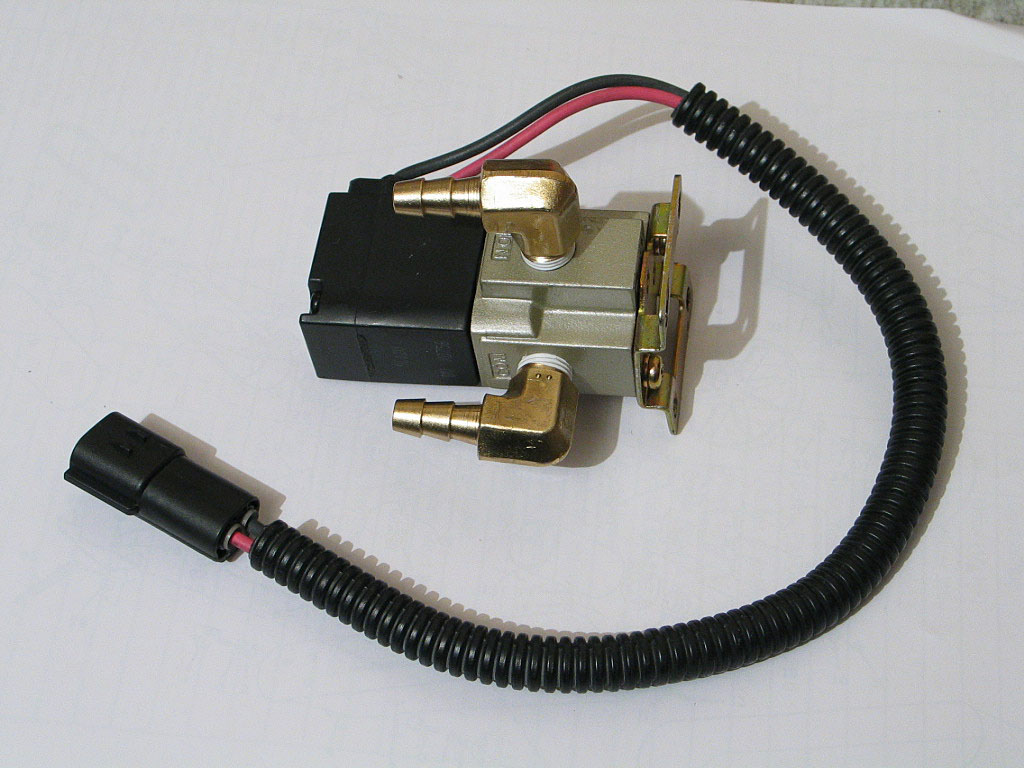
I wanted to tuck it up where the cruise
control drum was formerly located. That required changing the hose barbs from
straight to 90ş. Of course, to keep things interesting, Apexi uses BSP pipe threads. To get around this, I re-tapped the
⅛"-BSP threads in the solenoid body to ⅛"-NPT by just running a tap
through the existing threads, and installed the hose barbs:

|
|
| |
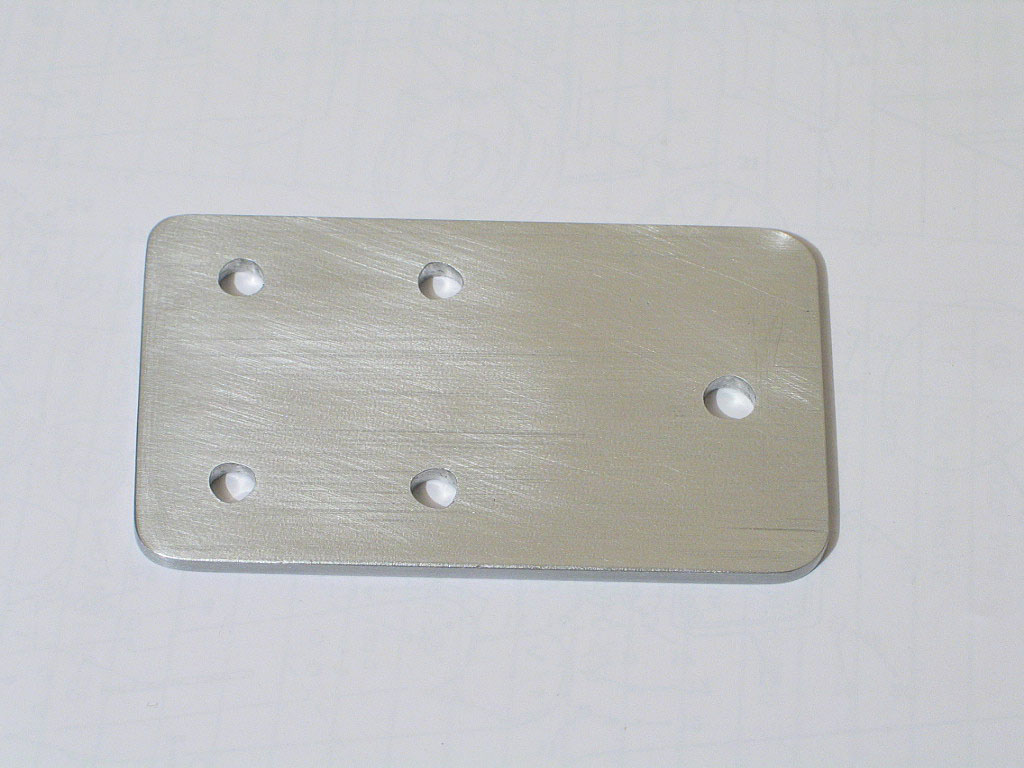
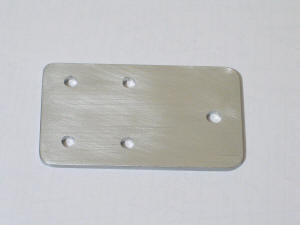
A simple plate serves as the bracket:
|
|
| |
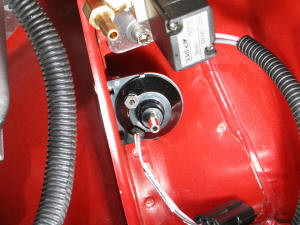
I used the same sorbothane pad as I had in
my previous car,
with nylon screws and nuts. The sorbothane deadens nearly all vibrations,
and the nylon prevents any vibrations from traveling down the bolt shaft:

|
|
| |
A single bolt holds it in position:
If it's still too noisy, I can insert a rubber washer between the
bracket and the body mount.
|
|
| |
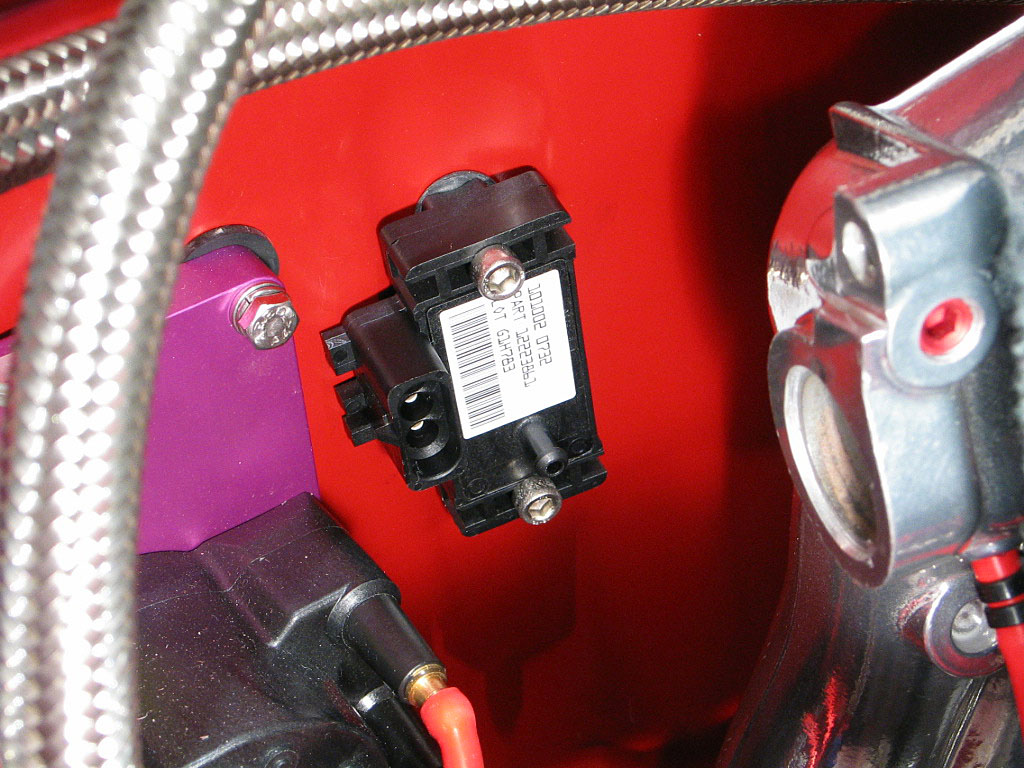
The AVCR also uses a small manifold pressure
sensor. I decided to mount it just below the solenoid, where a mounting
hole already existed:
|
|
| |
One disadvantage of running the
turbo-to-intercooler piping under the engine was the lack of a mounting
location for the TurboXS blow-off valve. It should be right off the
piping, but I decided to mount it clamped to the fuel filler pipe, up next to the air filter.
I would need to run a hose to it.
I also didn't want to vent it to atmosphere, as I didn't like the noise
(some love it). I'd provided a nipple on the main intake pipe to handle the exhaust
air from the valve.
First, I wrapped some silicone hose around the fuel filler pipe as a cushion:

|
|
| |
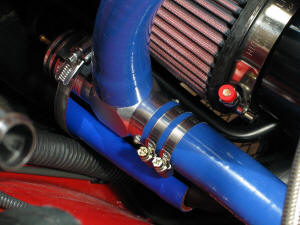
I replaced the intake pipe nipple on the BOV with a
straight section of 1Ľ" aluminum tubing. The stock nipple increased the OD
of the nipple to 1⅜" without any increase to the ID, so this didn't affect
anything.
I cut the hose to length connected it to the BOV inlet.

|
|
| |
With the general fitment settled, I clamped
the BOV to the filler pipe:
|
|
| |
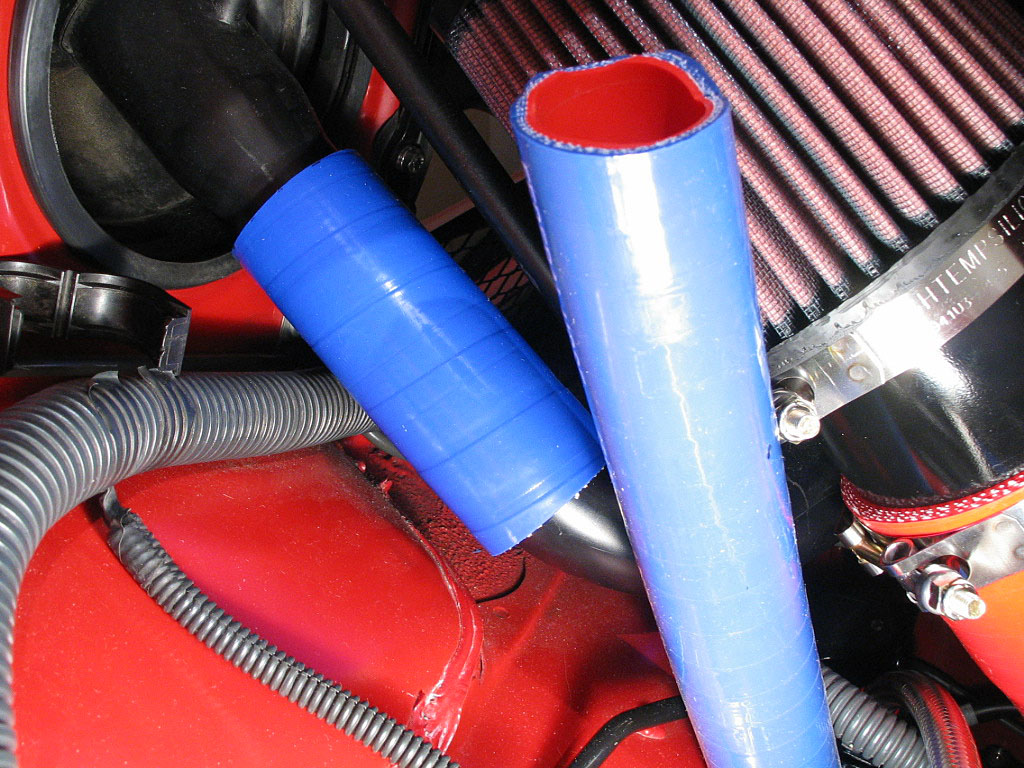
I hadn't been able to work out the hose
routing back into the intake until the BOV was installed. The 1Ľ" silicone
heater hose was very stiff, with a large bending radius, so I couldn't
just bend it into position without collapsing the hose. And 1Ľ" is a bit
of an oddball size. Elbows for this size were scarce.
I ended up using a couple of silicone elbows, one 45ş and one 90ş,
connected with a short section of aluminum tube. It's not subtle, but it
will have to do, at least for now:
I may come up with a cleaner solution later.
|
|
| |
Continued on next page... |
|
|
|
|
|
Back to Start
Page
1
2 3
4 5
6
7
8
9
10
|
|
|
|
|