Last Updated
23 June, 2005
 

      Back to Start                Page      1  2  3  4  5  6  7  8  9  10    


UNDER CONSTRUCTION

Installing the 3SGTE

Wiring the TEC³ and Sensors (continued)

  Included with the TEC³ package are the Direct Fire Units (ignition coils). The wiring harness from the TEC³ includes two 16AWG wires and one 12AWG wire for the DFU.

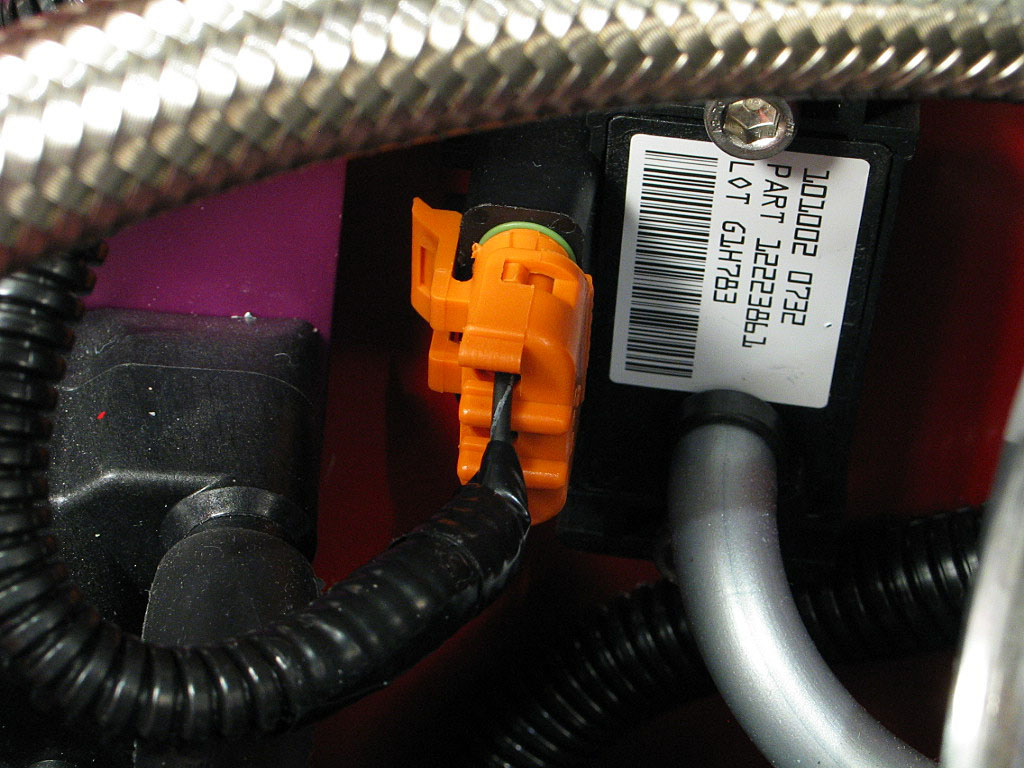
However, the connector they provide will not accept anything larger than an 18AWG wire. This means you have to step down all three wires to 18AWG. The step down from 16AWG to 18AWG isn't too bad, but from 12AWG to 18AWG is a huge difference. What were they thinking?

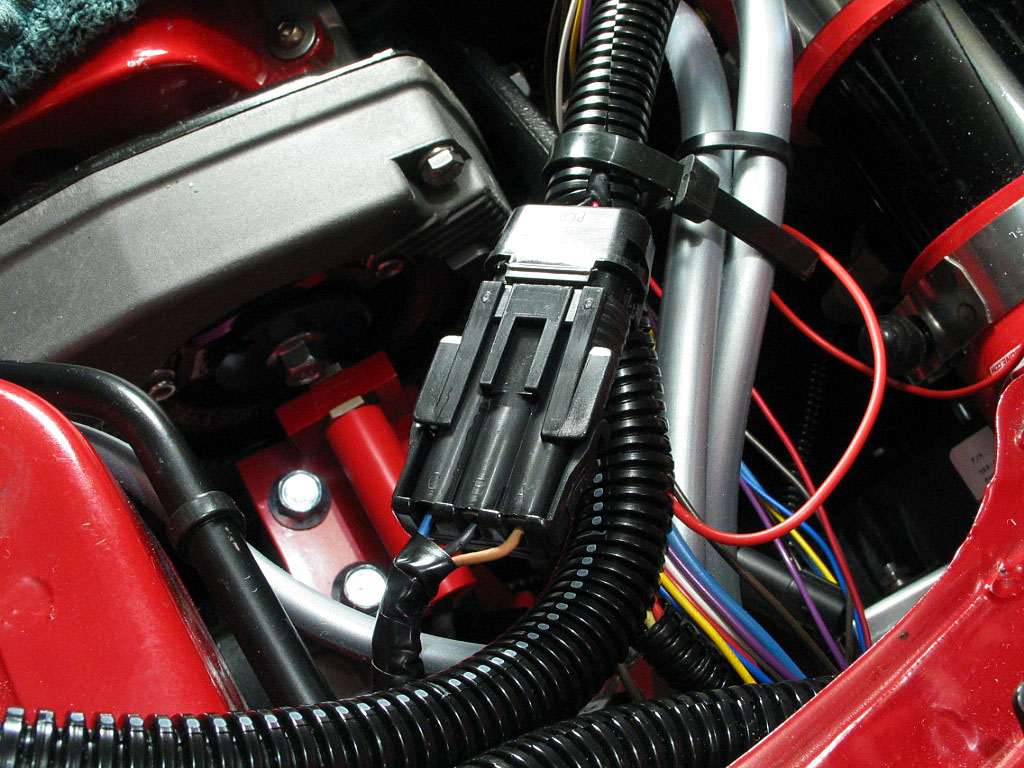
So, I spliced in three 18AWG wires and installed the connector:
Click to enlarge
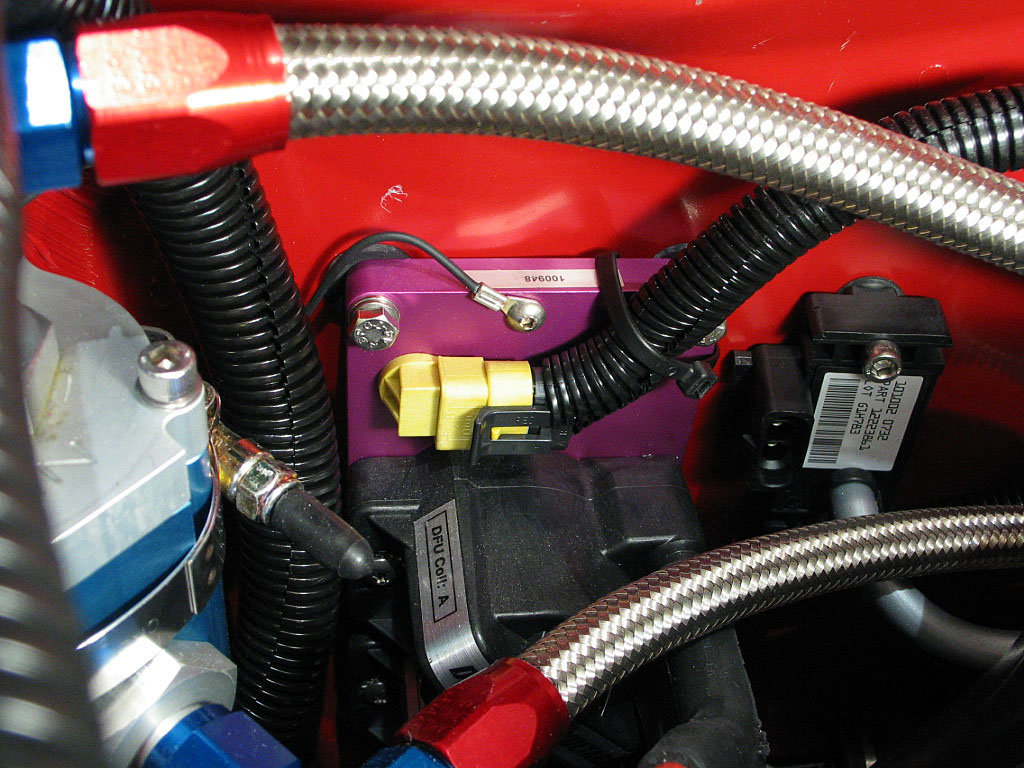
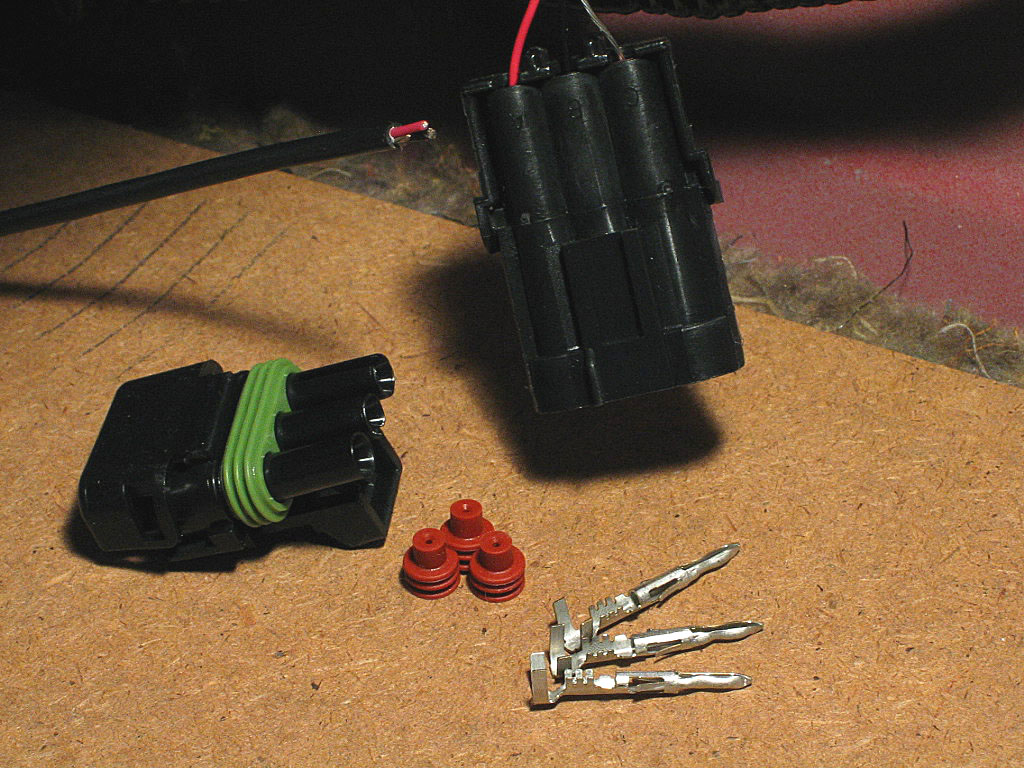
The DFU uses MetriPack 150.2 Series connectors rather than WeatherPack connectors. These MetriPack connectors are pull-to-seat, so you need to thread the wires through the connector shell before you crimp the pins/sockets on the end. The other difference is that you cannot use anything larger than an 18 AWG wire, at least not with the female pins supplied by Electromotive.

The WeatherPack connectors enable you to mix and match wire sizes in the same shell, but they are bulkier and really require a special WeatherPack crimper to properly crimp the sealing plugs. I found a way to do it with my Ideal open-barrel crimping tool, but it was a pain.
 
 
  I next split out the three wires for the MAP sensor, and assembled the connector. This is a MetriPack connector like the DFU connector:
Click to enlarge
 
 
  The crank trigger sensor uses a WeatherPack connector:
Click to enlarge
Splicing the male connector half onto the crank trigger wire was made more difficult by the small 24AWG leads inside the shielded outer wire sheathing. It was tough getting a good crimp, and they were also hard to seat in the push-to-seat shell. But I succeeded, albeit after ruining a few pins (luckily I had spares):
Click to enlarge
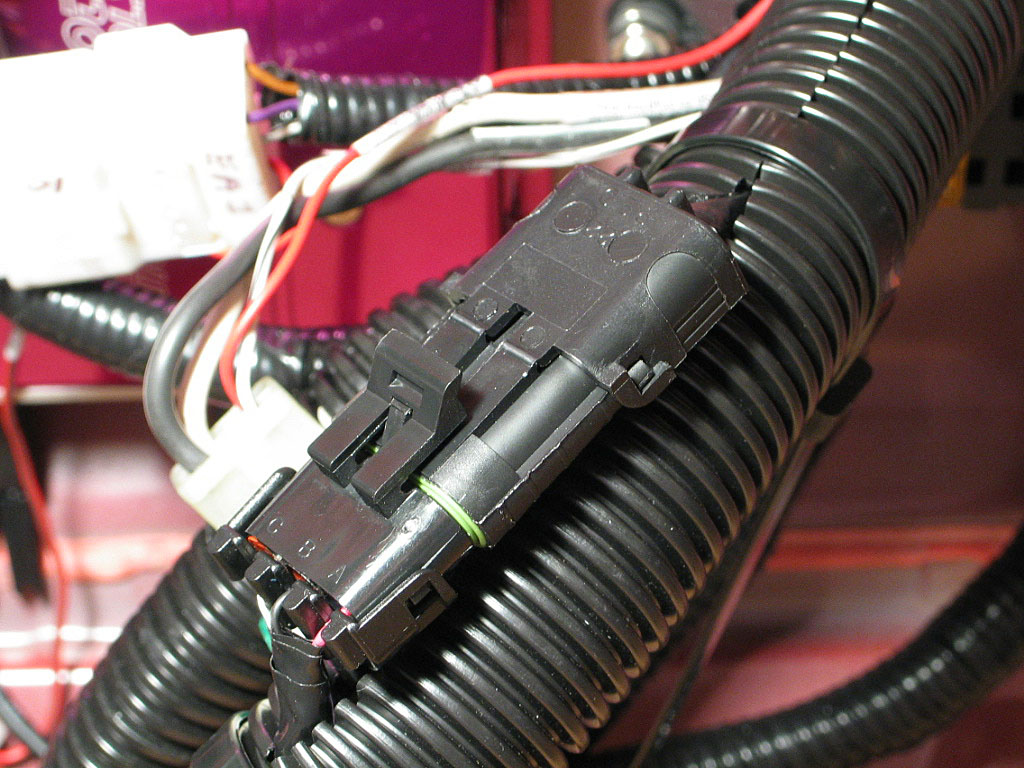
I could now use some of the excess wire from the crank trigger sensor to extend the cam trigger sensor wire. It's a mystery to me why those are not the same length.
 
 
  I'd installed a temperature sensor in the output pipe of the intercooler. It was the same GM-type sensor that the TEC³ uses as a MAT sensor, and uses a MetriPack connector with two leads:
Click to enlarge
 
 
  I used the excess cable from the crank trigger sensor wire and spliced it onto the end of the cam trigger sensor wire. I staggered the splices to avoid a big bulge in the wiring, and re-wrapped the result with foil shield.

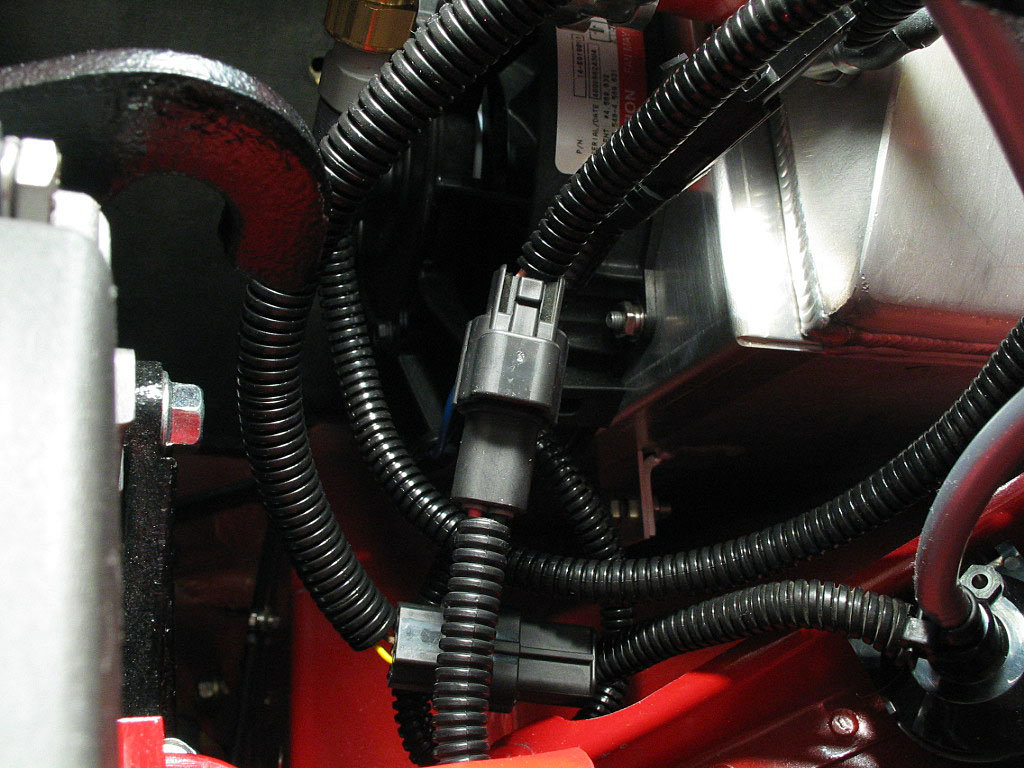
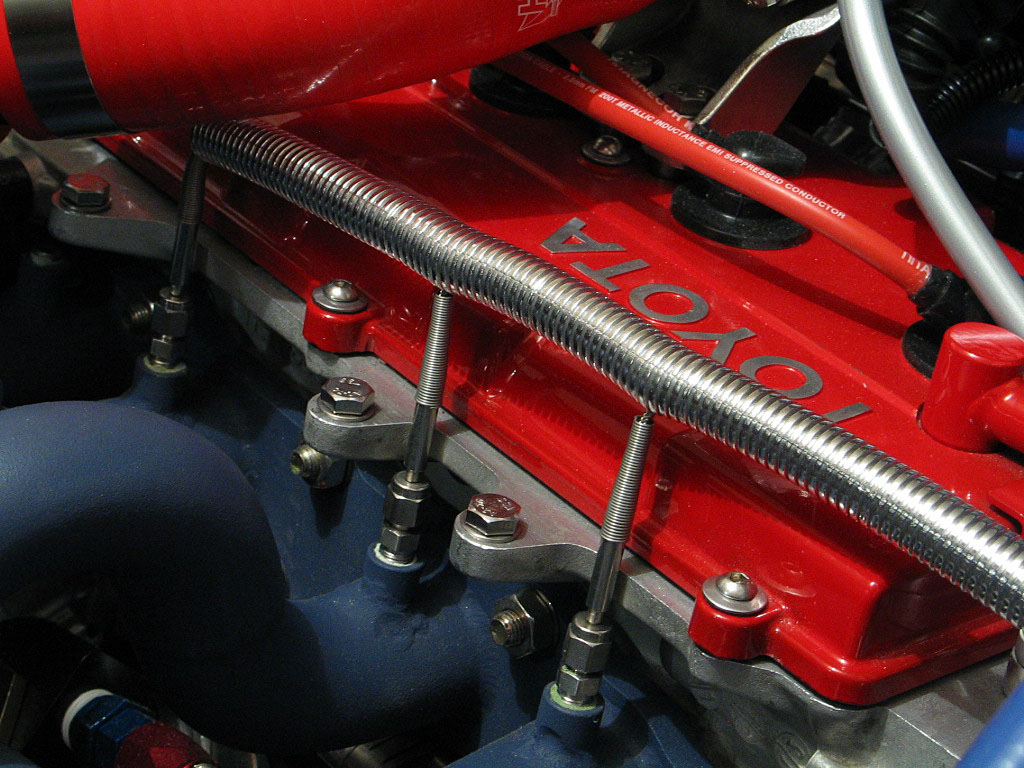
I then routed the cable up to the cam trigger assembly. I used a WeatherPack connector to connect the sensor to the TEC³ harness:
Click to enlarge
 
 
  Next, I wired up the AVCR solenoid...
Click to enlarge
..the AVCR pressure sensor...
Click to enlarge
...and the intercooler fan:
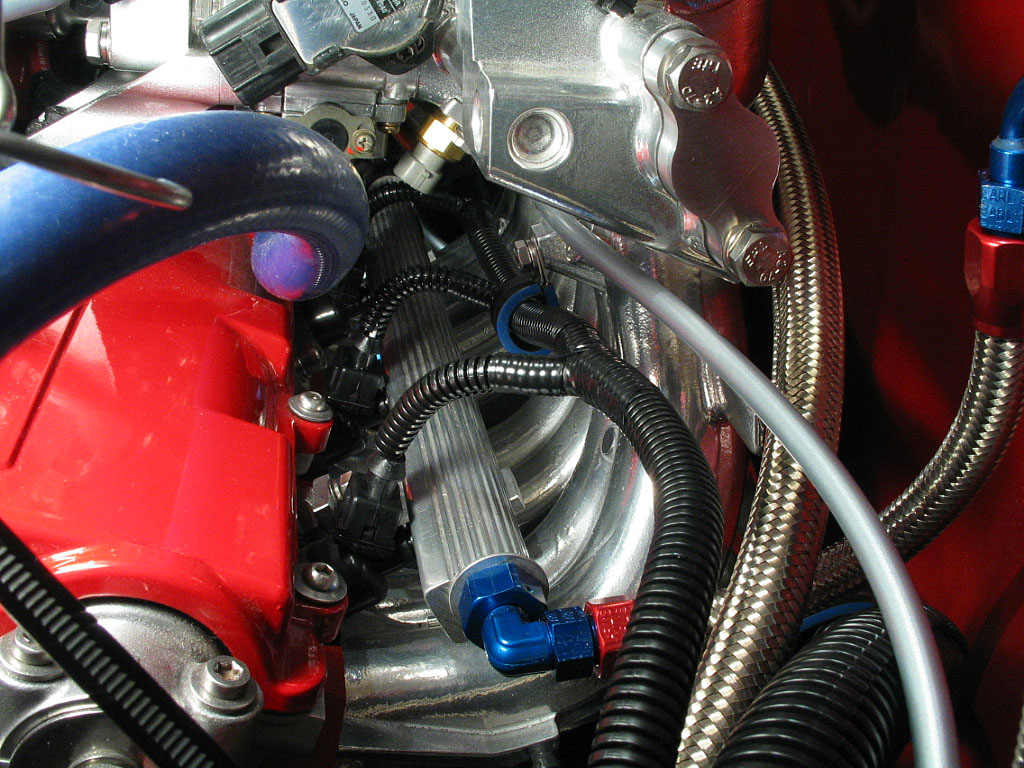
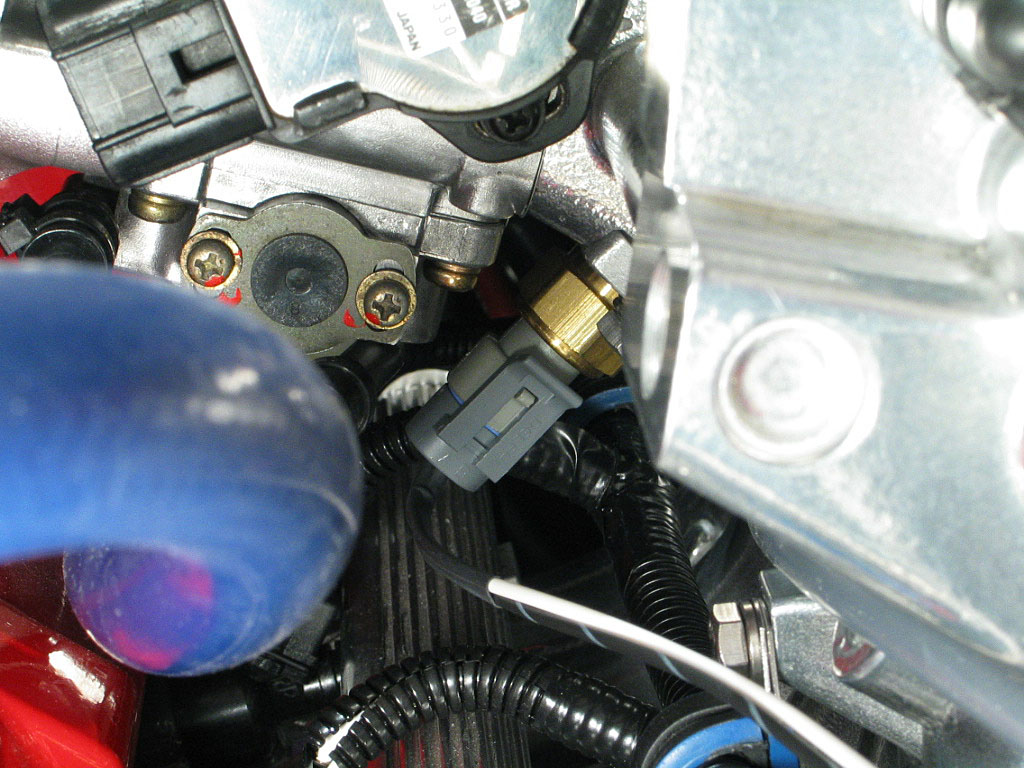
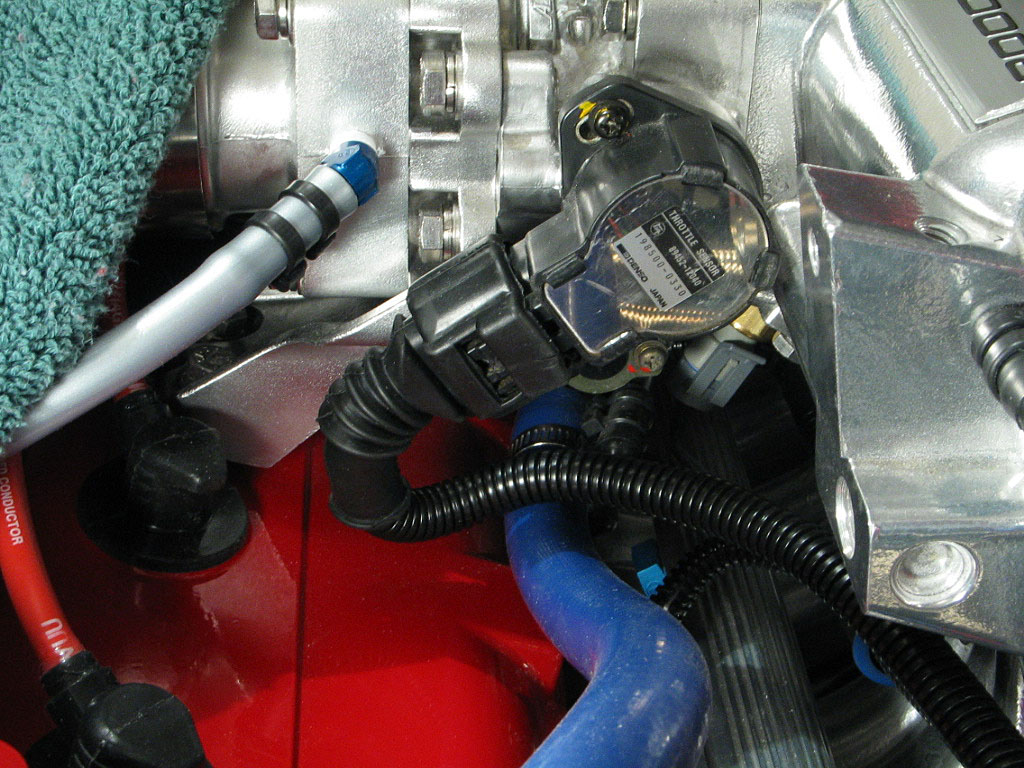
Click to enlarge
 
 
  I also enlarged the bulkhead access hole in the lower right of the trunk, where I plan to mount the controller for the wide-band O² sensor:
Click to enlarge
 
 
  Working from the left side of the engine compartment, the fuel injectors needed to be wired up. The difficult part here was getting all the lengths right for a clean install:
Click to enlarge
 
 
  Next came the MAT sensor...
Click to enlarge
...the TPS...
Click to enlarge
and finally the coolant temperature sensor:
Click to enlarge
 
 
  The only remaining engine sensor needed for the TEC³ is the O² sensor. I'm going to replace the OEM Toyota sensor with a universal sensor from Electromotive. This will delay things for a while, but it will be cheaper and easier to connect to the TEC³.
 
 
  I'm installing three EGT probes into the exhaust manifold:
Click to enlarge
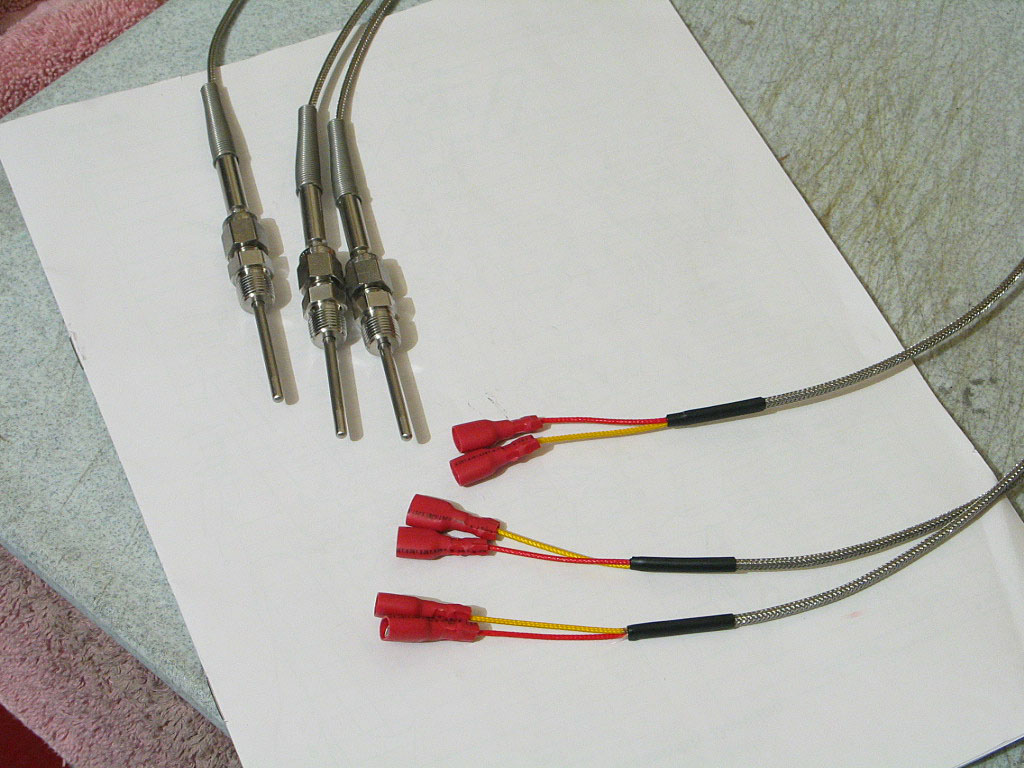
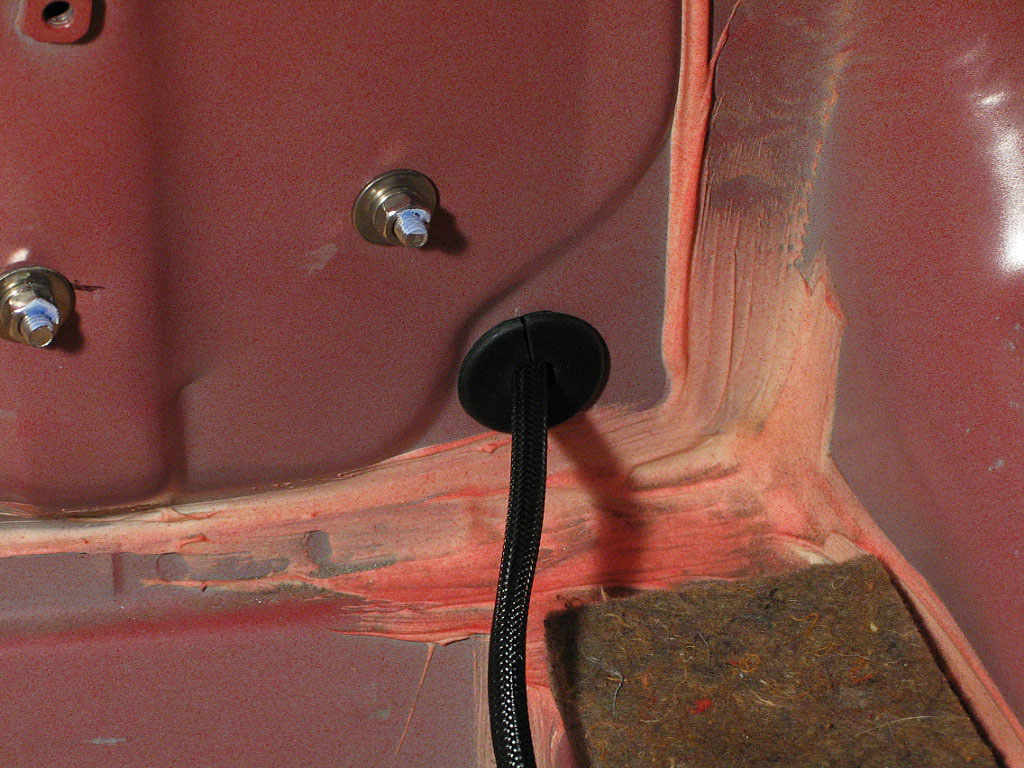
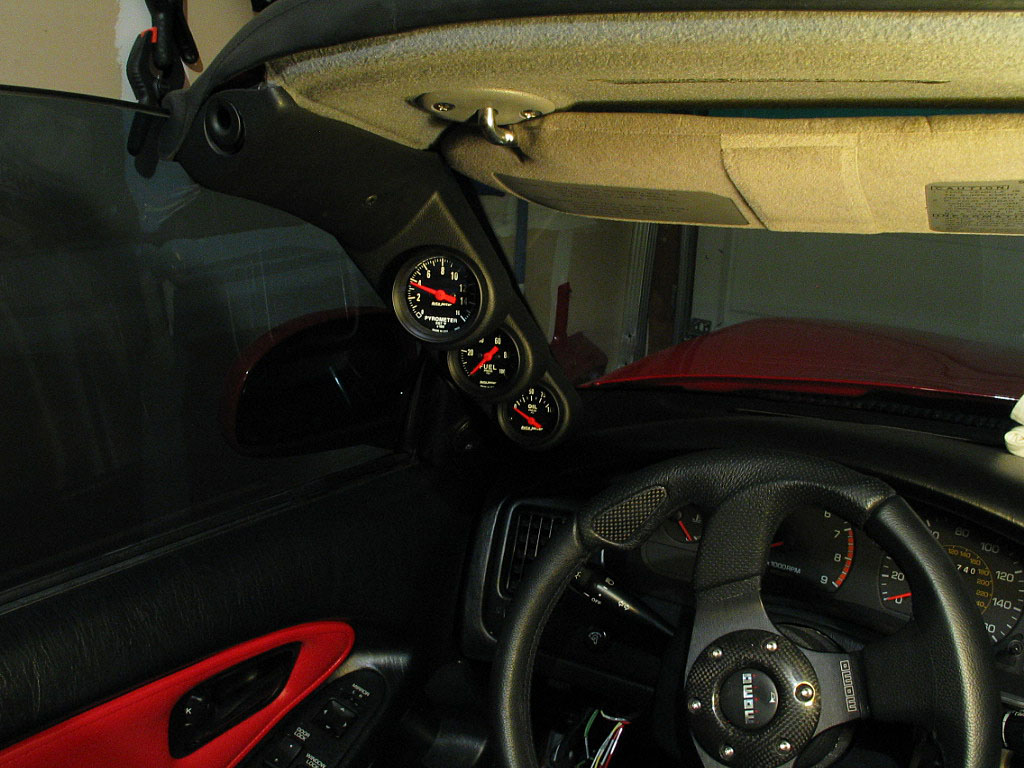
The leads are only two feet long, so I had to obtain cable extensions to reach into the cabin. The EGT probes have specific requirements for extending the leads to minimize inaccuracies in the gauge display.
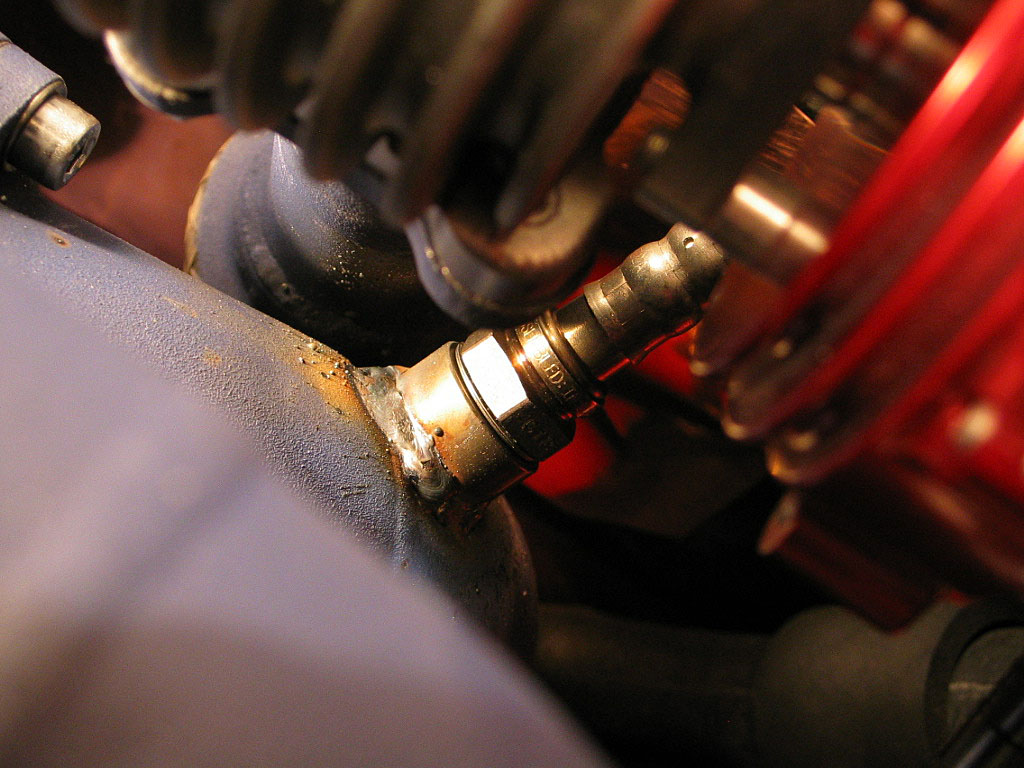
 
 
  Here's a photo of the probes after installation:
Click to enlarge
 
 
  I had a local welding shop cut the OEM O² sensor bung off my downpipe and weld on a standard M18 bung. Nothing fancy, but I need to fabricate a different downpipe to permit me to install the A/C compressor anyway.

I installed the O² sensor I got from Electromotive, and wired it up with the supplied connector:
Click to enlarge
 
 
  I also had to fabricate some type of heat shield to replace the stock piece that blocks the tunnel to the fuel tank. The original shield wouldn't fit -- also due to the design of the downpipe.

I simply cut a piece of copper sheeting I had laying around, and punched some holes in it for mounting:
Click to enlarge
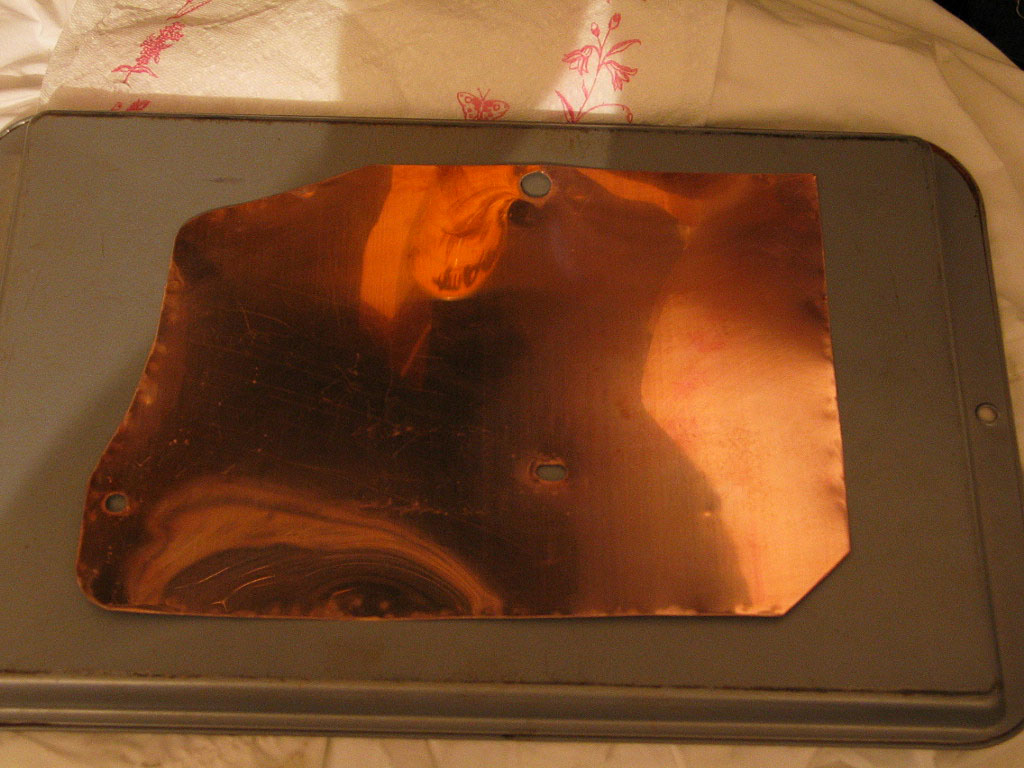
This would do the job for now.
 
 
  There was quite a bit of wiring to be completed in the cabin. The gauge pod had to be wired...
Click to enlarge
...and I also had some switches to be rewired, such as a fan controller switch (for the I/C and deck lid fans), a fuel pump kill switch, plus some other wiring I wanted to deal with while the dash was somewhat disassembled.
 
 
  With the wiring mostly complete, I was ready for the moment of truth -- programming the TEC³ and firing her up.


Continued on next page...


      Back to Start                Page      1  2  3  4  5  6  7  8  9  10