|
Last Updated
23 June, 2005
|
|
|
Back to Start
Page
 1
2 3
4 5
6
7
8
9
10
1
2 3
4 5
6
7
8
9
10
 |
|
|
UNDER CONSTRUCTION
Installing the 3SGTE
|
|
| |
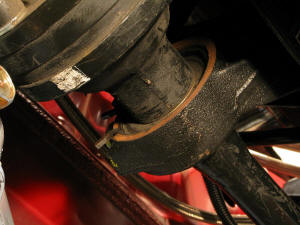
I was tired of tripping over the rear
suspension arms and axles,
so I decided to get these reinstalled. While having them out gave me
better access underneath the motor, I was pretty much finished with that
part of the installation.
|
|
| |
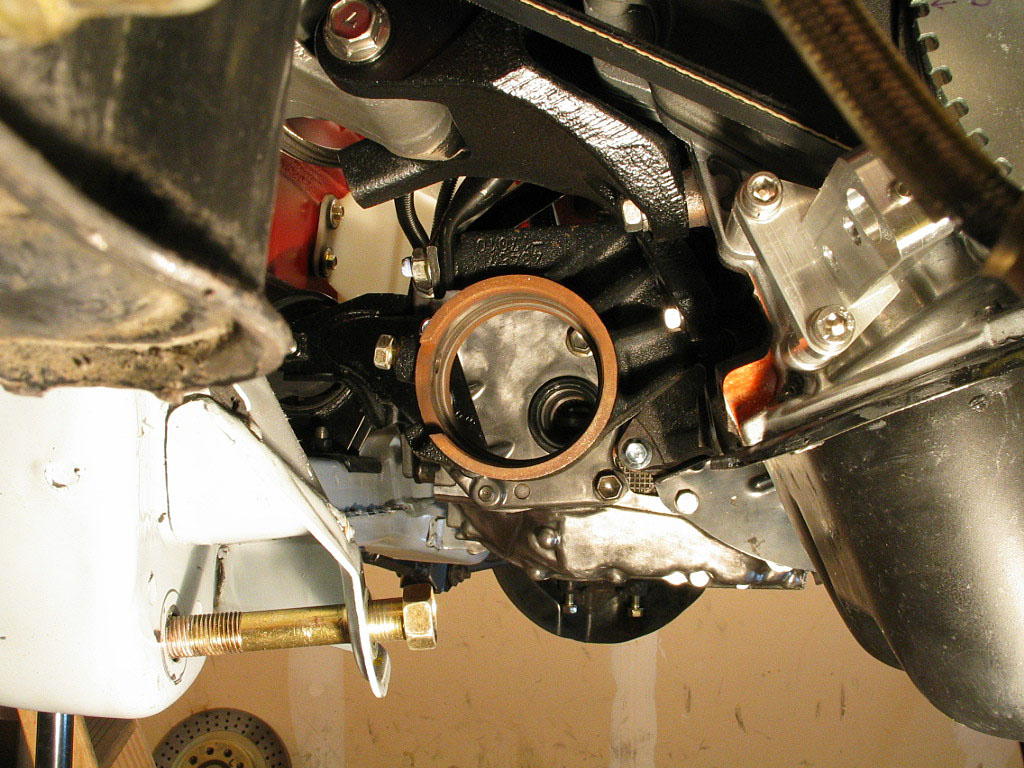
First, I had to reinstall the left axle
(driveshaft). I had previously replaced the seal, so now all I needed to
do was apply some grease to the lip of the seal, and slip the axle into
the case:
The BGB shows an illustration of the procedure for seating the axle fully
into the transmission. The main barrier seems to be the small steel snap
ring on the axle shaft.
Position the snap ring with the opening facing down. Then find a piece of
soft metal like brass, or maybe wood, and tap (bang?) against the CV joint
outer housing until the axle reaches all the way into the transmission.
Toyota says you can tell by the "feel" that you've fully seated the shaft.
This is true if you hammer it all the way in in one sitting, and use a
metal rod instead of wood.
Be careful not to damage with the CV boots or the sheet metal dust shield
on the transmission when hammering the axle home.
|
|
| |
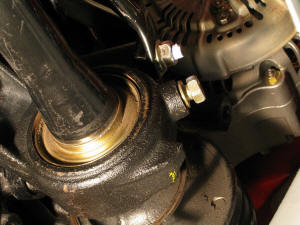
Once the shaft is fully seated, slip the hub
onto the other end of the axle and secure it to the strut by inserting the
strut mounting bolts:
|
|
| |
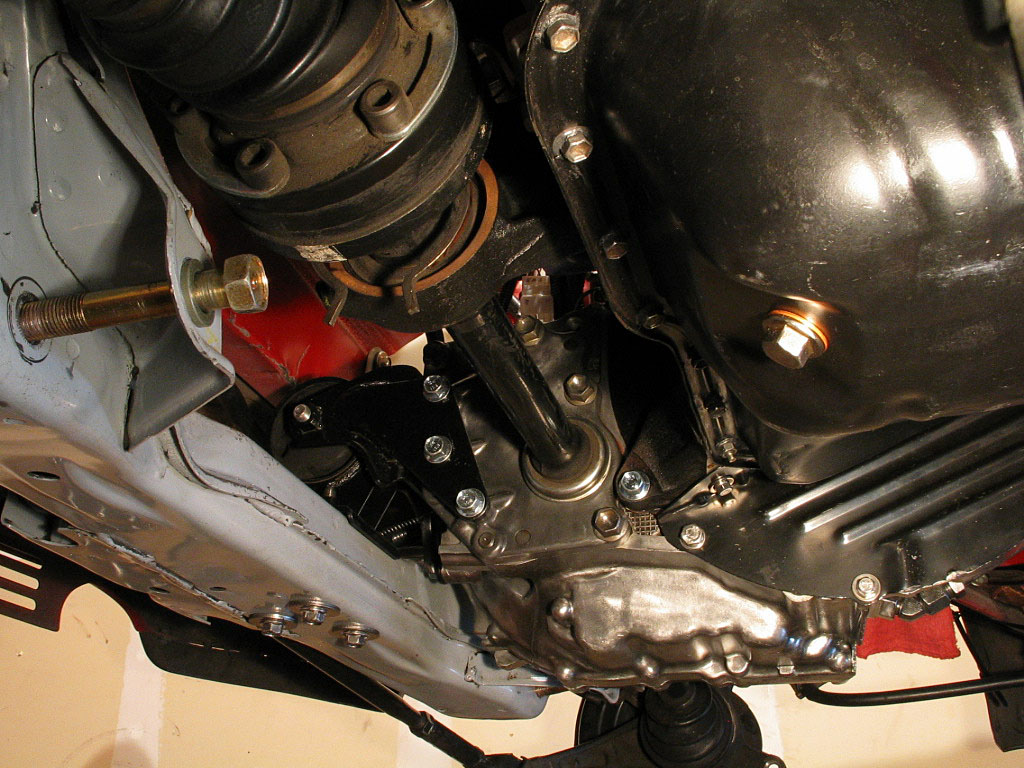
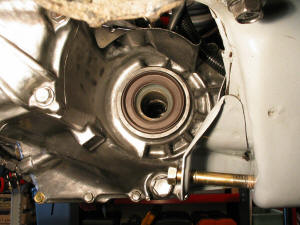
The right axle is a bit different. It's
longer, with a support bearing. I'd already transferred the
bearing support
assembly from the old motor to the new one:

|
|
| |
Slide the axle spline into the transaxle
until the bearing sits in the support:

|
|
| |
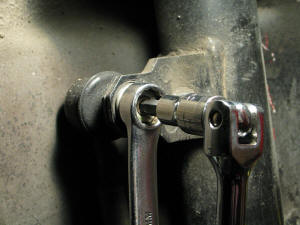
There's a bolt in the bearing support saddle
that locates the bearing in the proper position:
Torque this down to spec.
|
|
| |
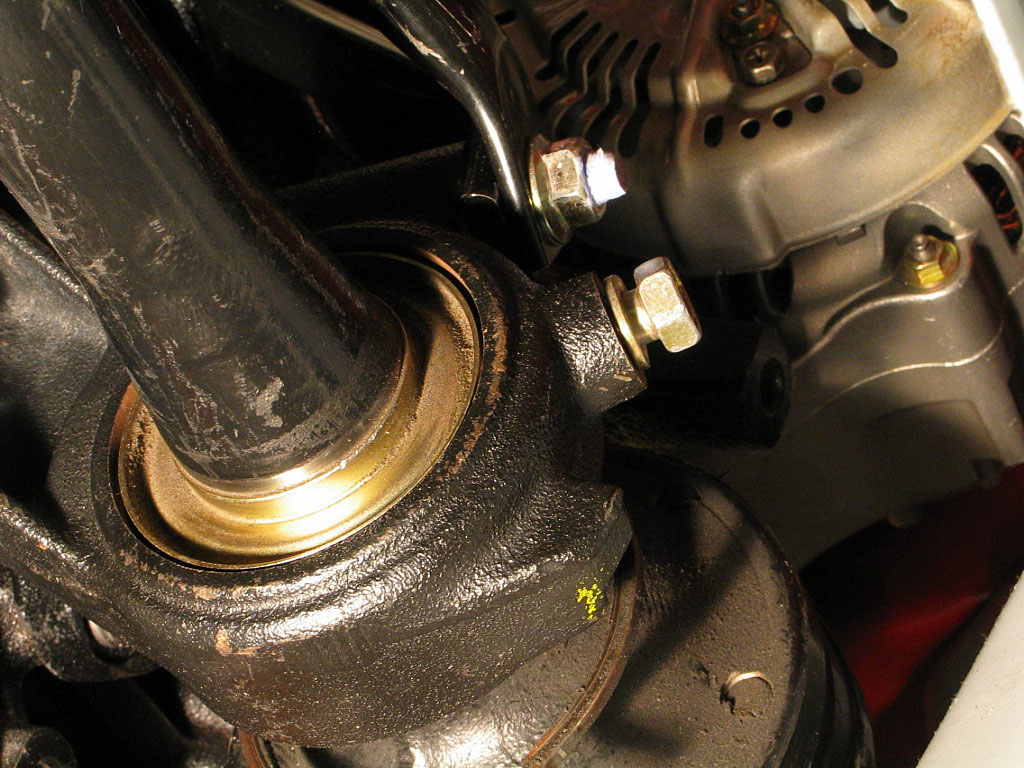
There's a large snap ring facing the right
side of the axle shaft:
Using pliers, squeeze the ends together and snap it into the groove on the
inner bearing surface, making sure it's seated in the groove around the
entire surface.
Install the hub in the end of the shaft in the same way as the left side.
|
|
| |
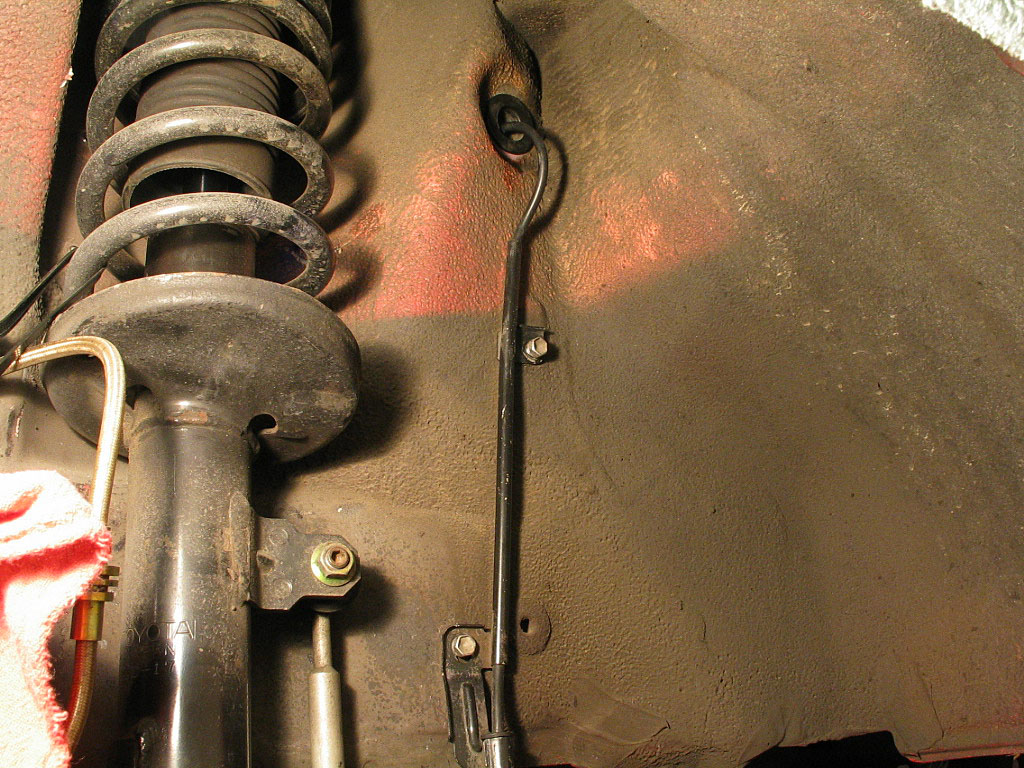
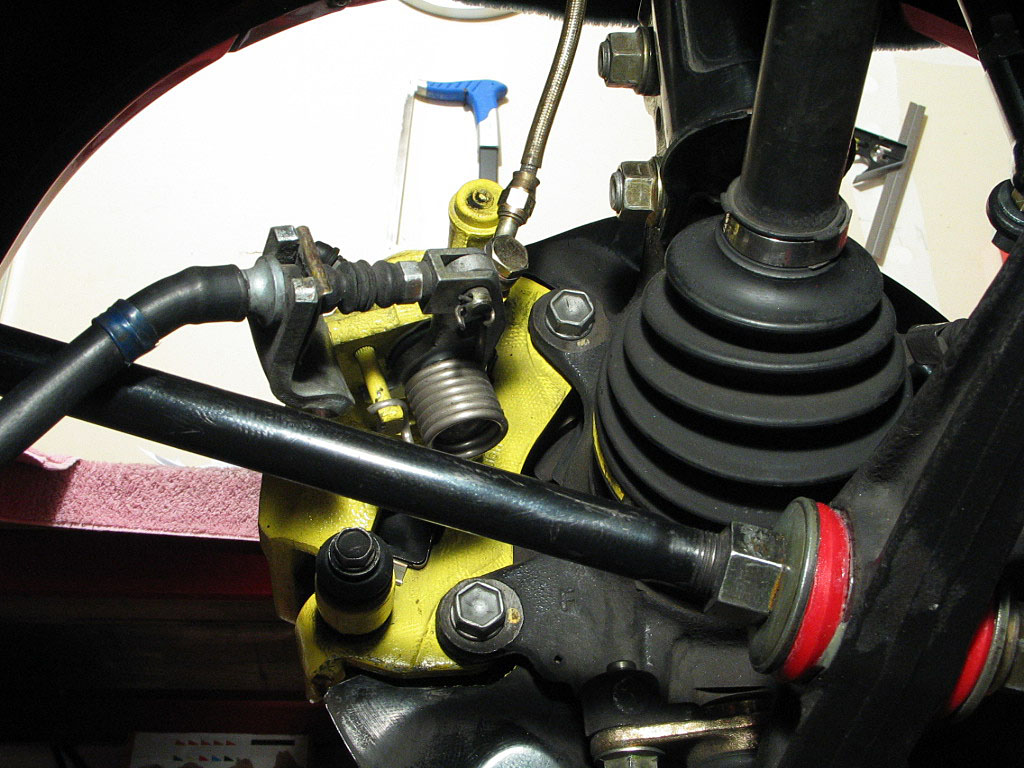
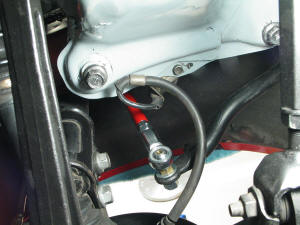
Fish the ABS sensor cable through the
opening in the wheel housing, and seat the grommet. Attach the tube with
two 10mm bolts:
|
|
| |
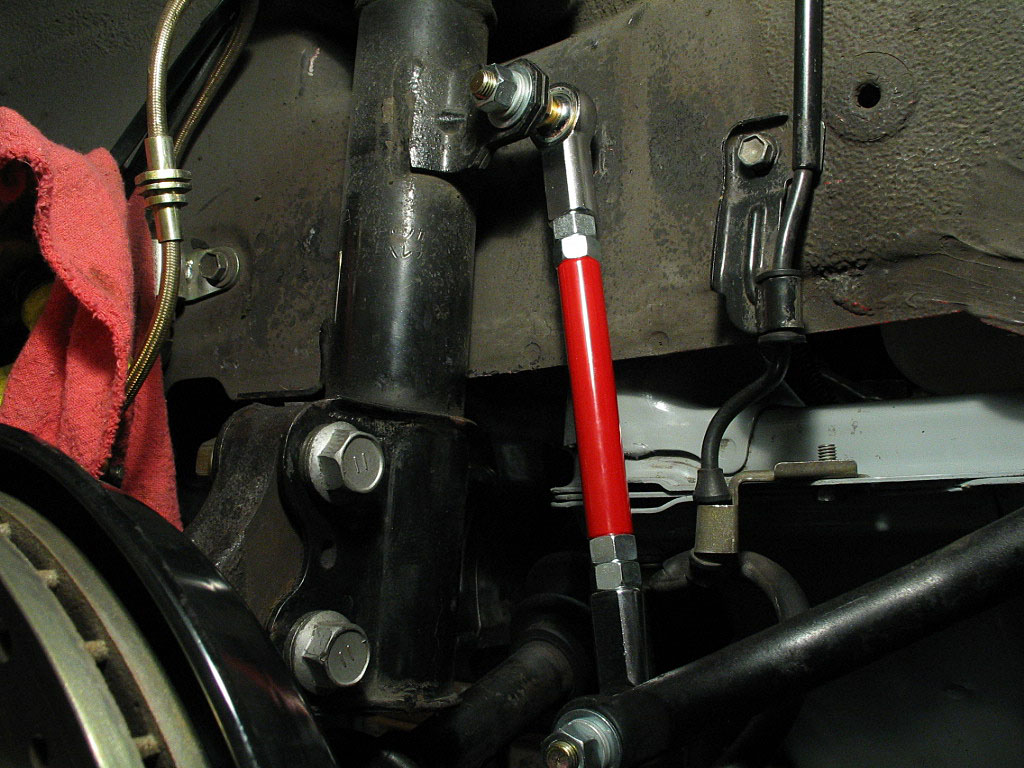
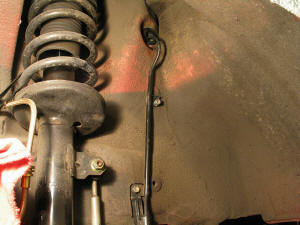
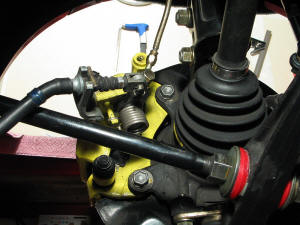
I'd purchased some adjustable sway bar end
links, so now was the time to install them. First, I removed the OEM end
link:
|
|
| |
Then I installed both ends of the new
adjustable link:

|
|
| |
Don't forget to attach the cable clamp for
the ABS sensor cable to the crossmember with the 10mm bolt.:
|
|
| |
I slipped the brake rotors back on, so that
I could reattach the brake calipers. Slide the caliper over the rotor and
install the two 17mm bolts that secure it to the hub:
Torque the brake caliper bolts to BGB specs.
Note: The photo above was taken out of sequence, as I installed the
caliper before installing the rear strut rod and lower arm.
|
|
| |
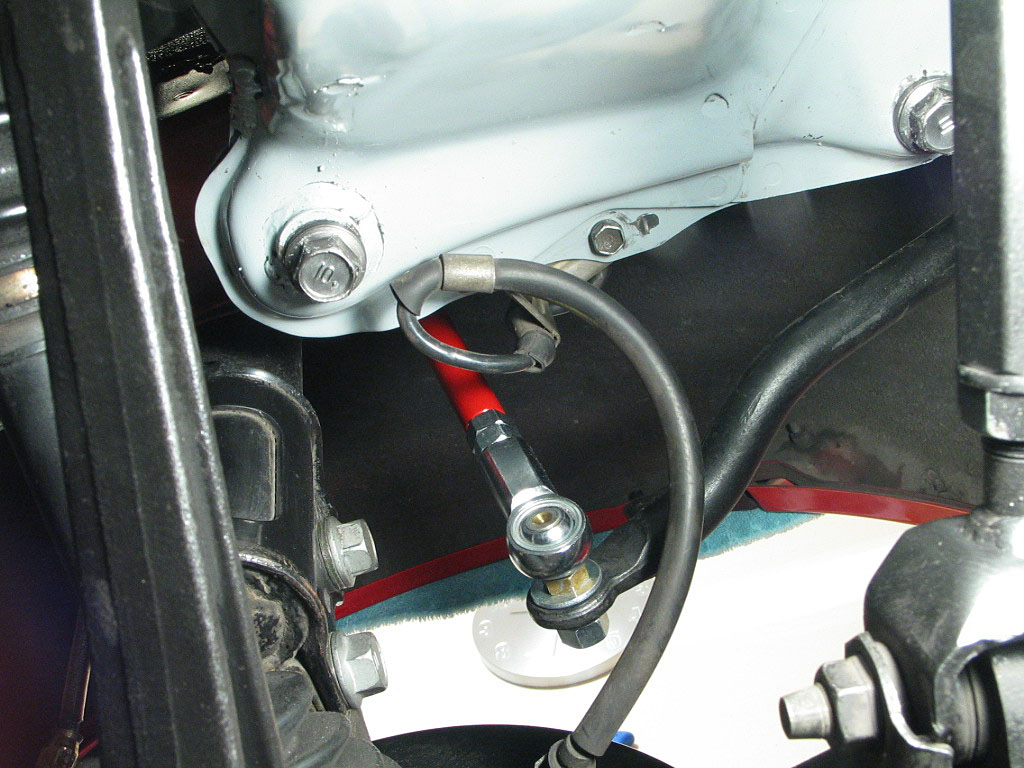
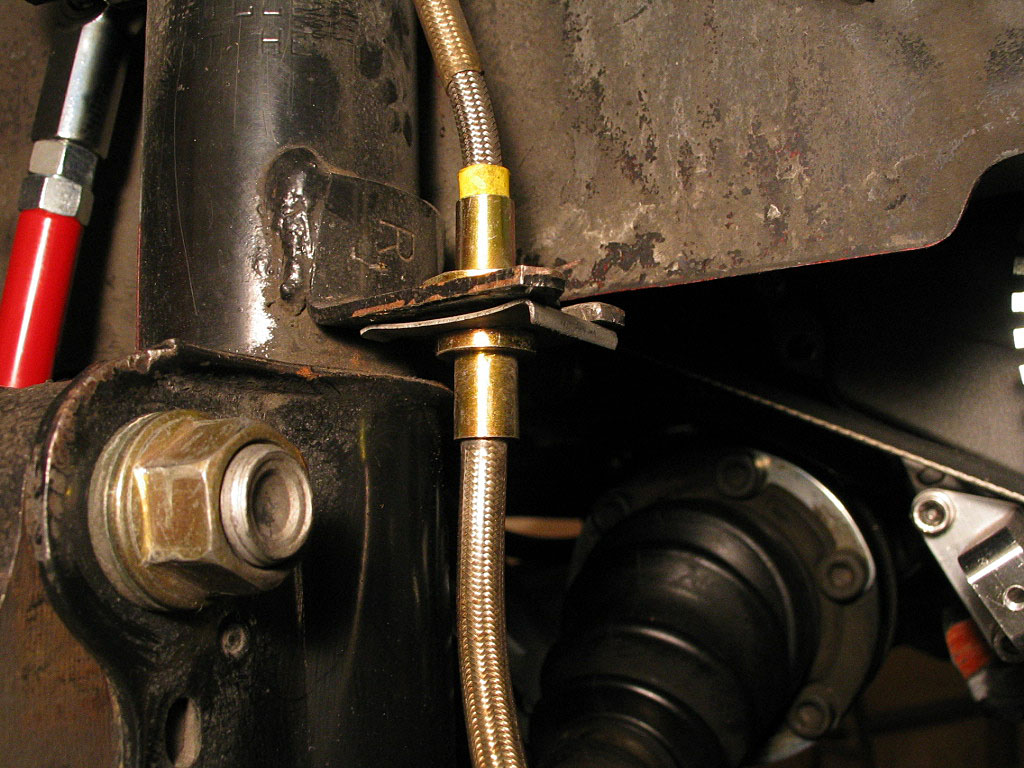
If you had taken the time to cut a slot in
the brake hose bracket, it's now a simple matter to attach the top E-clip
to the hose ferrule, slide the hose into position, then install the U-clip
under the bracket:

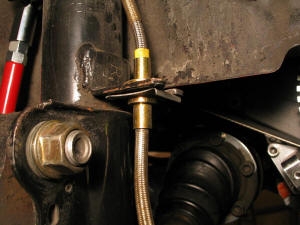
If you don't have a slotted bracket, it's time to reattach the brake line
hose.
You should also reattach the support clamps for the parking brake cables.
|
|
| |
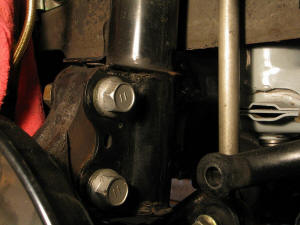
I reinstalled the strut rods, lower arms,
and ball joints. Click
here to see the installation details, along with the procedure for the High & Tight Prothane bushing
installation.
|
|
| |
You can now torque the strut housing bolts
to the hub, using factory torque specs.
|
|
| |
Nearly all of the engine components pieces
had now been installed, so I decided to button up the cooling system and
fill it with coolant. I had previously had the radiator inspected and
cleaned, and all of the front coolant hoses had been replaced.
I attached Coolant Hose No. 1 (Inlet hose) to the water pump inlet
manifold. I also installed the coolant filler hose, which runs from the
coolant filler neck to the motor.
I used a 50-50 mixture of Toyota coolant (the red stuff). I slowly filled
the system with coolant. Since the rear was higher than the front, this
was a good time to do so. Only the engine coolant passages wouldn't get
filled at this time -- that would get taken care when I finally fired the
engine up for the first time. It took a bit over 2 gallons.
|
|
| |
|
|
| |
|
|
| |
|
|
| |
|
|
| |
|
|
| |
|
|
| |
|
|
| |
|
|
| |
|
|
| |
|
|
| |
|
|
| |
|
|
| |
|
|
| |
|
|
| |
|
|
| |
|
|
| |
|
|
| |
|
|
| |
|
|
| |
|
|
| |
Continued on next page... |
|
|
|
|
|
Back to Start
Page
1
2 3
4 5
6
7
8
9
10
|
|
|
|
|