Last Updated
29 October, 2004
 

  Back to Start                                              Page      1  2  3  4  5  6  7    


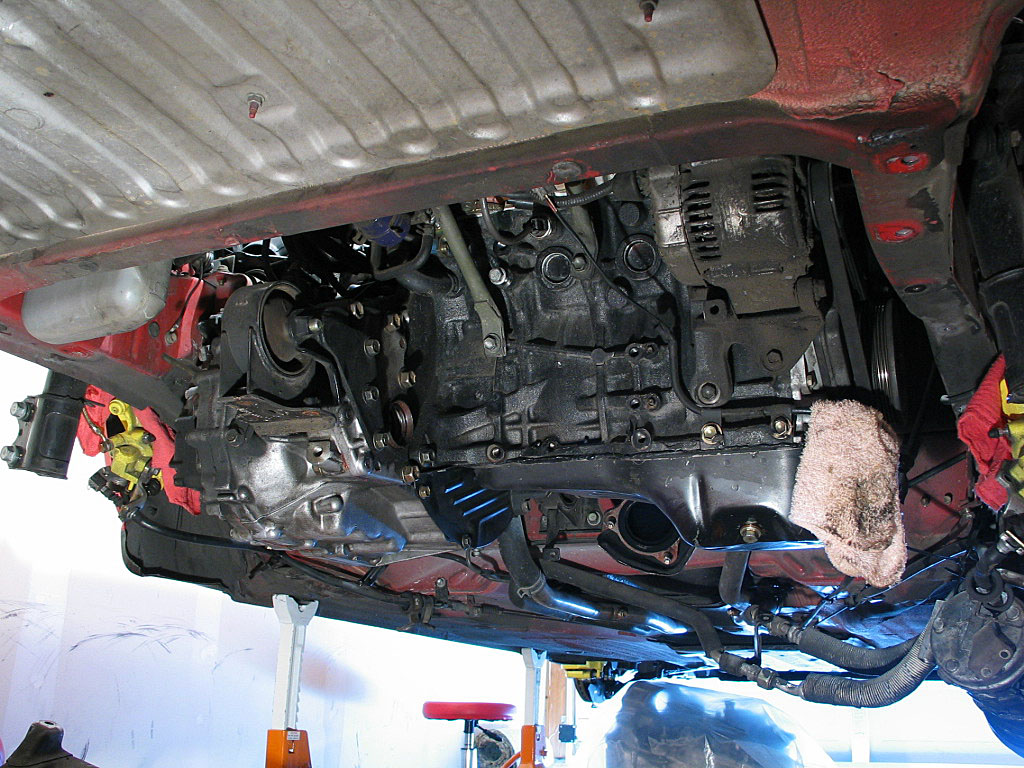
Removing
the 3SGTE (continued)

     
  Your exhaust system should now be removed. I have a TKO aftermarket exhaust from KO Racing, and like most aftermarket exhausts for the MR2 Turbo, the "B" pipe is a short section that can easily be removed:
Click to enlarge
Click to enlarge
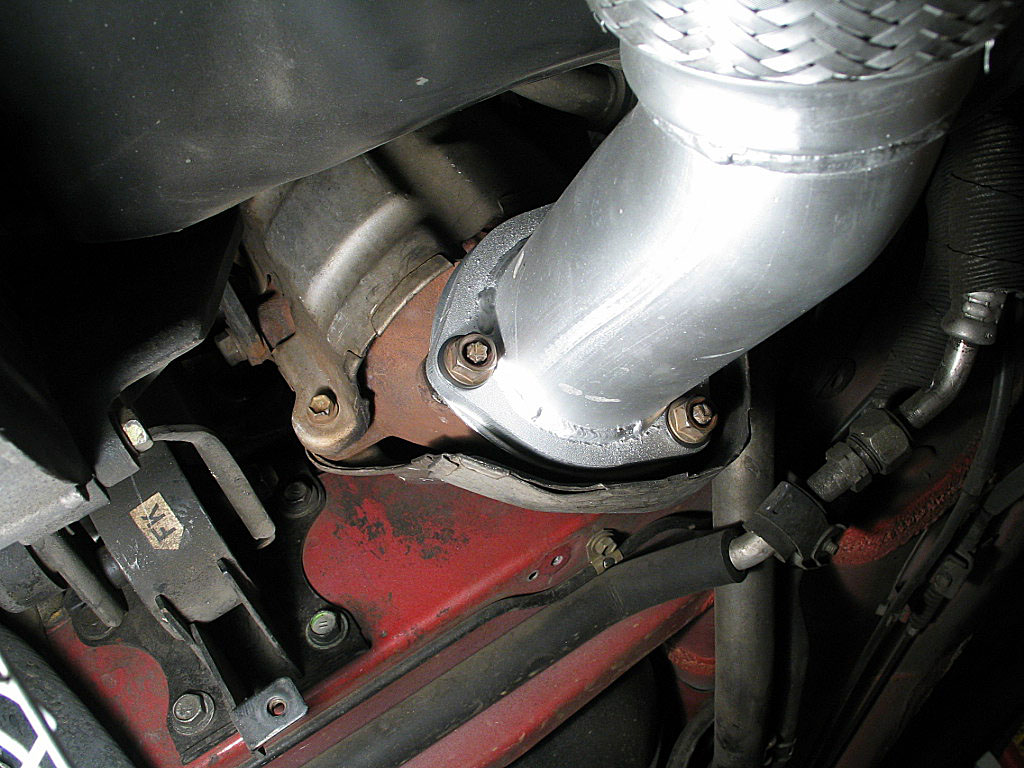
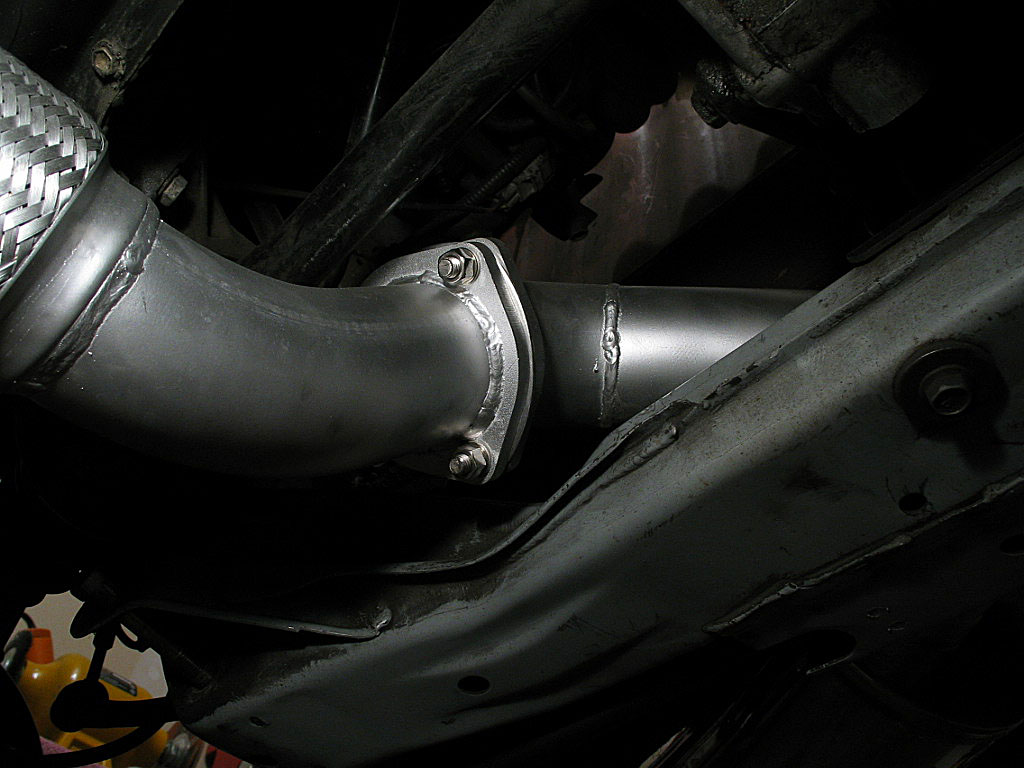
On the OEM exhaust, you need to get the car really high in the air to remove the "B" pipe, and many owners end up cutting the pipe off to install an aftermarket setup (as I did).

It's possible that having the car high enough to remove the motor means it's high enough to remove the "B" pipe, but that's something you'll need to find out on your own.
 
 
  In the photo below, yellow circles identify the remaining bolts to loosen:
Click to enlarge
 
 
  Loosen the 19mm through bolts that secure the hub to the strut housing:
Click to enlarge
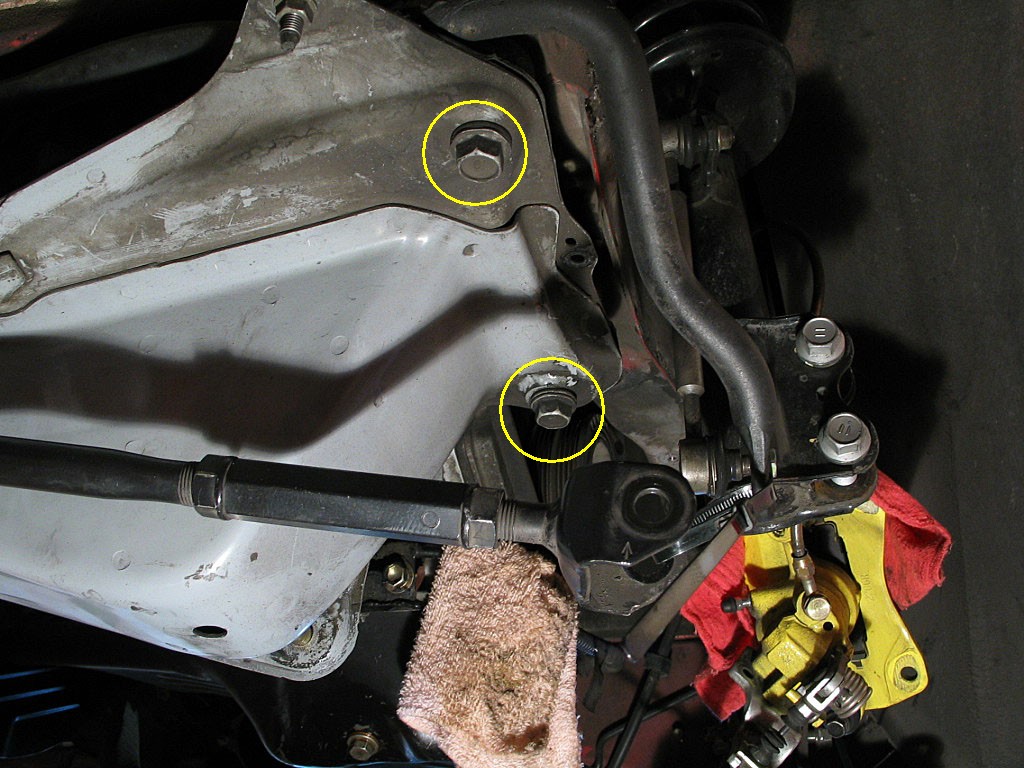
Again, just crack the bolts loose -- don't remove them yet.
 
 
  Loosen the 17mm bolt that attaches the lower suspension arm to the hub.
Click to enlarge
 
 
  Loosen the lower attachment point of the stabilizing link. You'll need a 14mm box wrench and a 5mm allen wrench, preferably mounted in a socket:
Click to enlarge
 
 
  OK, now that all of the bolts are loose, you can start removing components.

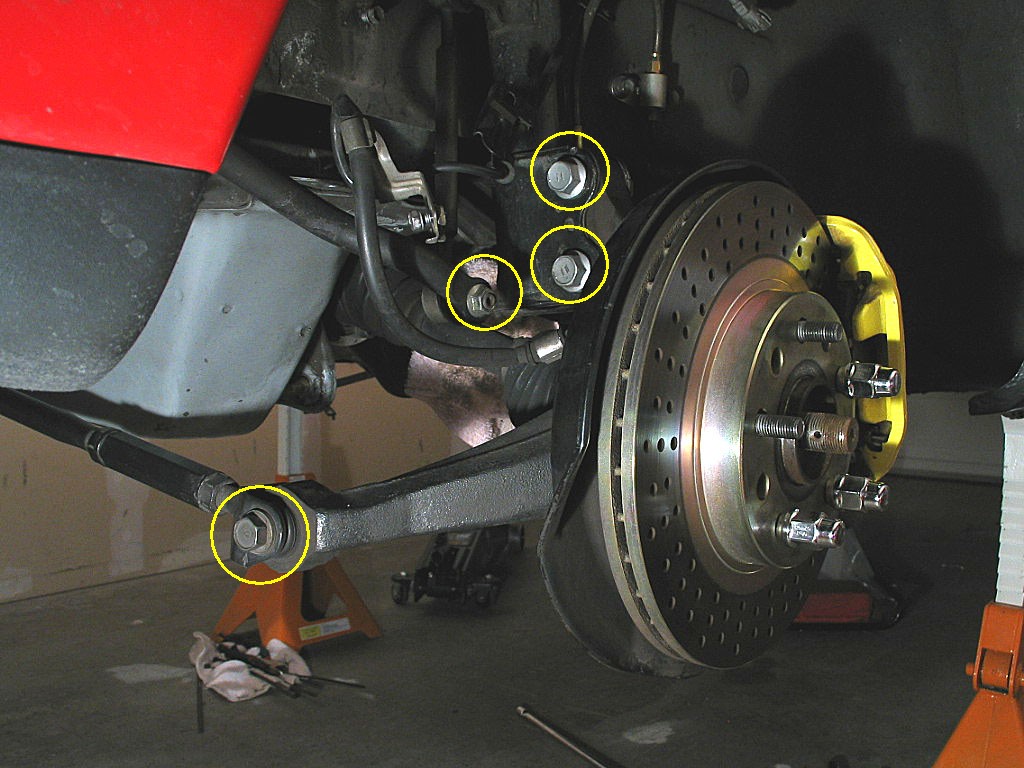
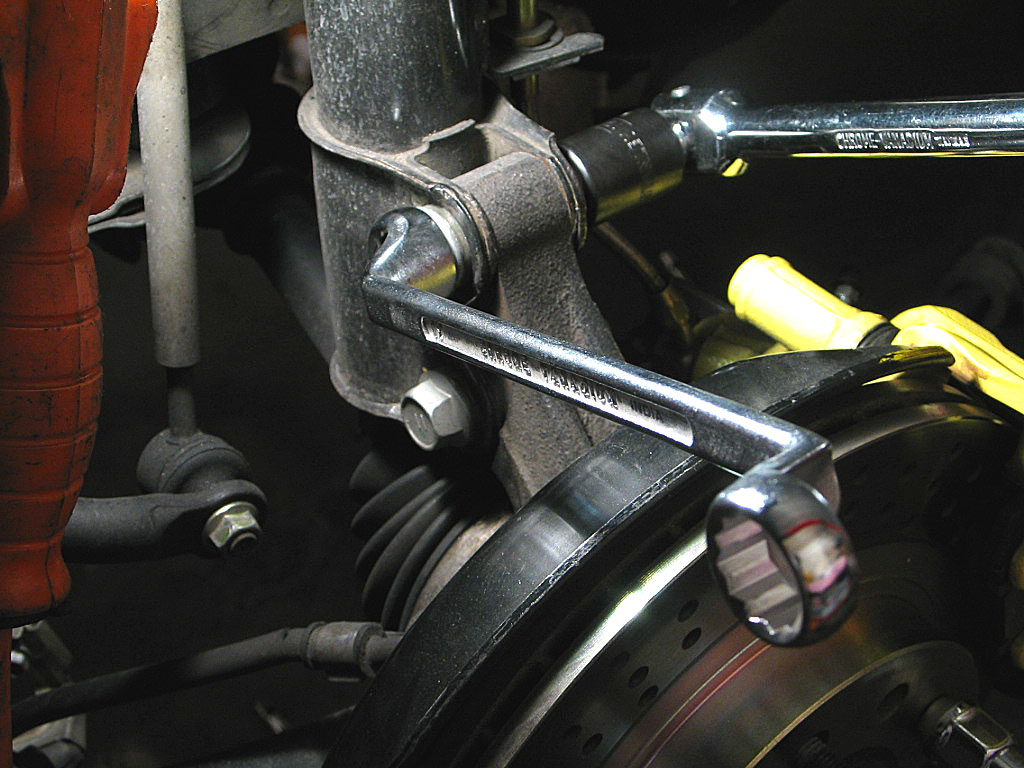
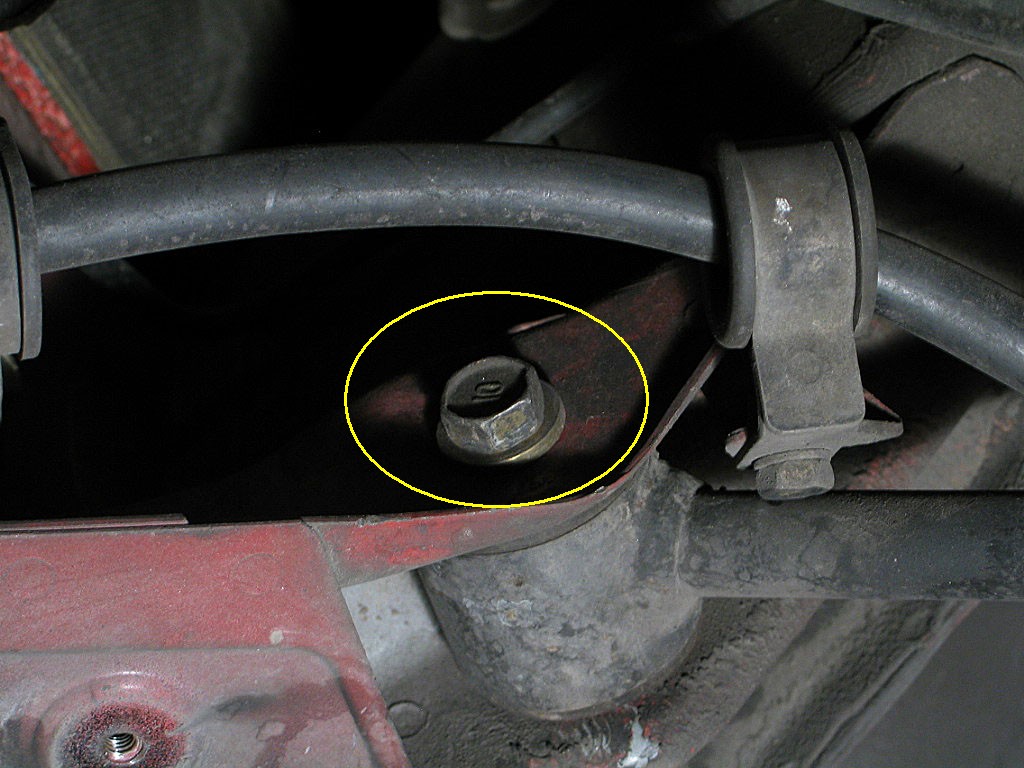
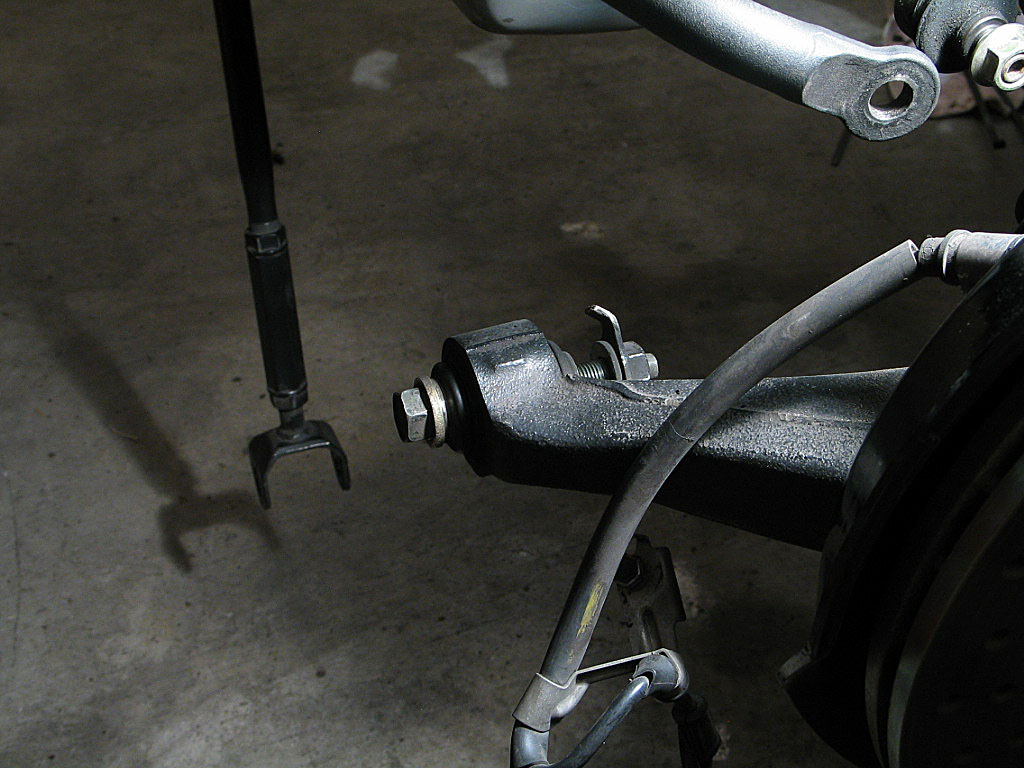
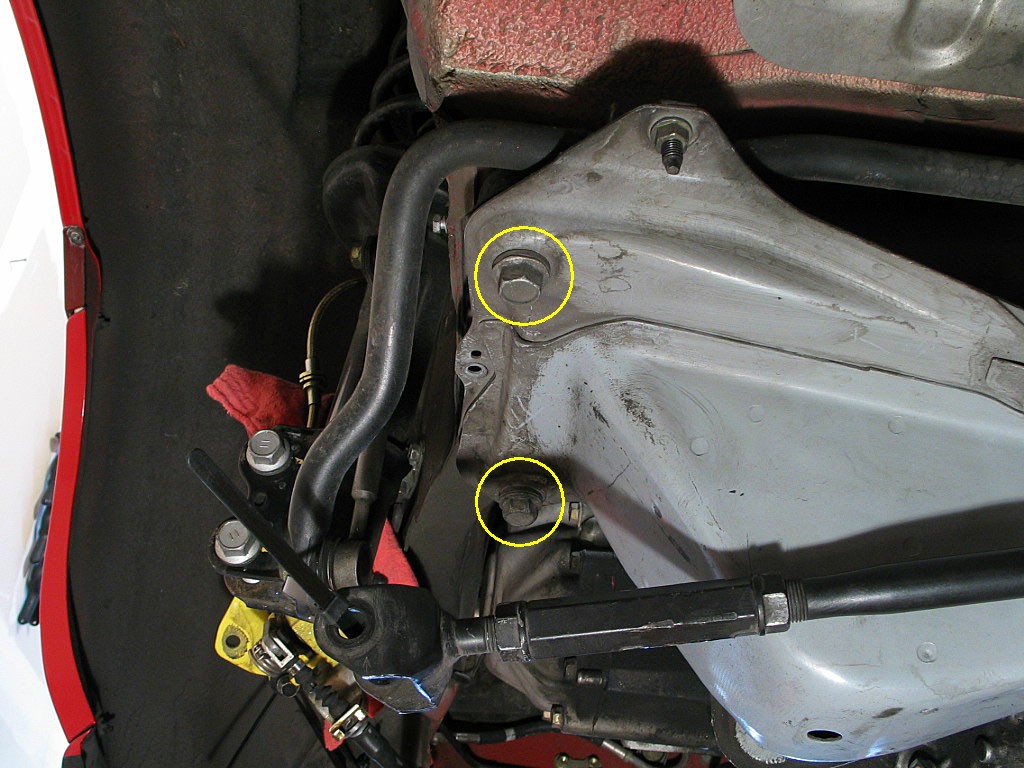
Remove the two 17mm bolts that secure the ball joint to the hub.
Click to enlarge
 
 
  Remove the 19mm bolt that secures the lower arm to the crossmember
Click to enlarge
 
 
  Support the strut rod as you remove the 17mm through bolt that secures one end of the strut rod to the car body:
Click to enlarge
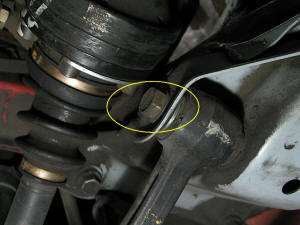
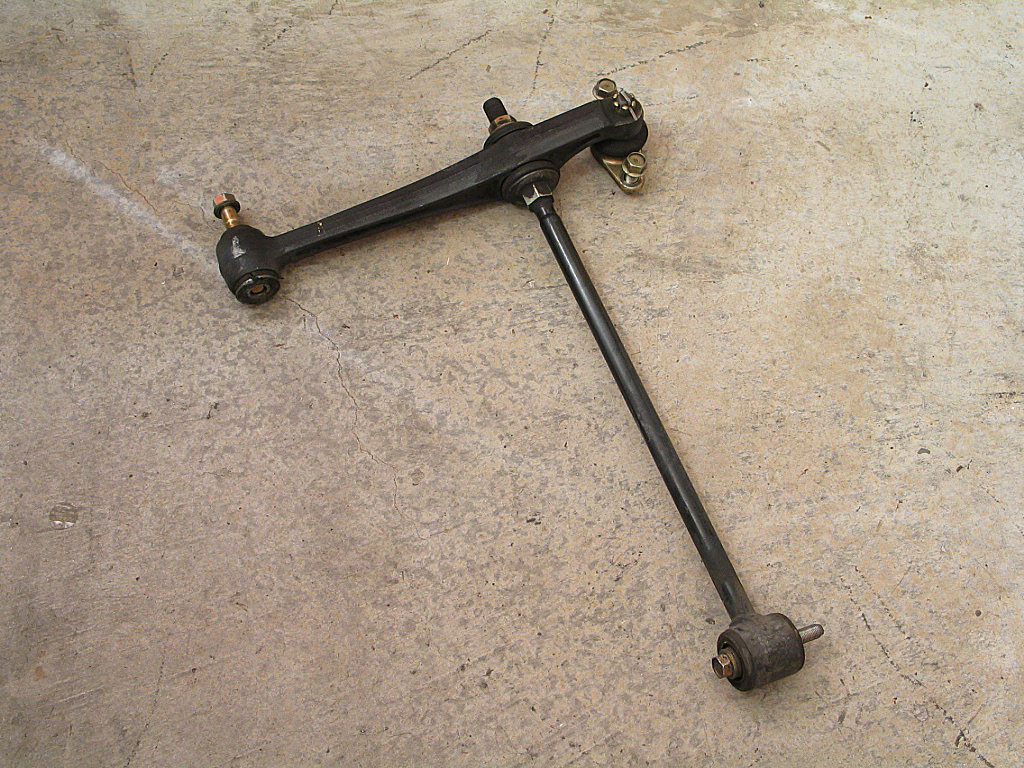
Make sure you are holding on to the strut rod and lower arm, as they will fall free when everything is loose. You'll probably need to slip a pry bar into the pocket in the body to pry out the end of the strut rod:
Click to enlarge
 
 
  The brake caliper is next. You'll need some wire, rope, or long strong cable ties to suspend the assembly and avoid stressing the hydraulic line. Make sure these are within reach before removing the caliper.

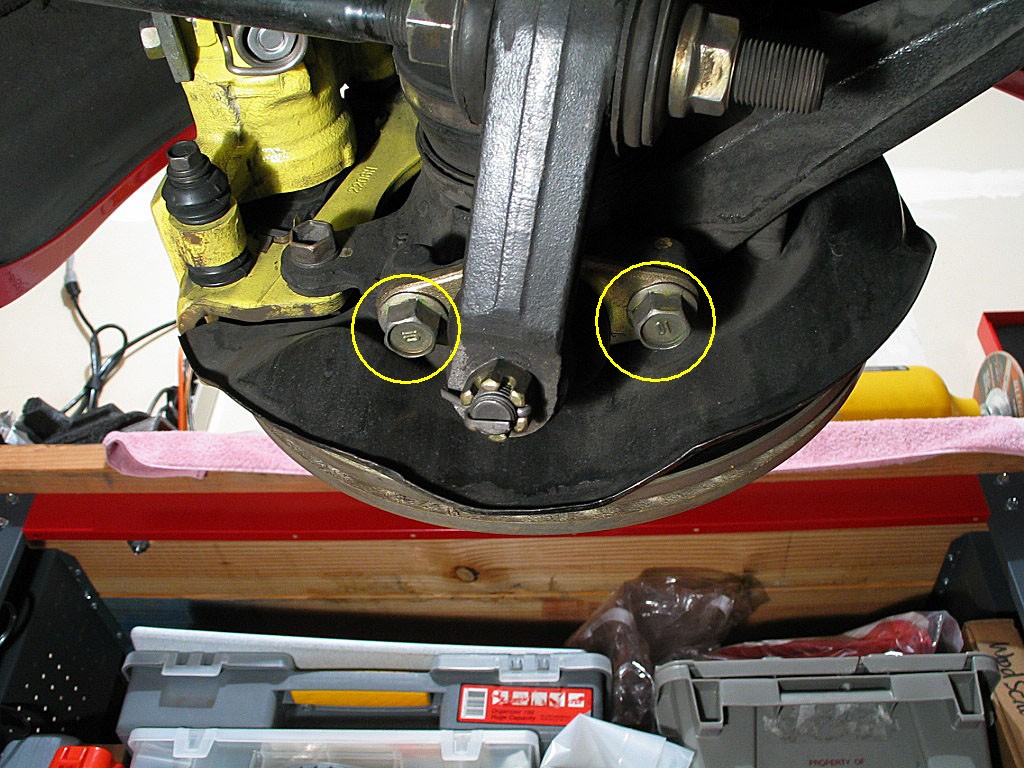
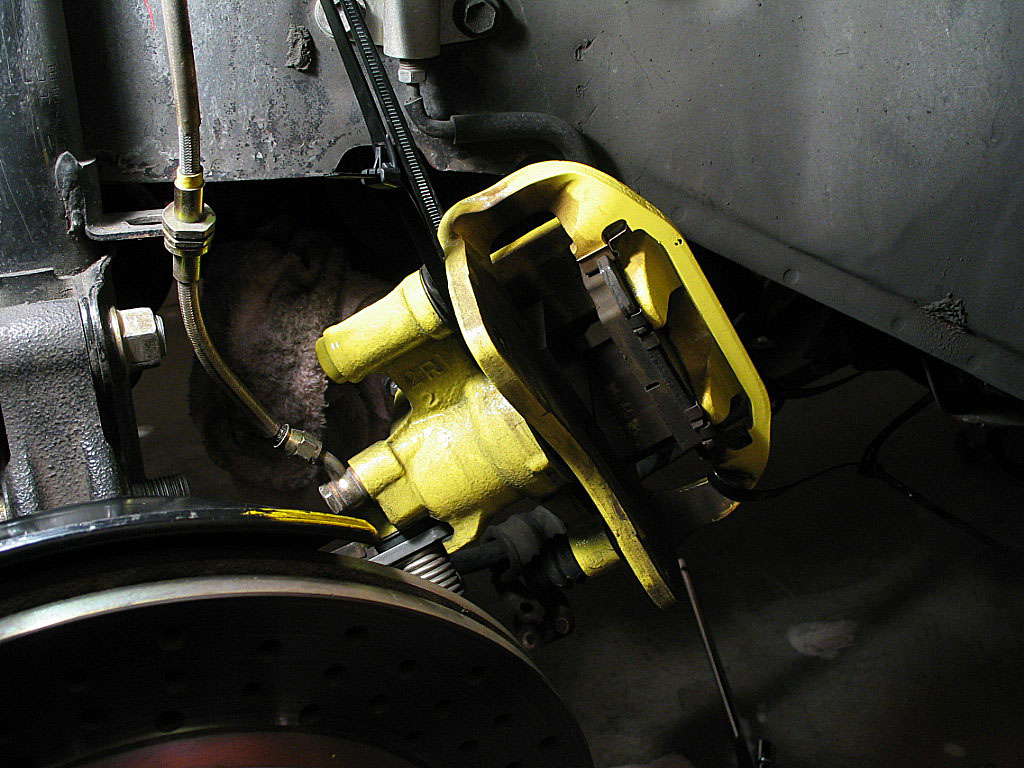
Remove the two 17mm bolts from the back of the caliper, then slide the caliper off the rotor. Tie the assembly out of the way, taking care to avoid any stress on the brake line:
Click to enlarge
 
 
  Remove the 14mm nut that secures the lower point of the stabilizing link, and disconnect the link:
Click to enlarge
 
 
  Remove the 17mm bolt from the lower suspension arm, and remove the arm from the hub:
Click to enlarge
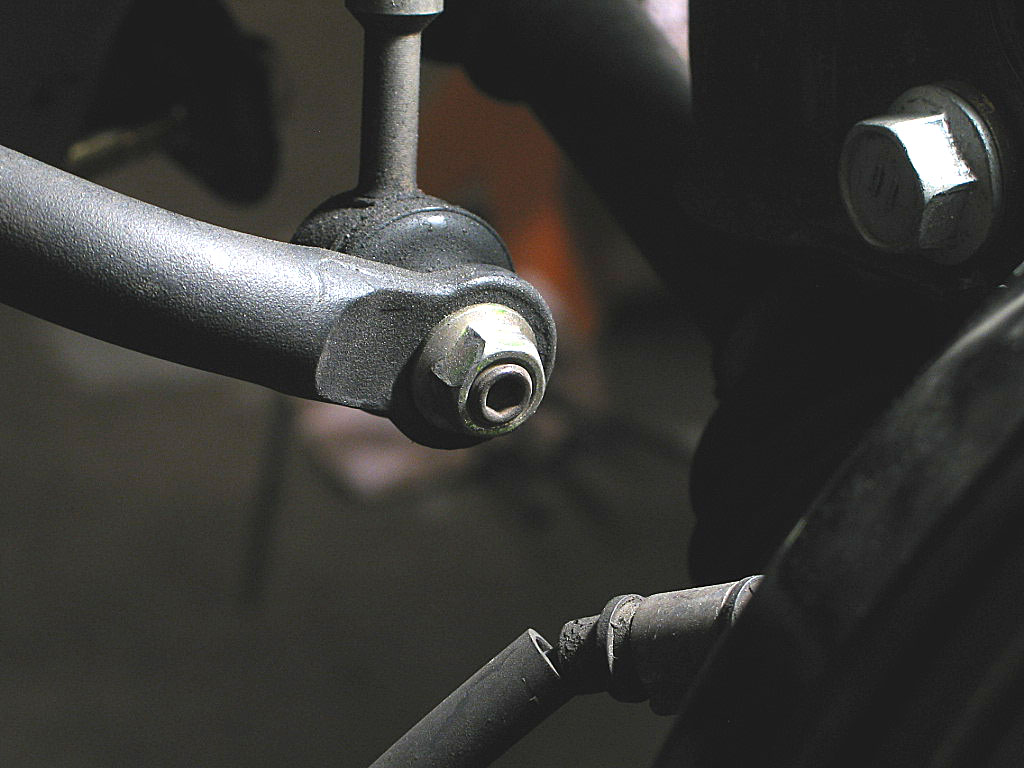
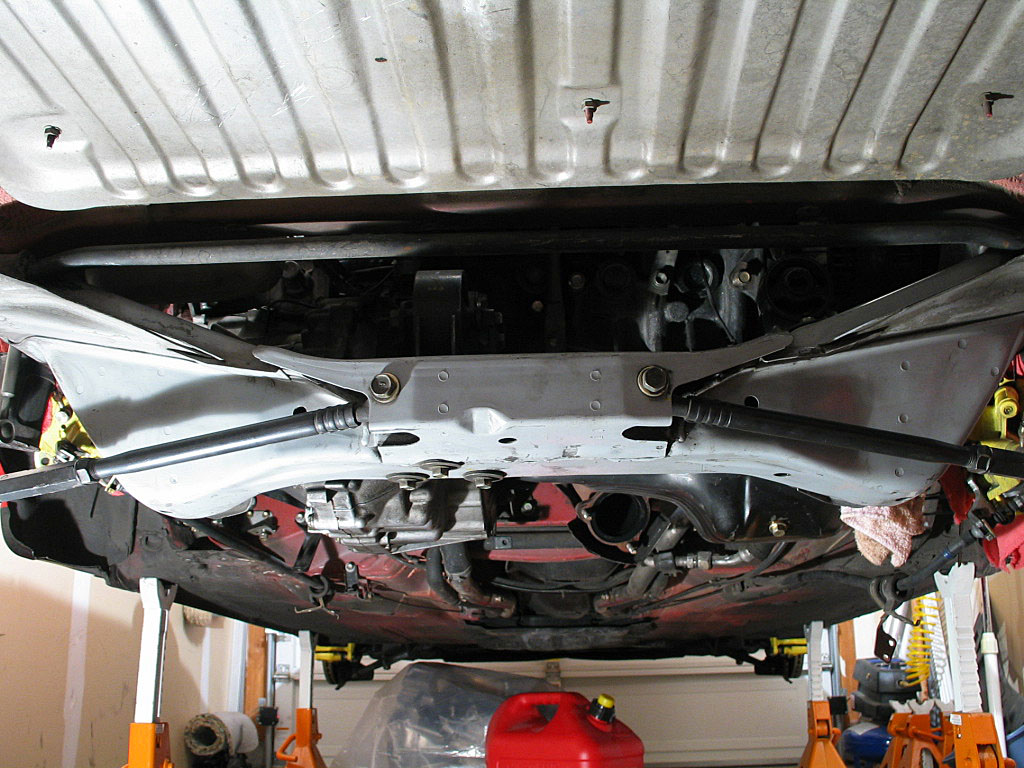
Pivot the end of the lower suspension arm up and tie it off to the sway bar to prevent damaging it when you drop the crossmember.
 
 
  Check the hub to verify that only the two strut housing bolts are securing the hub.

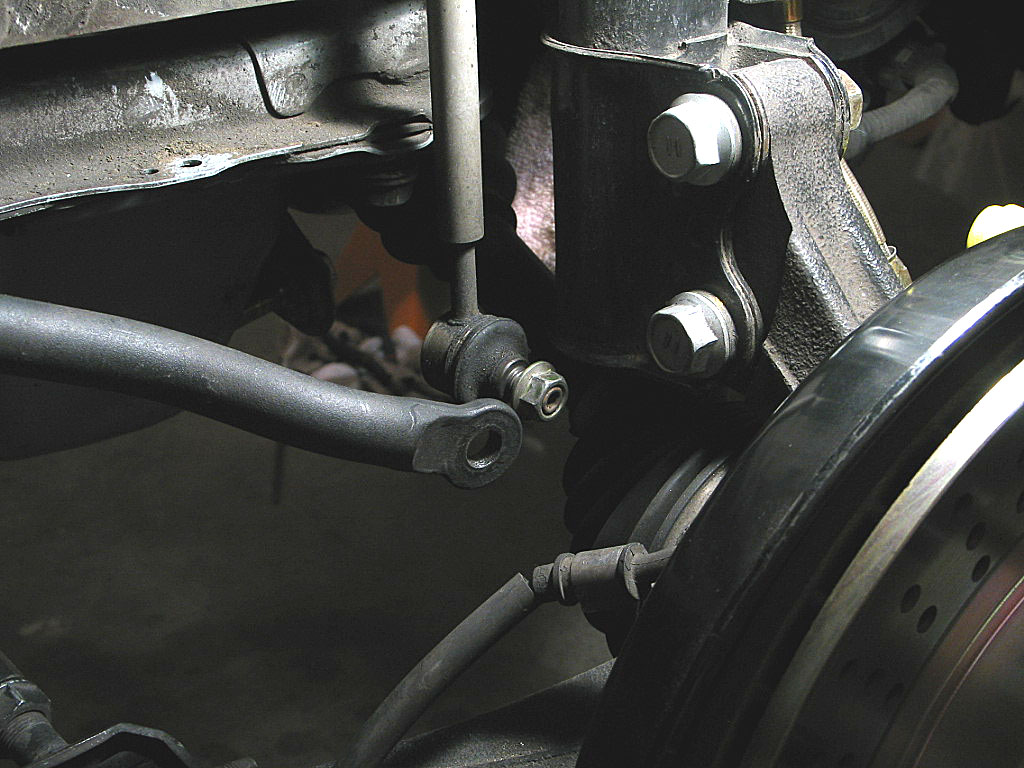
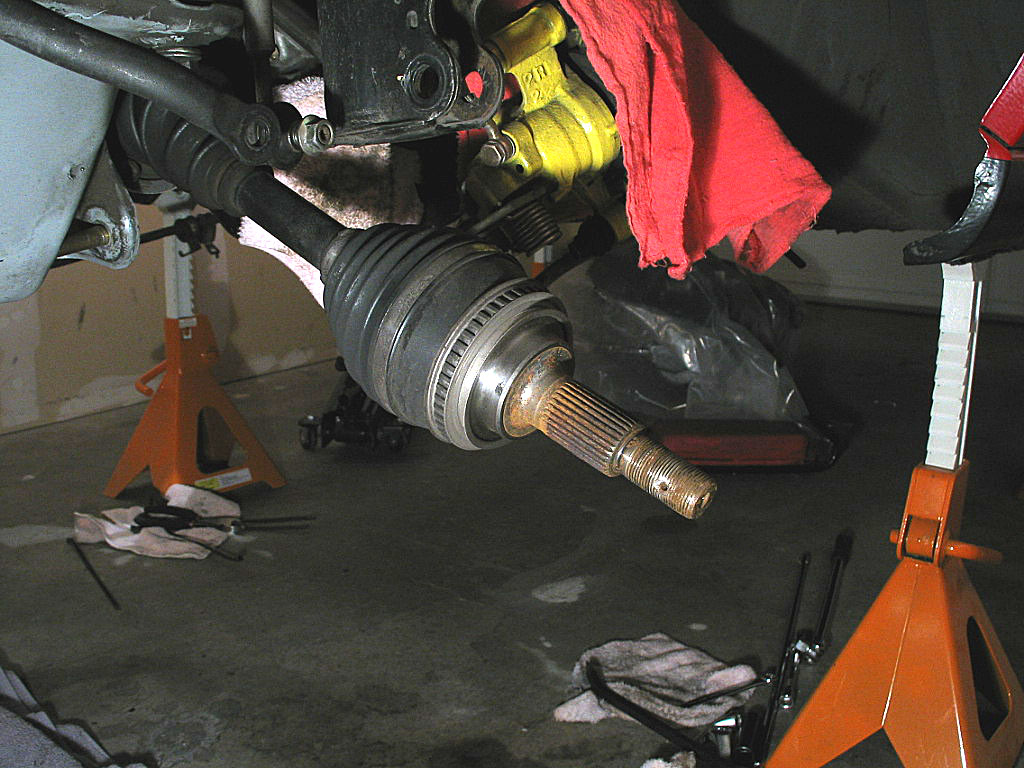
Remove the lower bolt first. You may need to use a drift pin to drive it out, since the weight of the hub will keep it tight.

With the lower bolt removed, slowly drive out the top bolt while you hold up the hub. If you don't, the hub will drop when the bolt is finally removed, and you damage the driveshaft or the hub in the process.

Once the top mounting bolt has been removed, you should be able to slide the hub off of the axle:
Click to enlarge
 
 
  About 10" from the transaxle case, there's a support bearing on the driveshaft.
Click to enlarge
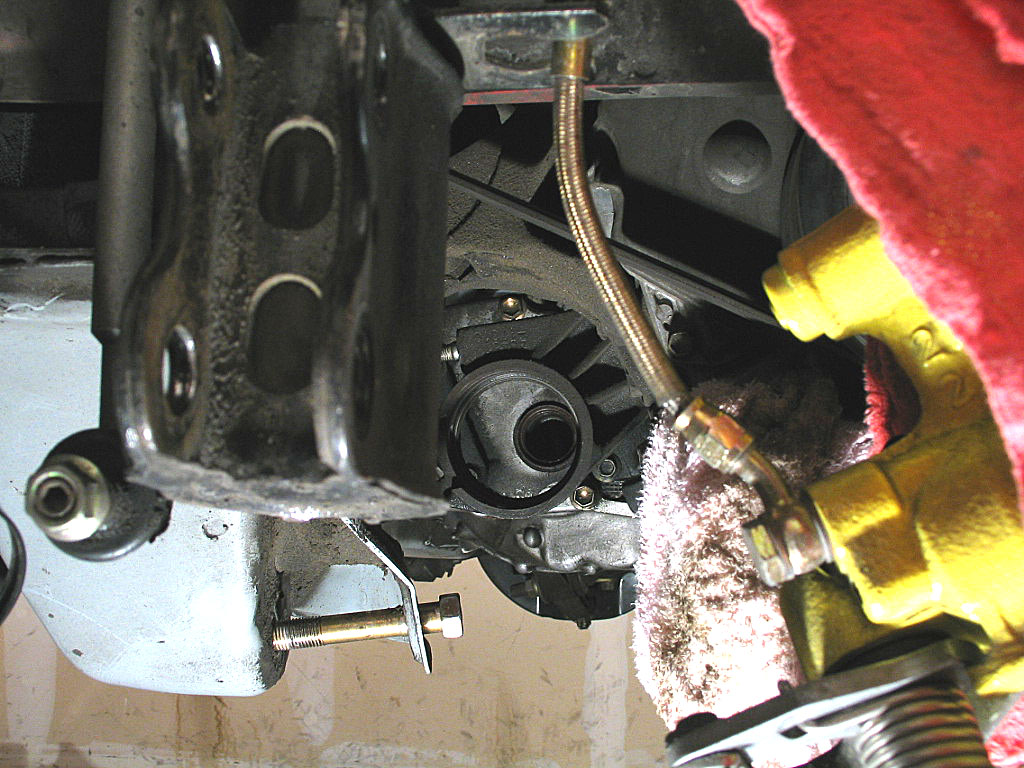
It appears as if you can simply remove the mounting bolts and struts on the bearing support, and leave it attached to the driveshaft. However, dowel pins on the block locate the support, and there is not enough slack in the driveshaft assembly to permit the bearing support to come free until the shaft is pulled free.

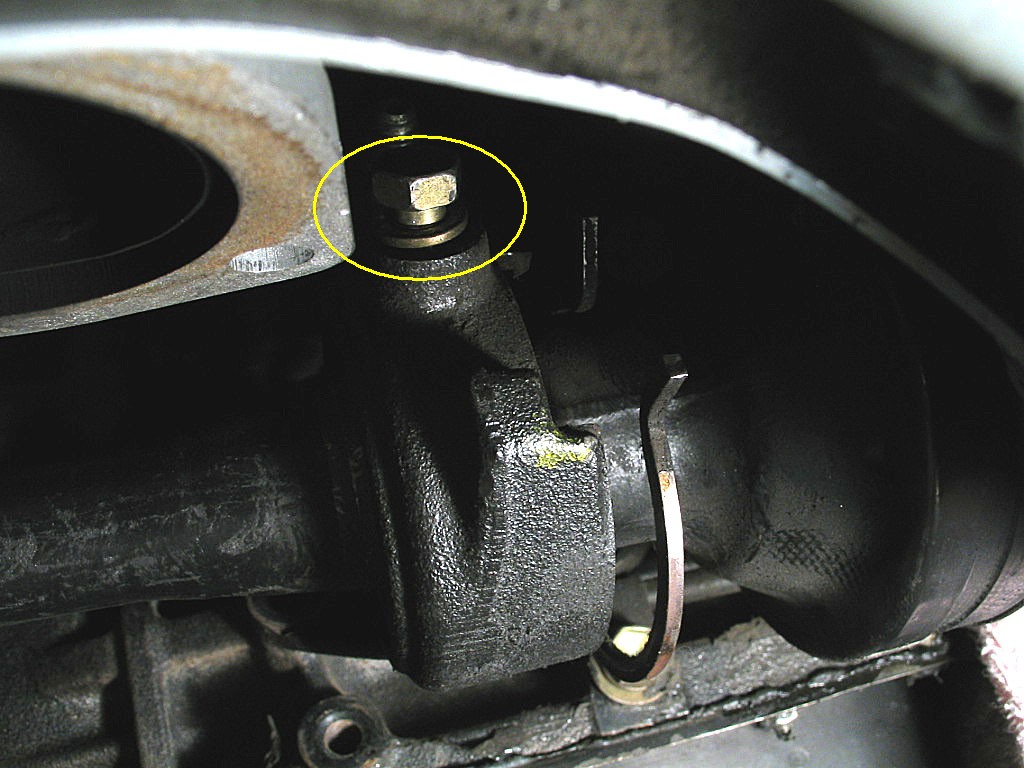
There's a snap ring on the right side of the bearing, and it should come out easily with a pair of pliers. When the snap ring is out, loosen the 14mm bolt on the top of the support.
 
 
  Now you should be able to simply pull the driveshaft out of the transaxle case:
Click to enlarge
 
 
  On the left side of the car, everything is more or less the same, with the exception that there is no support bearing for the driveshaft.

In my case, when I tried to pull the hub off, the entire assembly came out as a unit:
Click to enlarge
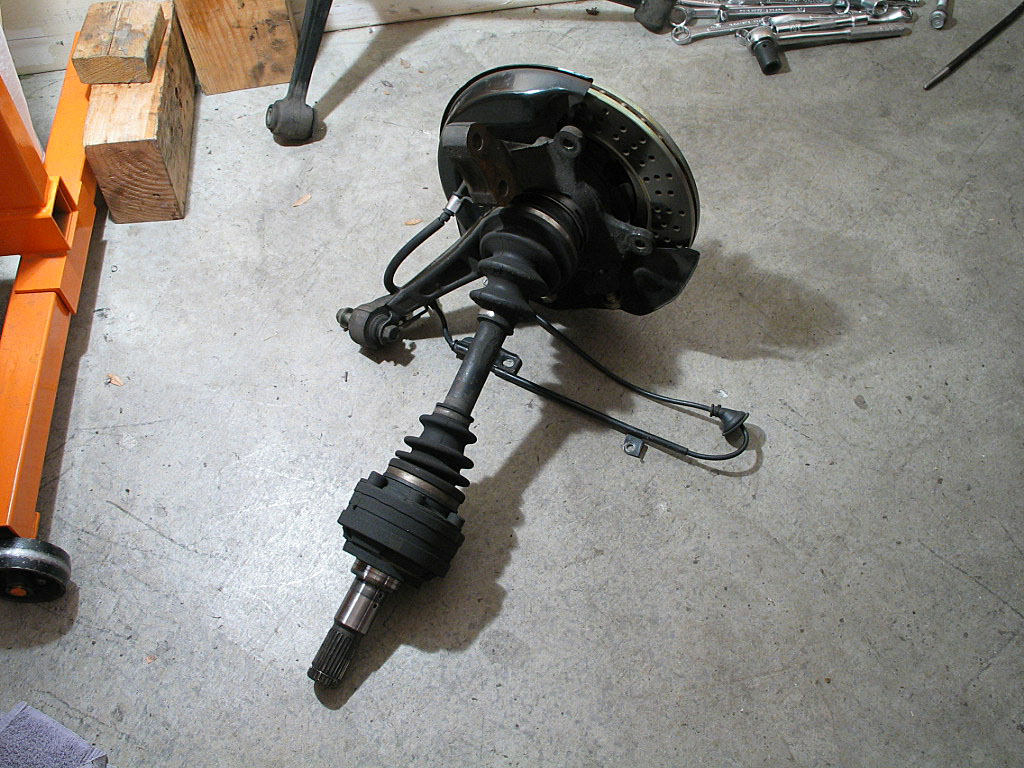
No problem, just a little heavier to move around.

You should wrap the ends of the axles with rags to protect the splines from dirt or damage while they are out of the car.
 
 
  Room is opening up now....
Click to enlarge
 
 
  The rear engine mount is attached with three 14mm bolts from the underside of the crossmember:
Click to enlarge
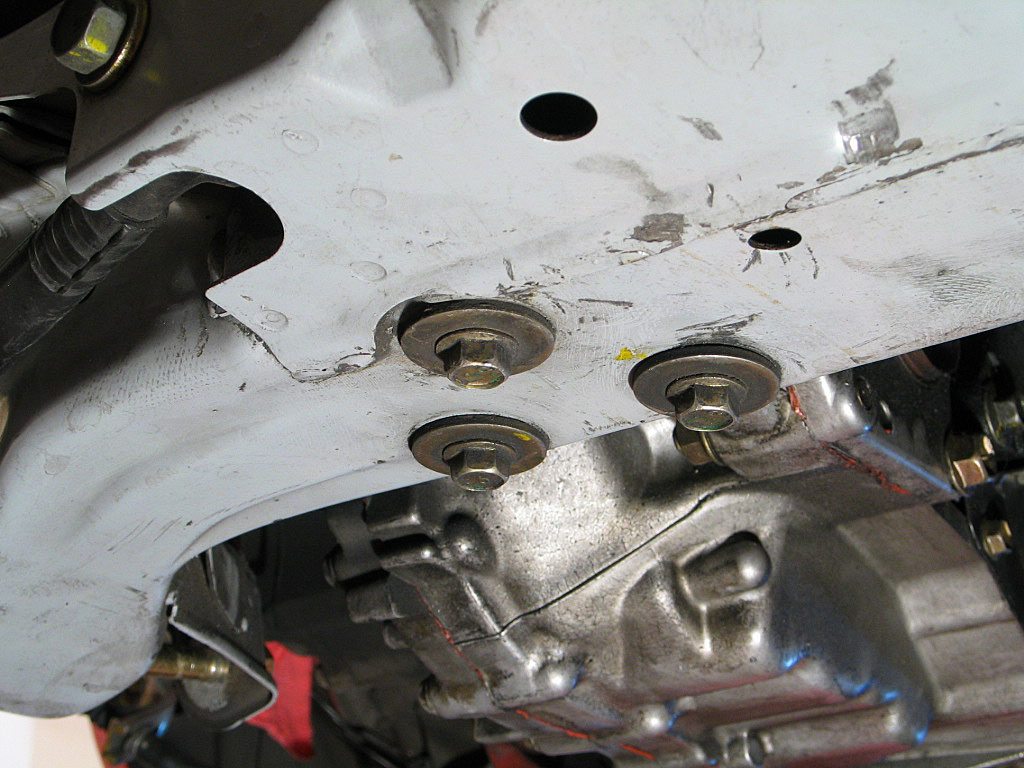
Remove these three bolts.
 
 
  The rear crossmember is attached with four 17mm bolts at the corners:
Click to enlarge
Click to enlarge
This is a good time to get a buddy to help!

With your buddy holding up the crossmember to prevent it from crashing down, loosen then remove the four mounting bolts. Lower the crossmember down, then set it aside.
 
 
  We're getting very close now:
Click to enlarge


Continued on next page...


  Back to Start                                              Page      1  2  3  4  5  6  7