12 November, 2004
Removing
the 3SGTE
I used the BGB as a reference, but the folks who wrote the BGB didn't seem to have the owner/mechanic in mind. Their sequencing has you performing tasks on the upper part of the motor, then the lower, then the upper, etc. Even if you have the car on a lift, you want to avoid making all those changes if they are unnecessary. Also, the BGB describes the removal of many more components than required. I can't find much to recommend their procedure.
Generally, you'll remove/detach everything that is easily reachable from the top of the motor while it is on the ground. I favor unbolting brackets that hold electrical components and lowering them with the motor vs. trying to disconnect all the different electrical connectors Toyota chose to employ. It's easier, faster, and less likely to cause damage.
The car will then be raised high enough to drain the fluids. That will enable you to disconnect the coolant hoses, drop the rear suspension, and disconnect components from the underside of the car. Finally, the car will be raised even higher, enough for the motor to clear when it is lowered.
I hope I haven't missed any steps, but remember that this is just a guide -- you are responsible for what you do to your own vehicle! If you spot any errors, or have any comments to make, please send them to the webmaster.
Finally, one recommendation: Don't trust your memory! Mark every bolt you remove. I've found over the years that small parts bags are about the best way. You can get them at McMaster-Carr or other supply houses, and they are an invaluable way to keep all the parts together:
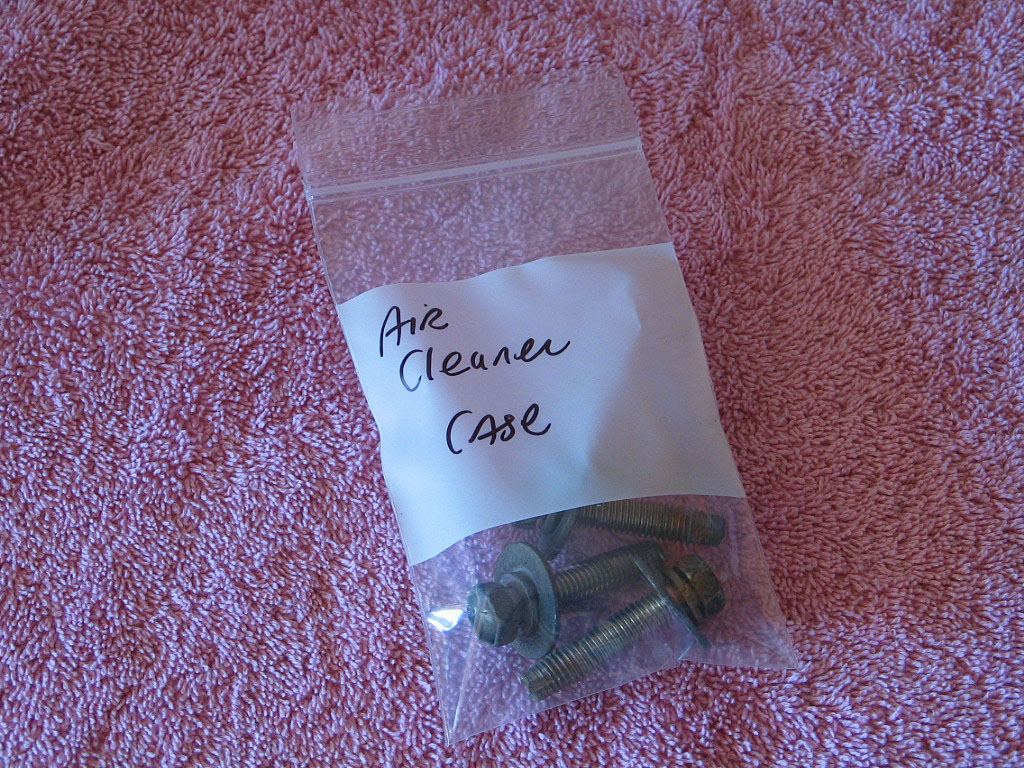
Where possible, replace the bolts you remove into the position they came from. This avoids bagging them, and also keeps them handy during reassembly.
Ground Rules
A few simple rules:
-
While much, if not all, of this work can be done by a single person, working alone carries risks with it, so get some help when the more dangerous operations like lifting the car, removing the suspension components, and motor/trans removal are being performed.
-
I recommend removing all but a couple gallons of fuel. Sometimes, a disconnected fuel line will cause fuel to begin siphoning out of the tank. If you think this will be only a quart or so, and have a only small container to catch the fuel, you could be in for a big surprise. I like to use a container that can hold all of the fuel in the tank, just to be safe.
-
When I refer to bolts as "14mm" or "17mm", I am referring to the size of the bolt head -- the "wrench" size. If I need to refer to the actual thread of the bolt, I will use different terminology, e.g., M10 - 1.25 x 45mm bolts.
-
Directionally, "Front" refers to the front of the car, "Rear" to the rear. "Left" refers to the left side of the car when standing behind it, and "Right" refers to the opposite side.
-
It's usually more efficient to crack loose the mounting bolts for a component, then go back and remove them. Some of these bolts are very tight, and you'll find that loosening tight bolts when the other bolts have already been removed can be a real pain.
Tools/Materials Needed
Besides a standard collection of mechanics tools (wrenches, sockets, screwdrivers, pliers, etc.), it will help if you have the following tools:
-
Floor jack capable of lifting car very high -- 24" or more
-
Tall, heavy-duty jack stands (24" height)
-
Flexible plastic putty knife
-
Large crowbar
-
Sturdy mechanic's creeper for supporting the motor
-
32mm (1-�") 6-point socket for axle nuts
-
Engine hoist or crane and lifting chain/hooks
Doing It
Disconnect the negative battery
cable.
Remove the engine lid and the side
covers to provide access to the top of the motor:
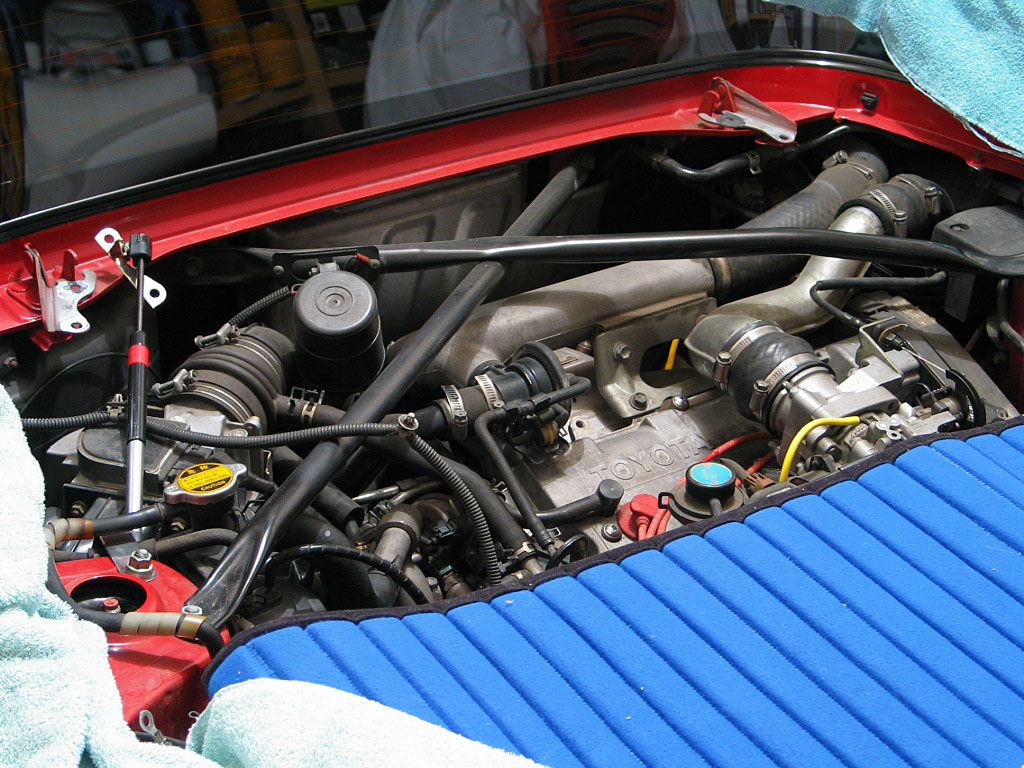

The air intake hose may be stuck to the AFM and elbow. I used a very flexible plastic putty knife and worked it around the hose to separate it. Avoid tools that would scratch the metal or tear the hose.
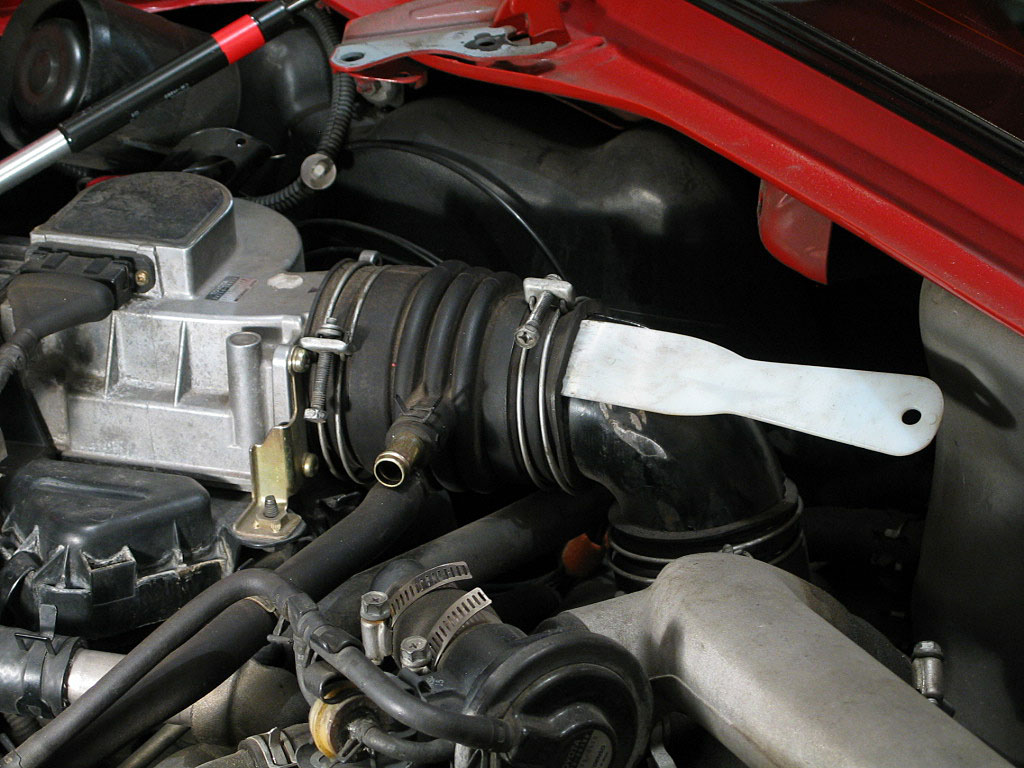
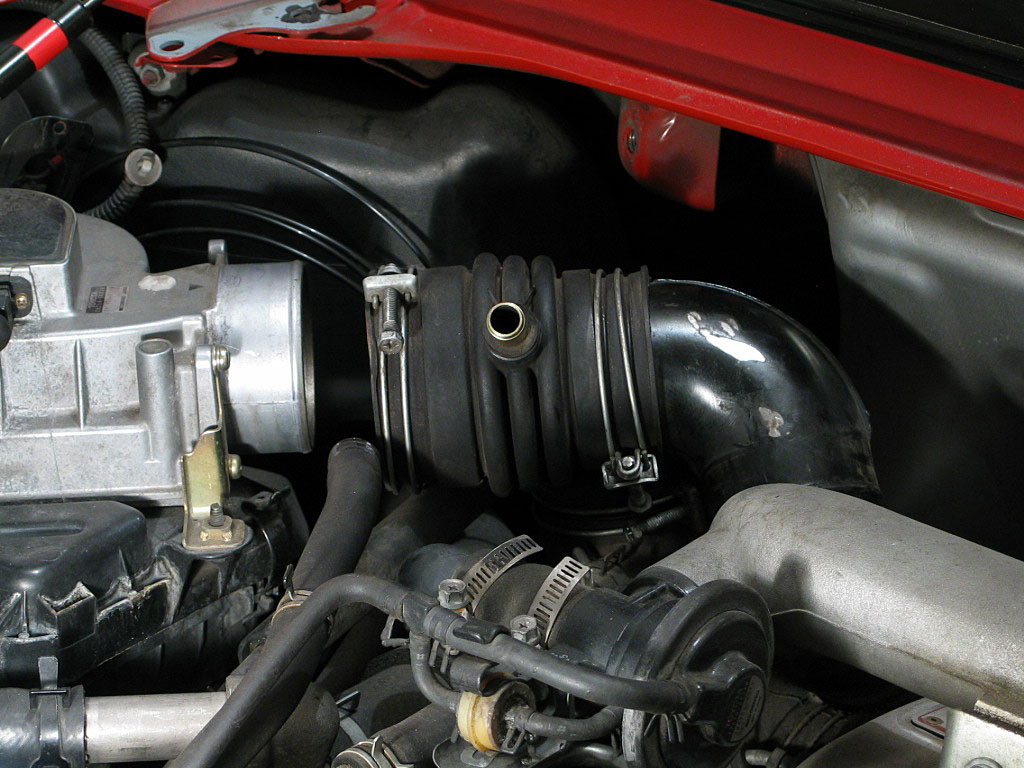
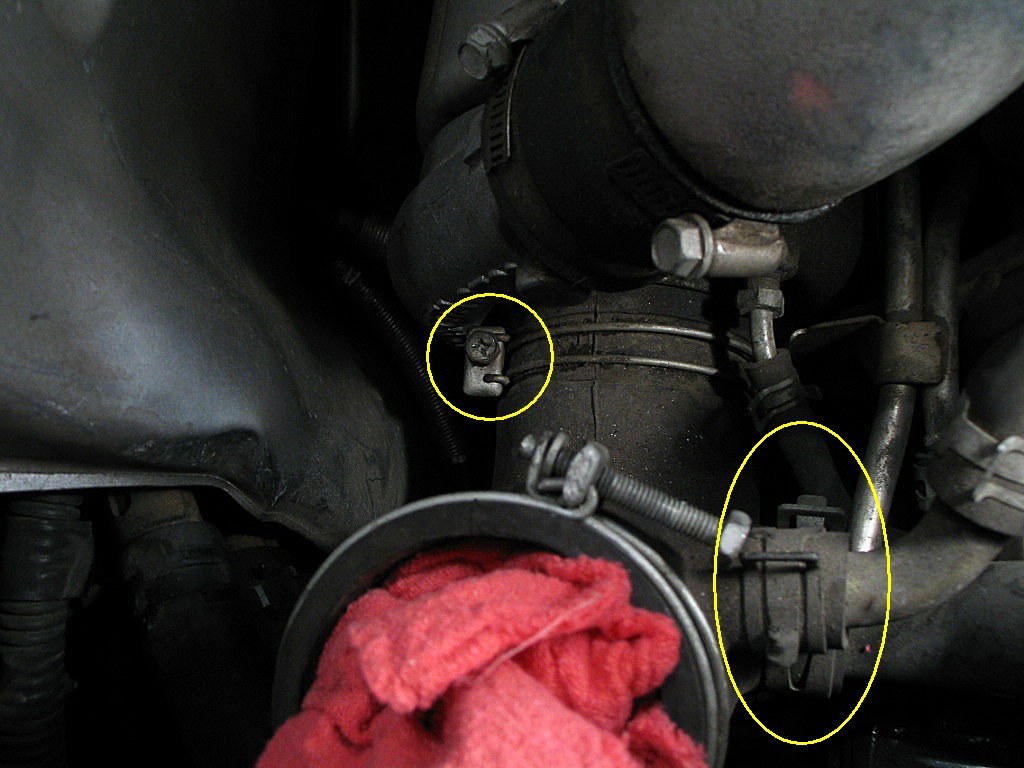
Remove the elbow and set it aside for now.
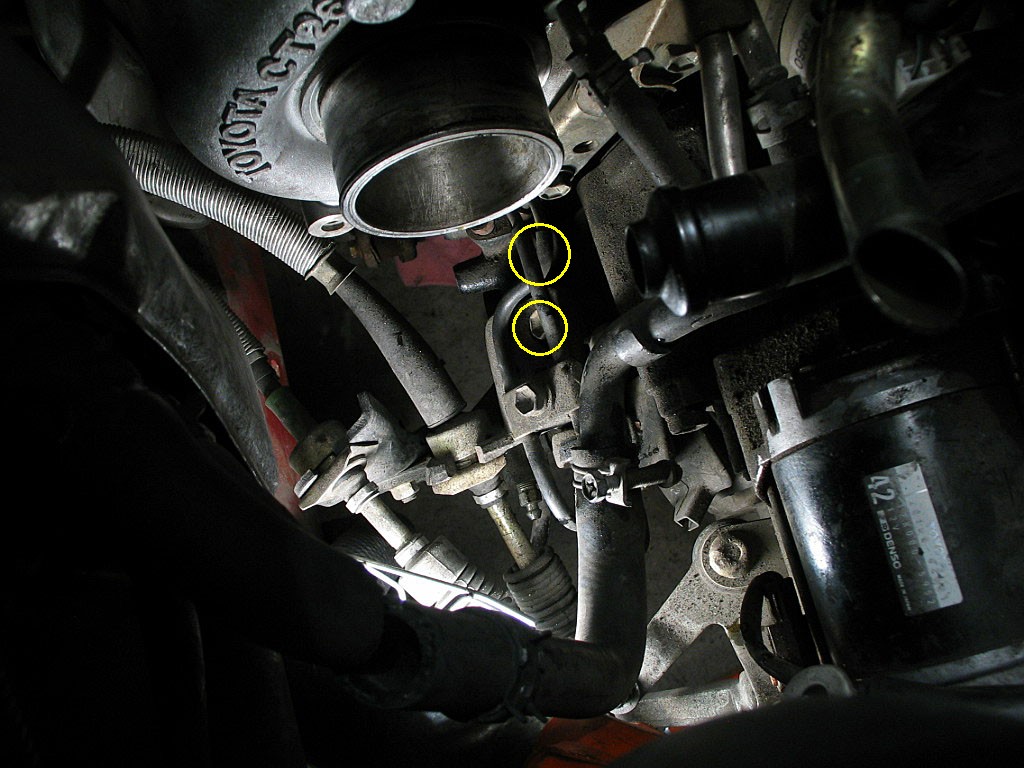
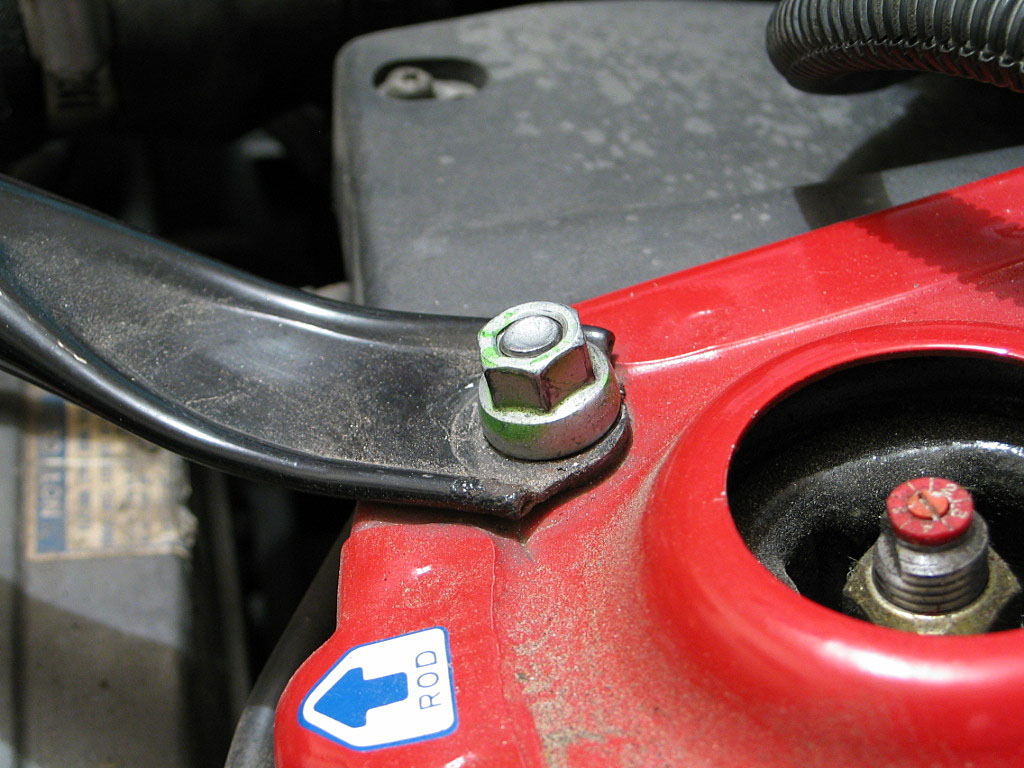
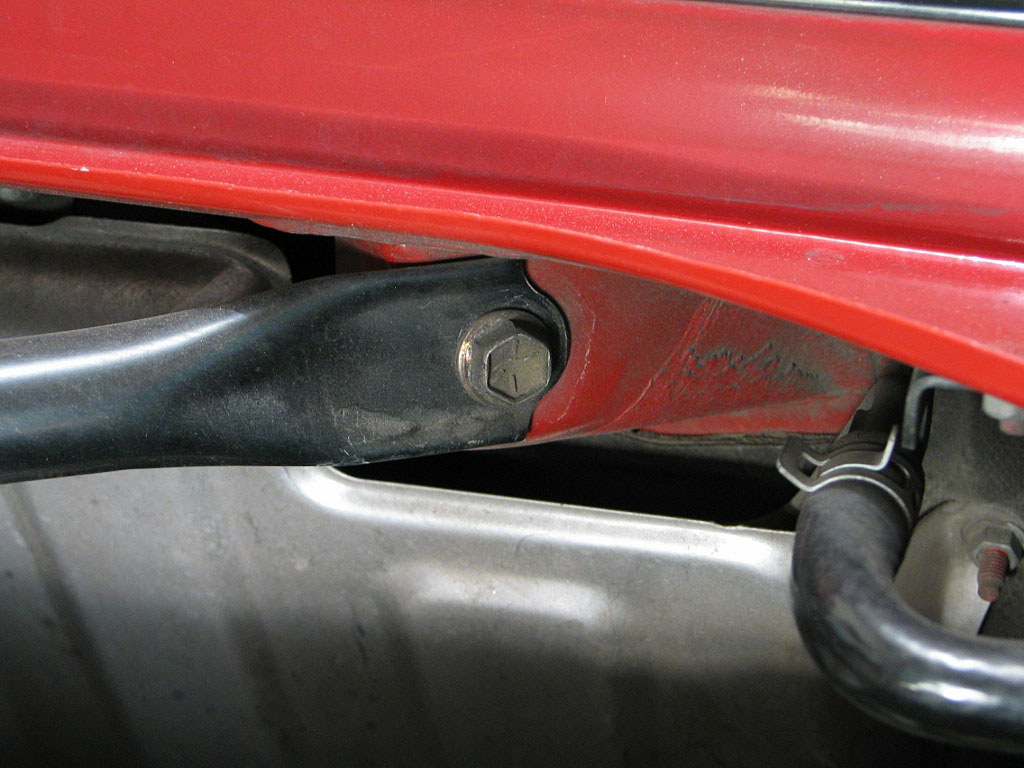
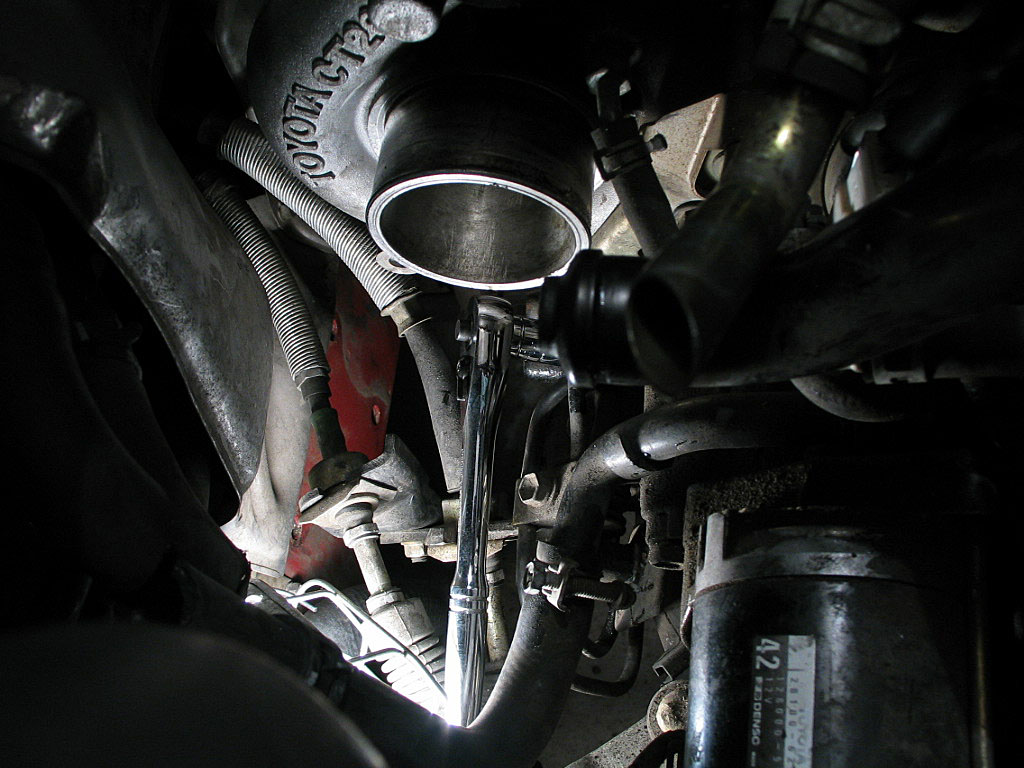
Here's a shot showing a ratchet removing the hidden bolt, which gives you a better idea of its location:
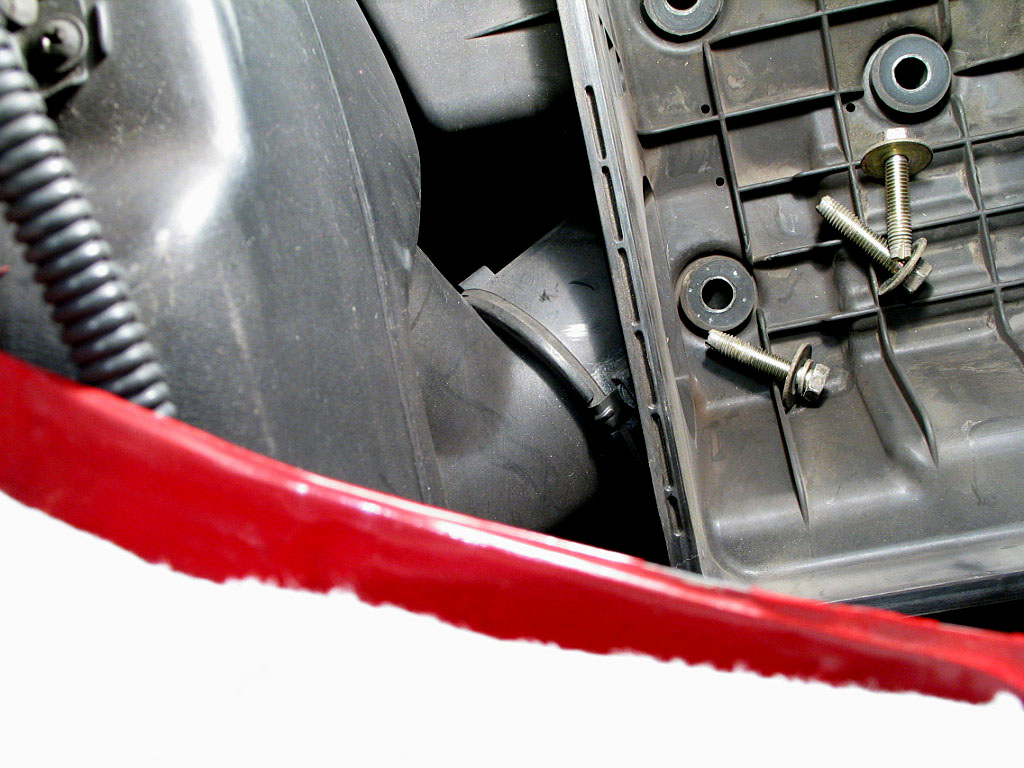
Remove both of the bolts. They are of different lengths (the shorter one nearer the right side of the motor), so mark them after removal.
DO NOT UNSCREW THE TWO PHILLIPS SCREWS!
This plug is attached with a spring clip, and is easily removed with a small, flat-bladed screwdriver:
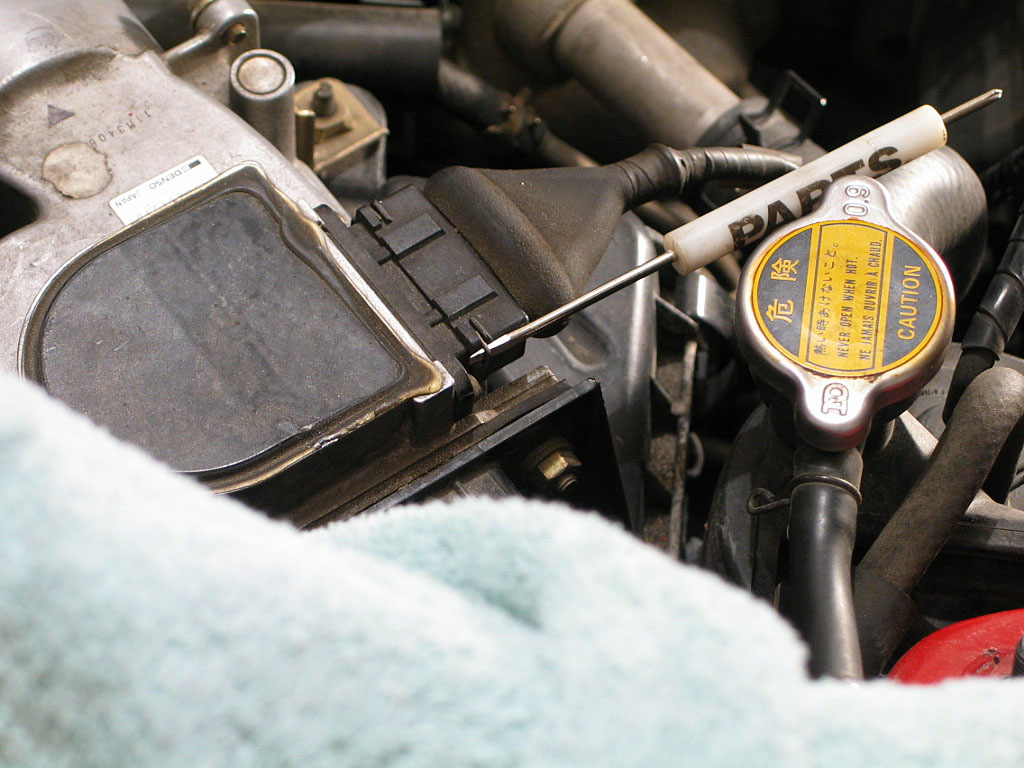
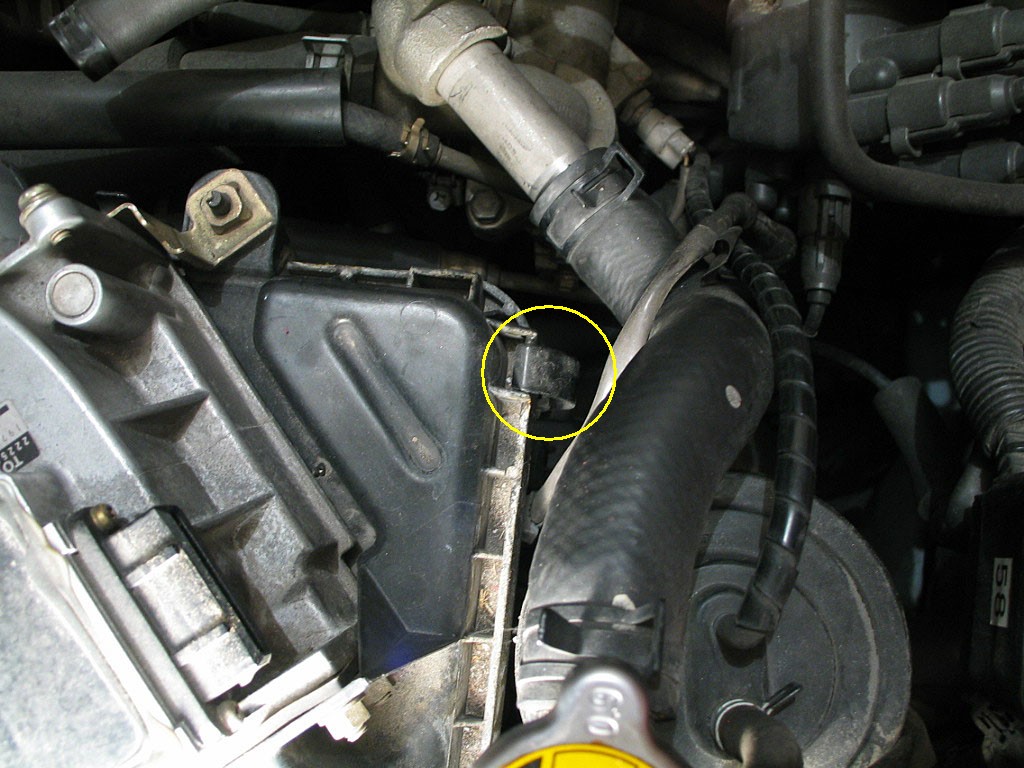
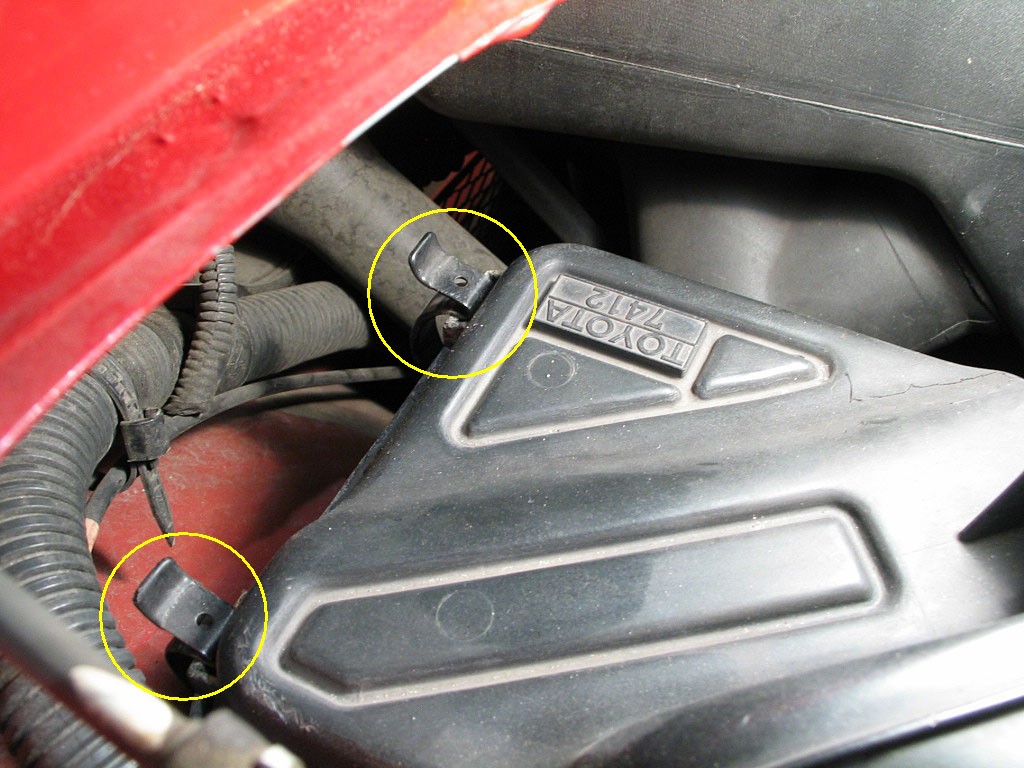
These clips can generally be unsnapped with your fingers.
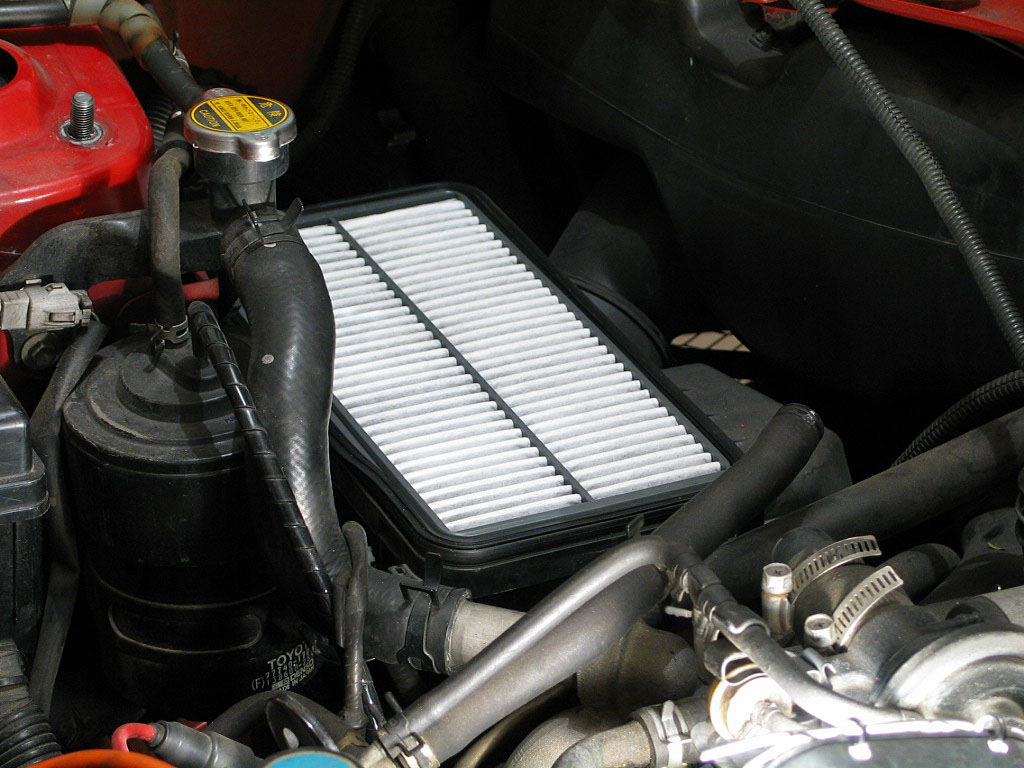
When they are loose, remove the top of the case to expose the air cleaner element:
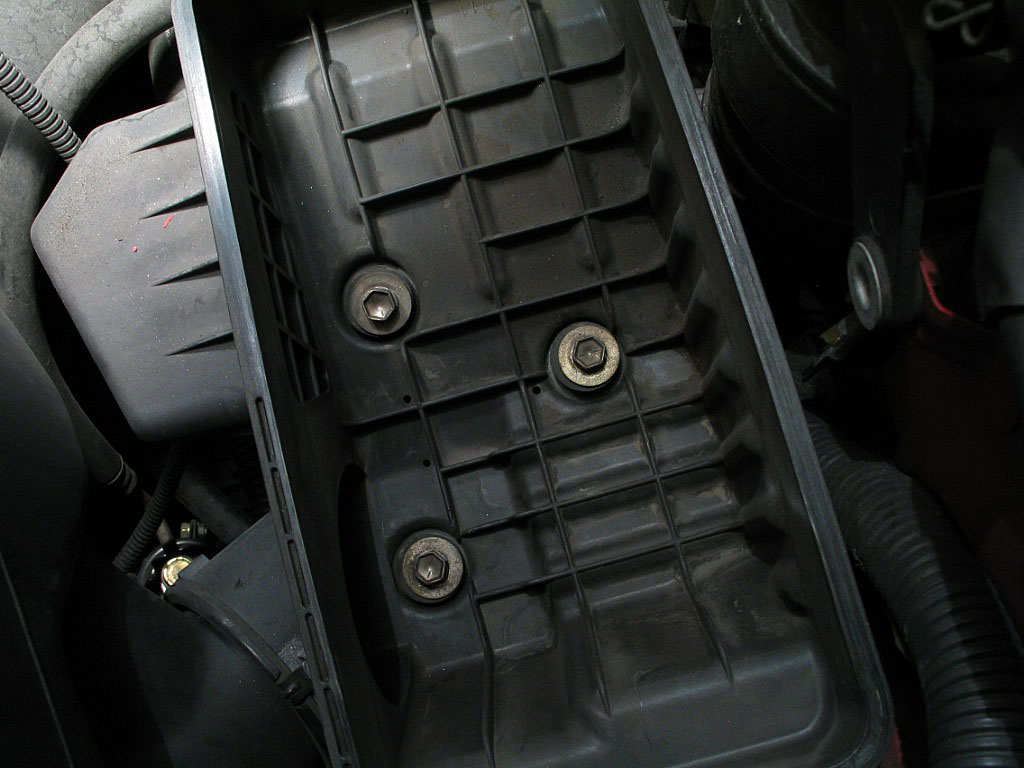
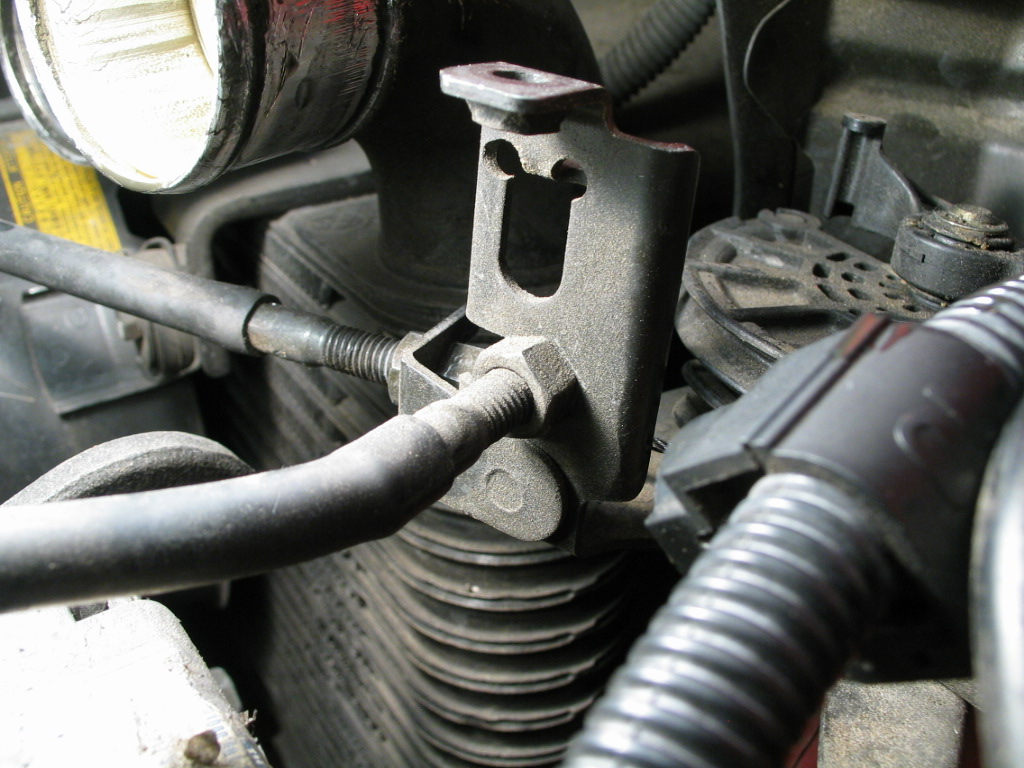
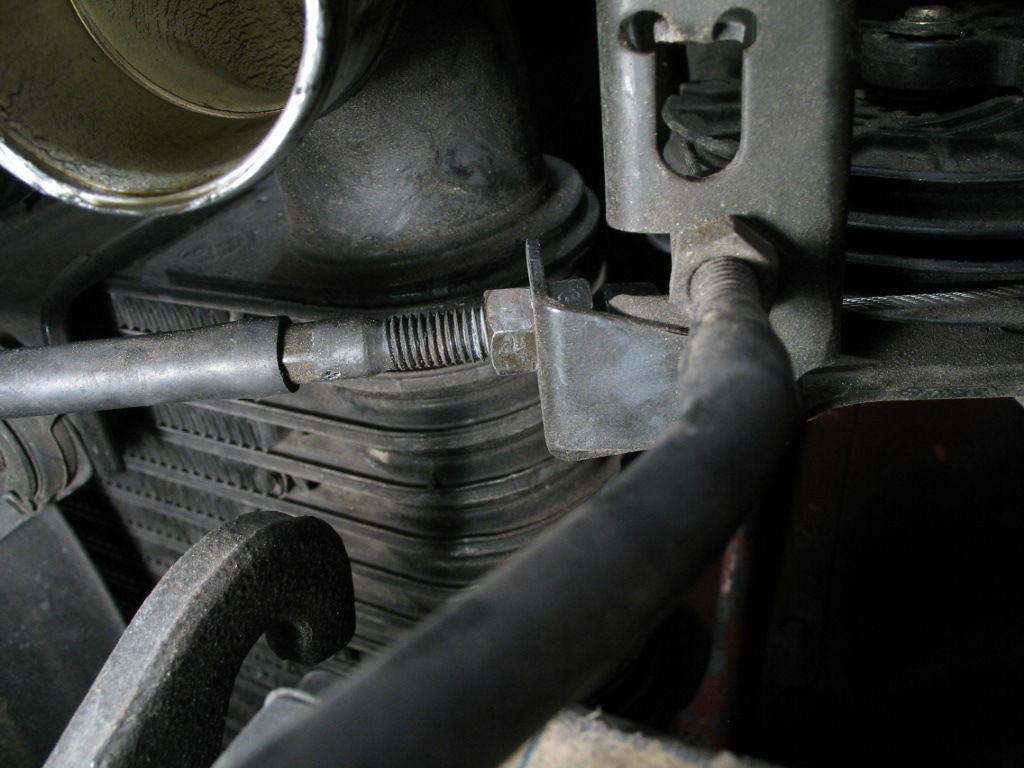
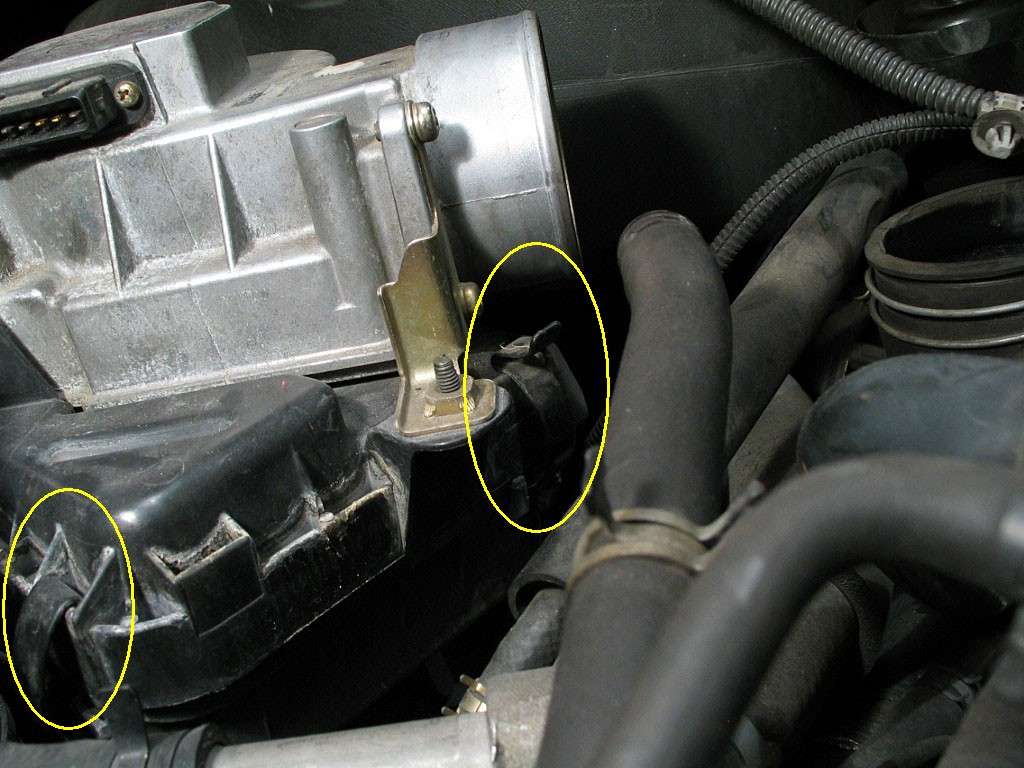
Remove these bolts. The air cleaner case connects to the airbox with a duct:
There's not a lot of free space, but if you pull up on the back of the air cleaner case, you'll be able to slide the duct out of the airbox. You might need to loosen the nut that secures the airbox to the forward firewall:
Oops! Where's that rag that's supposed to be stuck in the turbo intake?
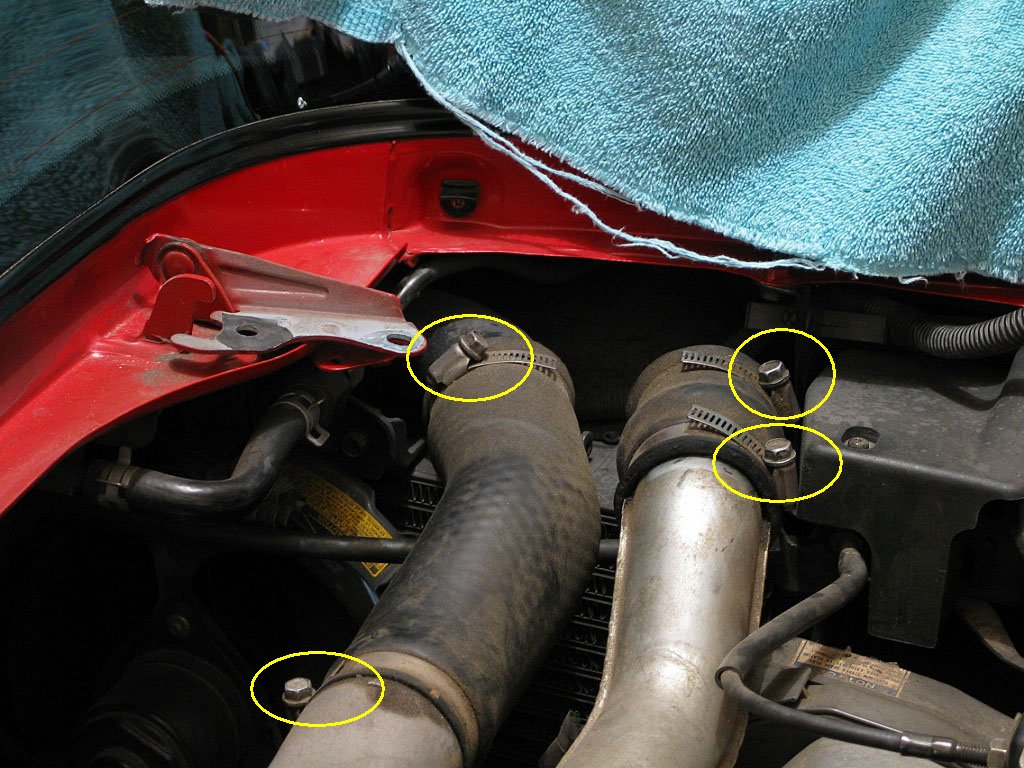
Loosen all four and remove the hoses.
Remove the single Phillips screw that retains the plastic cover.