15 September, 2004
Hella H4 Headlight Conversion
I converted my standard sealed beam headlights to European Hella H4 lenses
with Philips VisionPlus lamps. These are not DOT approved, so they are for
"off-road use" only.
Thanks to Silo for getting me these from Germany.
This job really is simple, so it doesn't really need a "how-to" guide, but what the hell.
Remember that this is only a guide -- not gospel. What you do to YOUR vehicle is YOUR responsibility. I do not endorse, approve, authorize, or otherwise encourage you to make alterations to your vehicle. Be careful, and recognize the dangers associated with modifications to your vehicle's critical systems, like electrical, engine, brakes, etc.
Please contact me if you have comments or suggestions about the article or the project, or if you find errors on these pages.
Tools
Needed
-
Phillips Screwdriver (it's THAT easy!)
Doing It


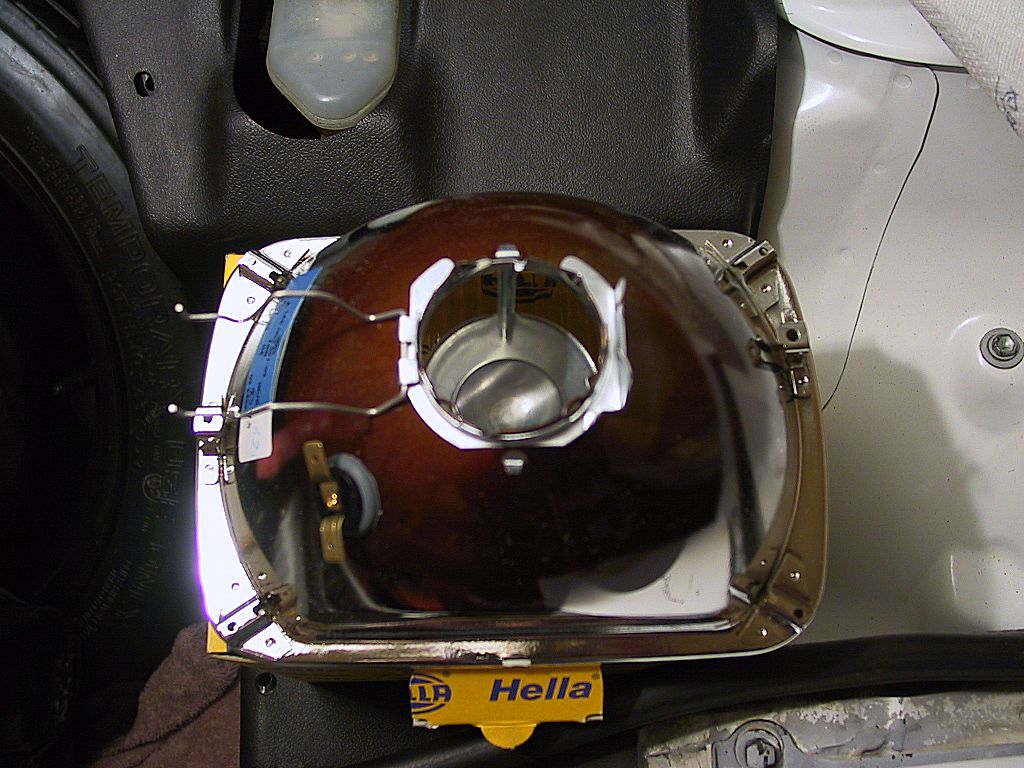
The brass terminals on the side of the lens body connect to the integral "city lights", as they are called in Europe. This is a small secondary lamp which is usually illuminated in place of (or in addition to) the parking (running) lights.
A great idea, but I didn't wire mine up because they are of limited
usefulness with retracting headlights. The headlights would need to be up
to work.
Place the lamp element into the opening. It's keyed with three metal
tabs, and will only fit one way:
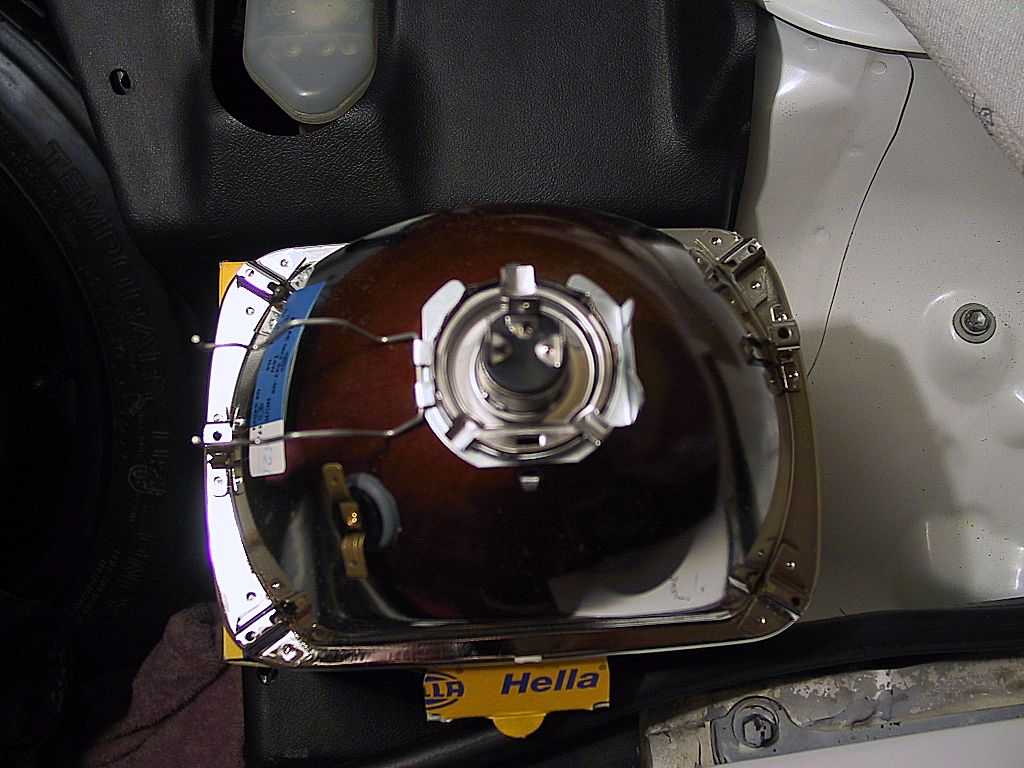
Swing the retaining spring back into place and lock it into
position.
Repeat the process with the other headlight unit.
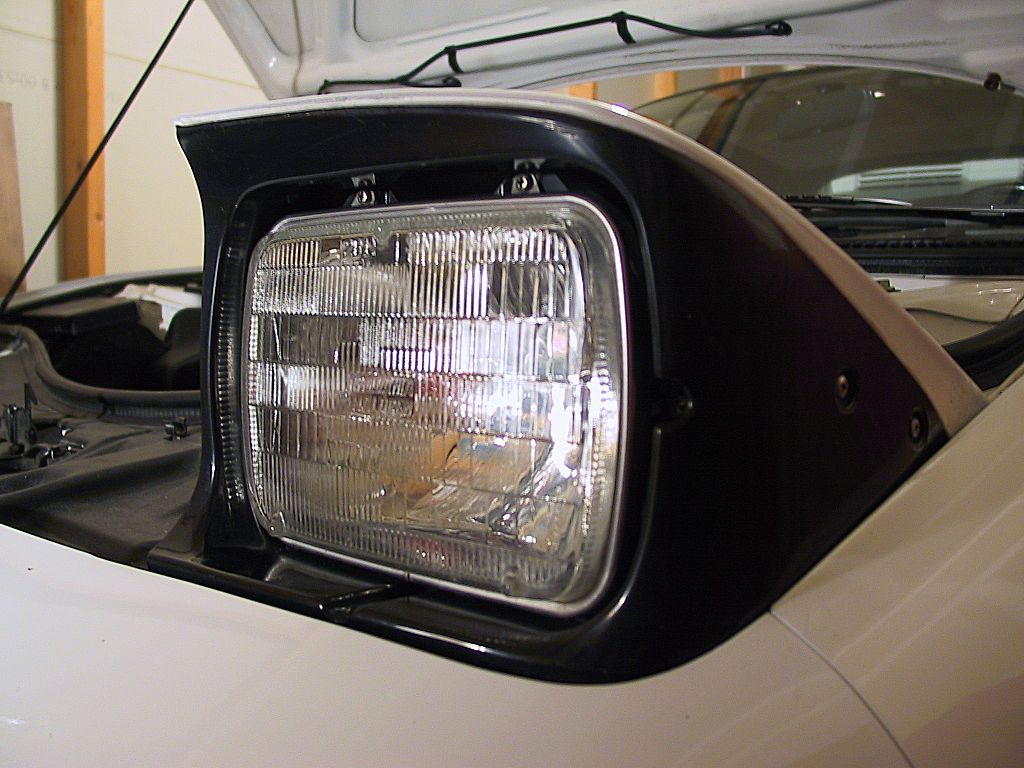
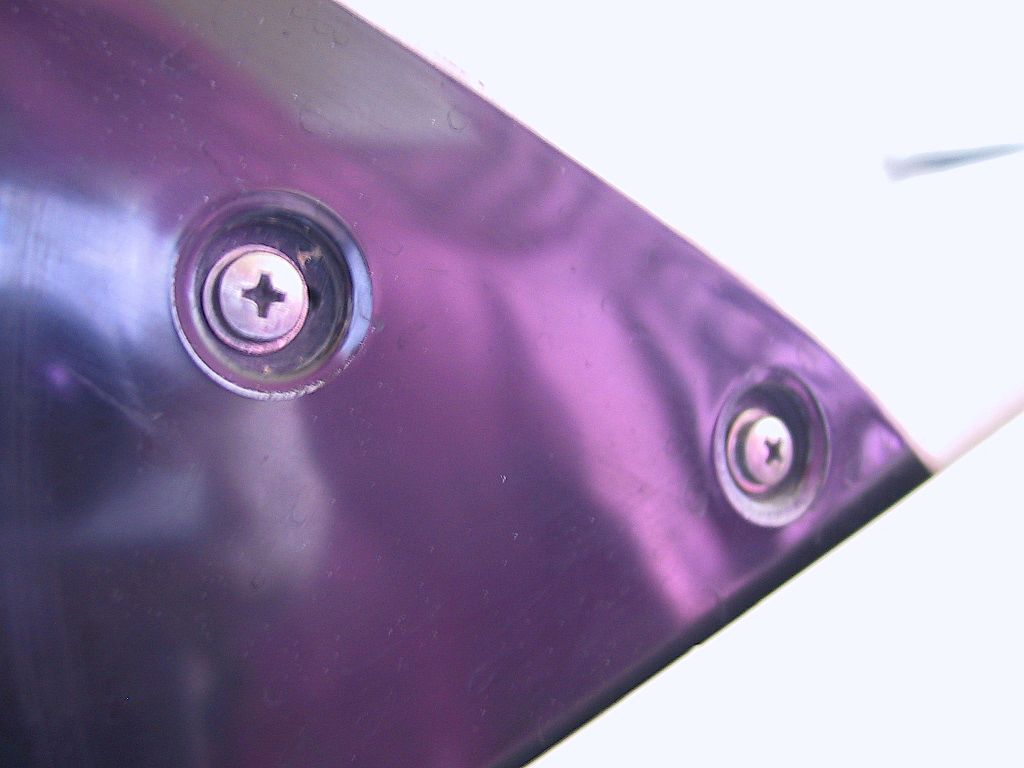
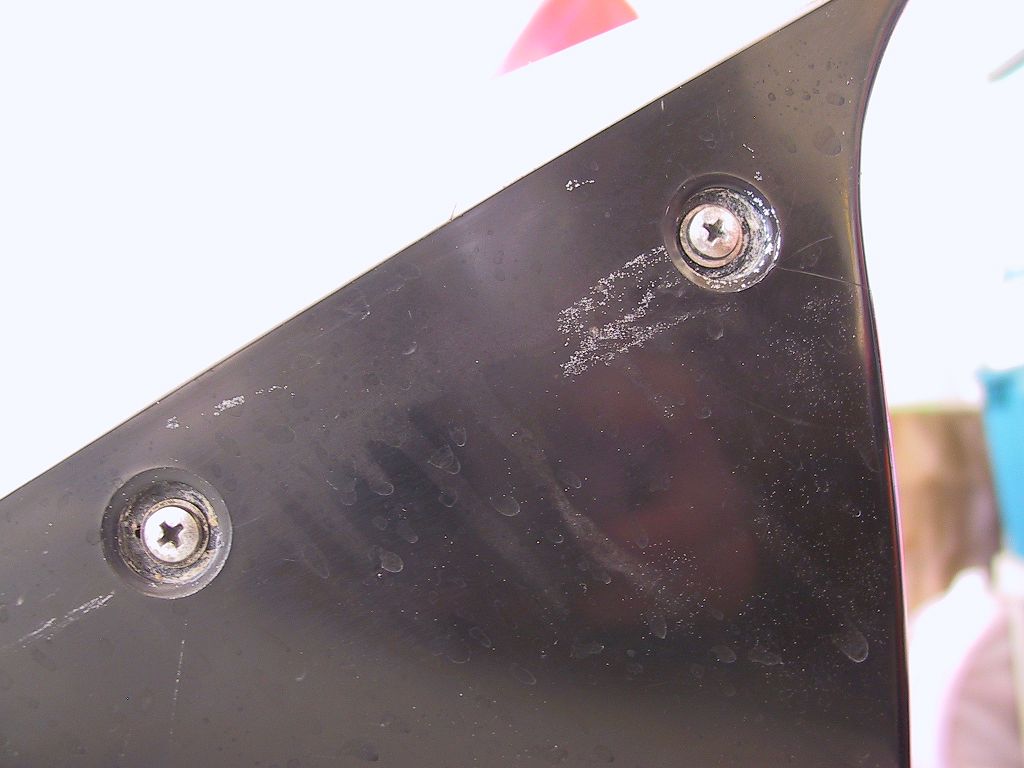
Remove all four screws and the trim can be rotated forward and out of the way. Put it aside.
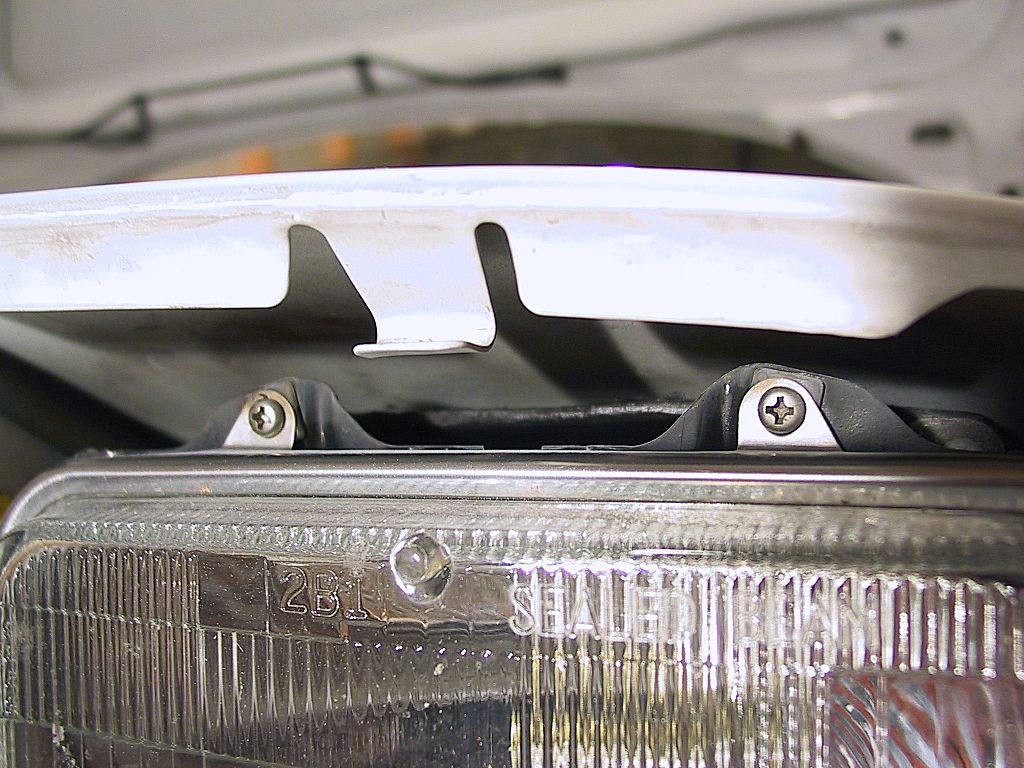
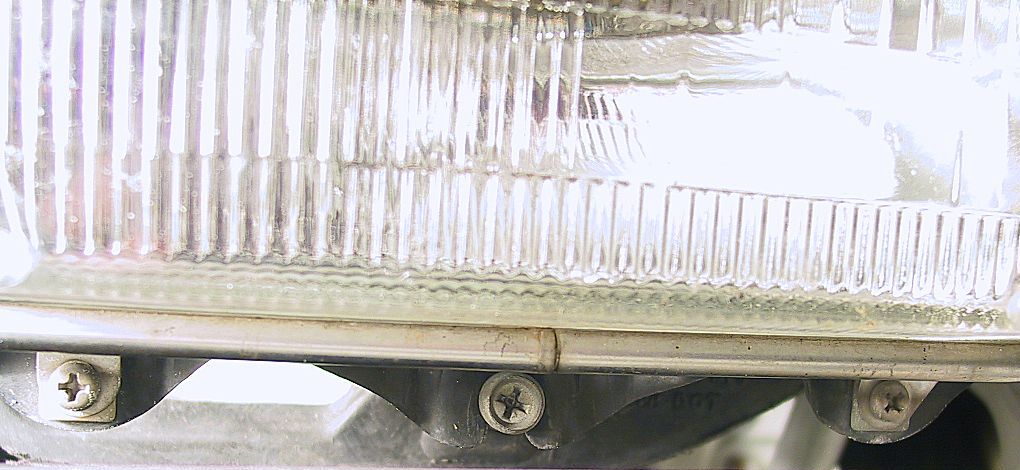
DO NOT remove the center screw on the bottom -- that is an aiming screw, not a mounting screw.
Take care not to drop the bottom screws into the space below the
headlight as it will probably not make its way to the ground and you'll
need to remove the entire headlight retraction assembly to retrieve it.
Not too difficult, but a lot of extra work.

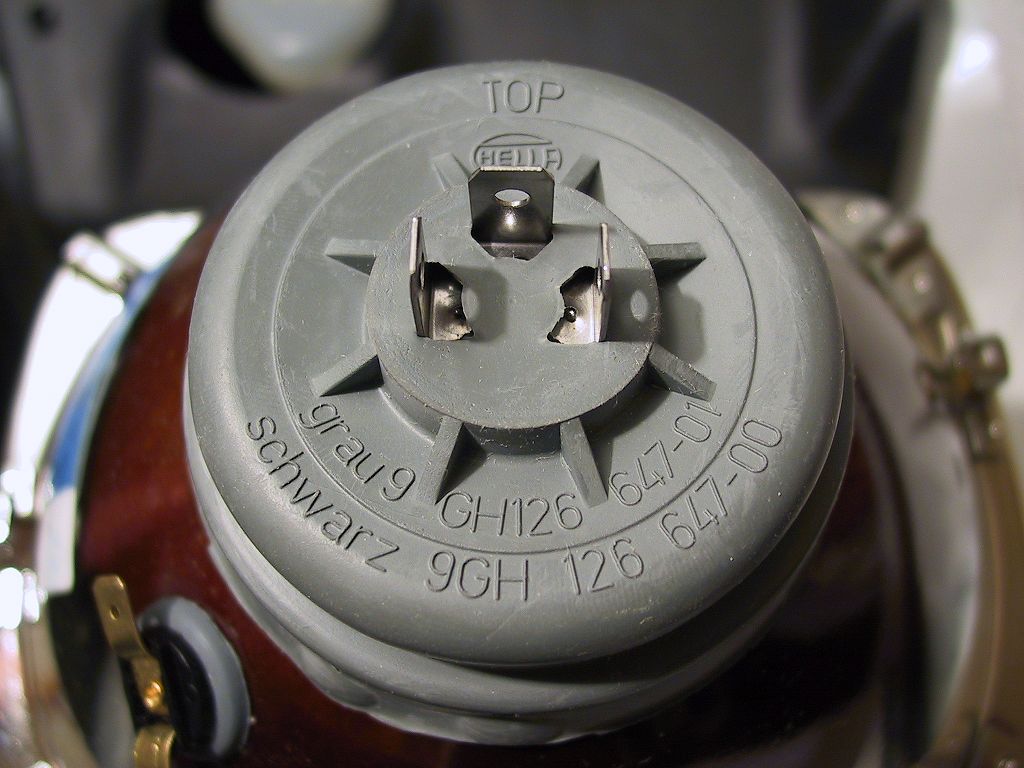
Pull off the socket, and inspect it for corrosion, dirt, etc. I like to clean it as best I can and then apply a little dialetric grease.
1993 MR2 Turbo