|
Last Updated
28 December, 2004 |
|
|
Page
1
2
3
|
|
|
UNDER CONSTRUCTION
Installing a Supra
Twin-Turbo Fuel Pump
|
|
|
If you make significant changes to your
3S-GTE motor, like larger injectors and a bigger turbo, you'll need to
ensure that the fuel delivery is up to the task. Installing a fuel pump
from a Toyota Supra Twin Turbo is the most straightforward way to increase
capacity, and it's a direct replacement for the MR2's fuel pump. |
|
|
Tools/Materials
Needed
|
|
|
|
|
|
-
Supra Fuel Pump,
Part No. 23221-46110
-
Supra Fuel Pump
Filter, Part No. 23217-46110
-
Supra Fuel Pump
Filter Clip, Part No. 23219-03010
-
Fuel Pump Gasket,
Part No. 77169-17010
-
Fuel Filler Hose,
Part No. 77213-32010 (Optional)
-
Fuel Hose No. 1,
Part No. 90445-22024 (Optional)
-
Assorted sockets,
10, 12, 14mm
-
19mm open end or
flare nut wrench
-
14mm flare nut
wrench
-
Long nose pliers in
a variety of sizes
-
¼" I.D. reinforced
fuel line hose
|
|
|
Doing It
|
|
|
This is one of those jobs where the actual replacement takes less than
30 minutes. However, getting the tank out and putting it back in takes several
hours, so make sure you allocate enough time.
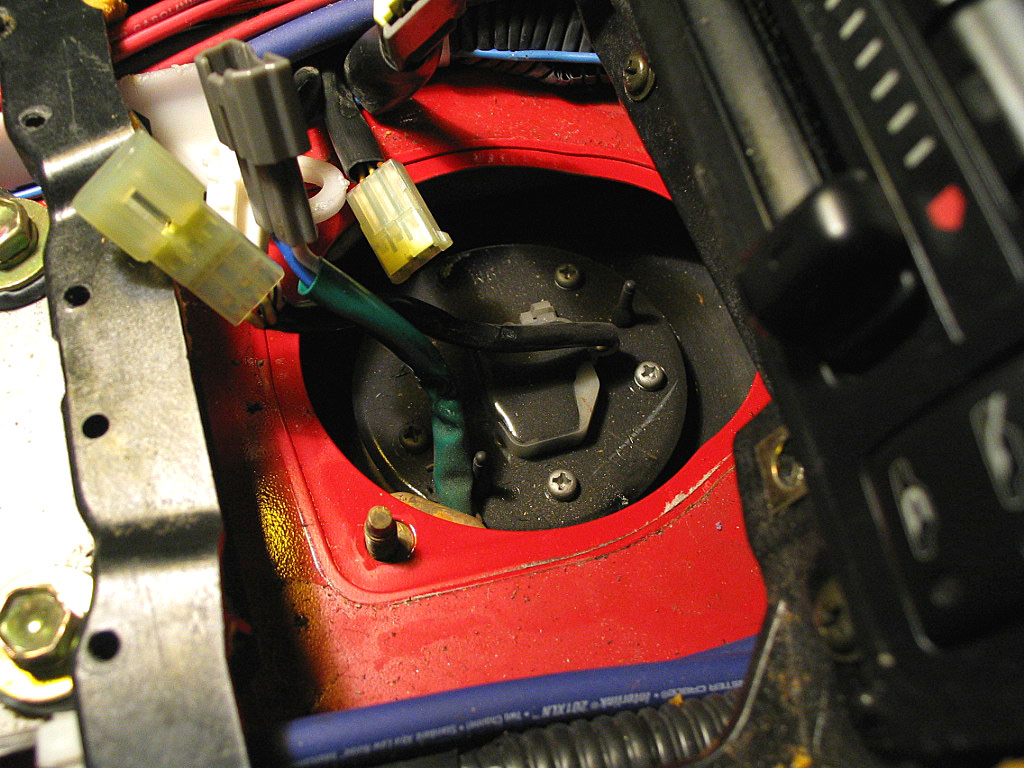
My motor was out of the car, so I had the advantage of "easy" access to
the fuel hoses. Even so, I was unable to save the main fuel filler hose,
as I needed to cut it off. This is a pricey hose, about $35 or more even
with a discount from your Toyota dealer. There's another hose (Toyota
calls it Fuel Hose No. 1), that should probably be replaced at the same
time. It appears to provide fuel tank venting during the filling
operation.
The other hoses can probably be saved, but you'll be doing yourself a
favor by simply cutting them off and replacing them, They are all standard
¼" I.D fuel line hoses.
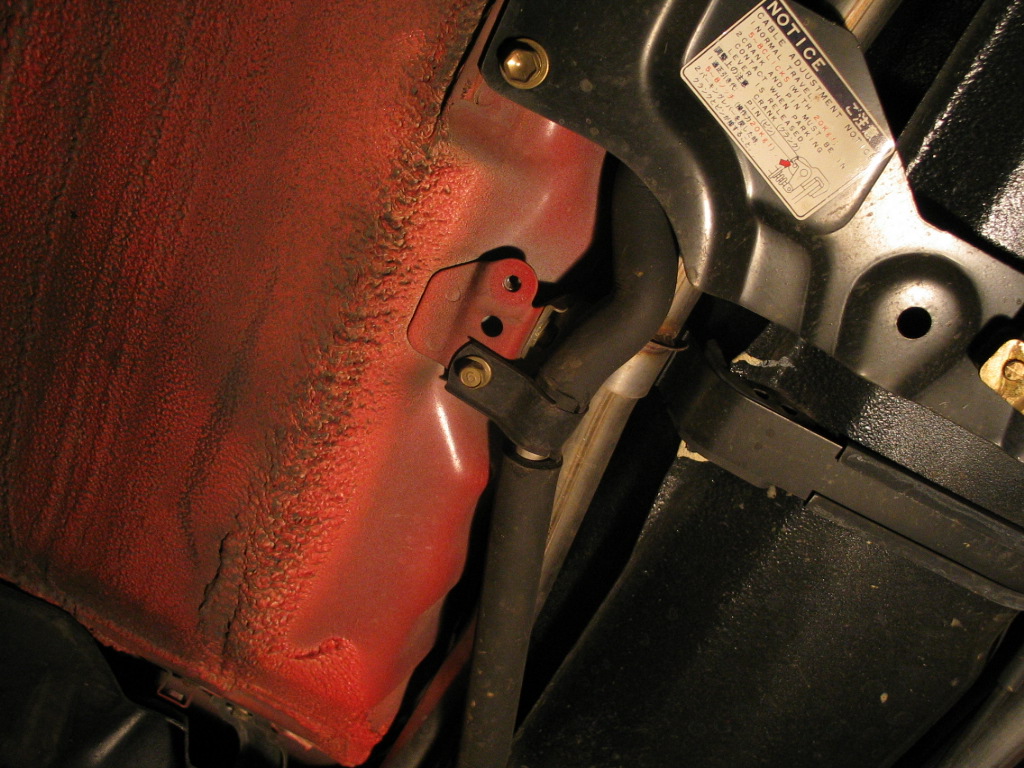
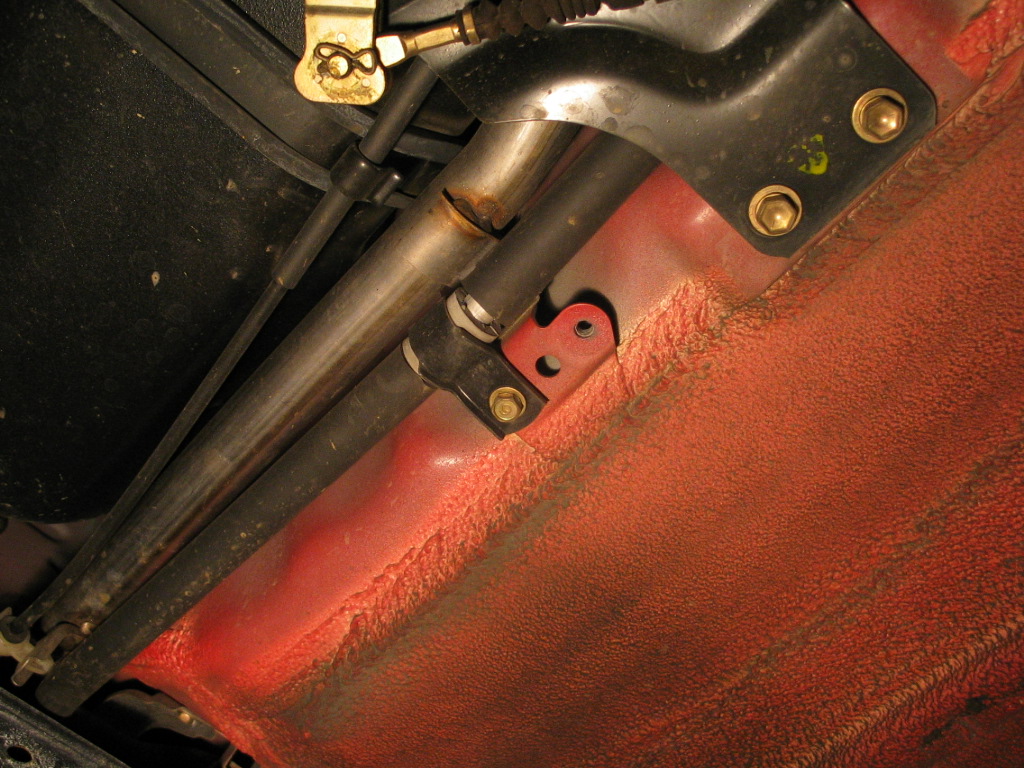
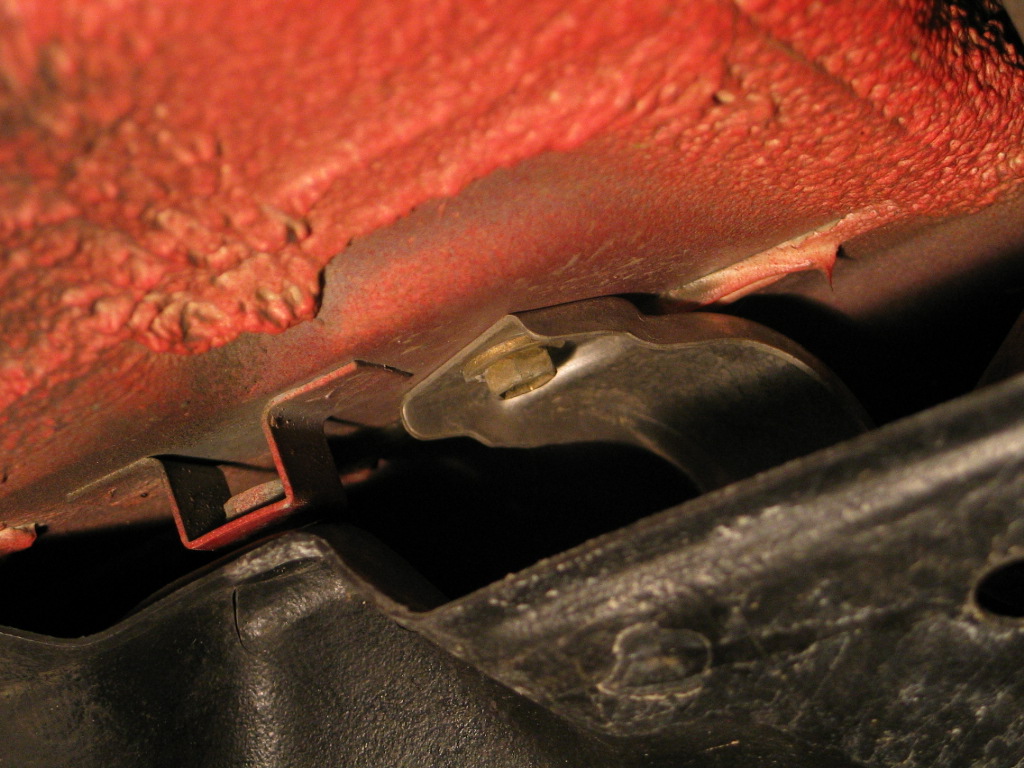
Another advantage with the motor out was that the coolant lines were
empty, so I could move them out of the way. As you will find, the tank
is a tight fit, and the A/C and coolant lines are additional
obstructions that make the project tougher than it should be.
|
|
|
First, plan a little and reduce the amount of fuel in the tank. I ran mine
down to about two gallons, which reduced the weight of the tank + fuel to
a manageable level for one person to handle. Draining the tank was
something I wanted to avoid, as I would be stuck indoors where fumes could
turn deadly.
|
|
|
Before you raise the car, there's some work to do inside the cabin. The
electrical connections to the fuel level sending unit need to be
disconnected.
|
|
|
You can do this by
|
|
|
|
|
|
|
|
|
|
|
|
|
|
|
|
|
|
|
|
|
|
|
|
|
|
|
|
|
|
|
|
|
|
|
|
|
|
|

|
|
|
You'll need to get the car up pretty high. Mine was already raised quite
high to drop the motor. The tank need about 12" of clearance, plus you'll
need the additional clearance for your body and a creeper. 24" to the
bottom of the tank is plenty -- you could do it with less if the tank is
empty.
|
|
|

|
|
|

|
|
|

|
|
|
|
|
|
|
|
|
|
|
|
|
|
|
|
|
|
|
|
|
|
|
|
|
|
|
|
|
|
|
|
|
|
|
|
|
|
|
|
|
|
|
|
|
|
|
|
|
|
|
|
|
|
|
|
|
|
|
|
|
|
|
|
|
|
|
|
|
|
|
|
|
|
|
|
|
|
|
|
|
|
|
|
Page
1
2
3
|
|
|
|
|