15 September, 2004
Page
![]() 1 2
1 2
![]()
Fixing a Stuttering CD Player
The MKII's 3-in-1 stereo system includes a CD player that, over time, might tend to "stutter" or "pause" during playback. While this seems most problematic with CD-R media, it also occurs on commercially produced audio CDs. I've heard of shops that will repair your player for $250 and more!
Luckily, Pete Hartwell determined that it was probably just dust and dirt causing this problem, and he provided a step-by-step description of how to clean your own player. It gave me the courage to try it myself. I promised Pete I'd take photos along the way so that other owners could benefit from this procedure.
Some of the photos aren't as sharp as I'd have liked, but it's a new camera and I'm still getting the hang of it.
Finally, remember that this is only a guide -- not gospel. What you do to YOUR vehicle is YOUR responsibility. I do not endorse, approve, authorize, or otherwise encourage you to make alterations to your vehicle. Be careful, and recognize the dangers associated with modifications to your vehicle's critical systems, like electrical, engine, brakes, etc.
Please contact me if you have comments or suggestions about the article or the project, or if you find errors on these pages.
Tools
Needed
-
Various sizes of Philips and flat screwdrivers
-
Some Q-Tips and 90% rubbing alcohol
-
Some tiny brushes are helpful
-
Light oil
Before You
Start
Make
sure your stereo's security code is disabled, as you'll need to disconnect power
to the system. Otherwise, you'll end up with an unusable system. As many owners
know, it can be frustrating (and expensive) to get your dealer to reset the
security code.
Doing It
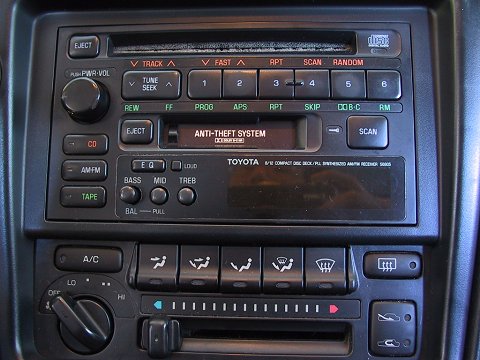
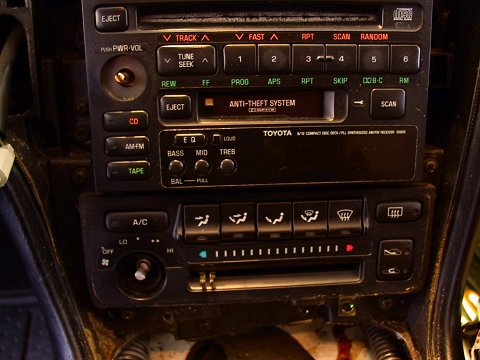
Here's a photo of my center dash before I started:
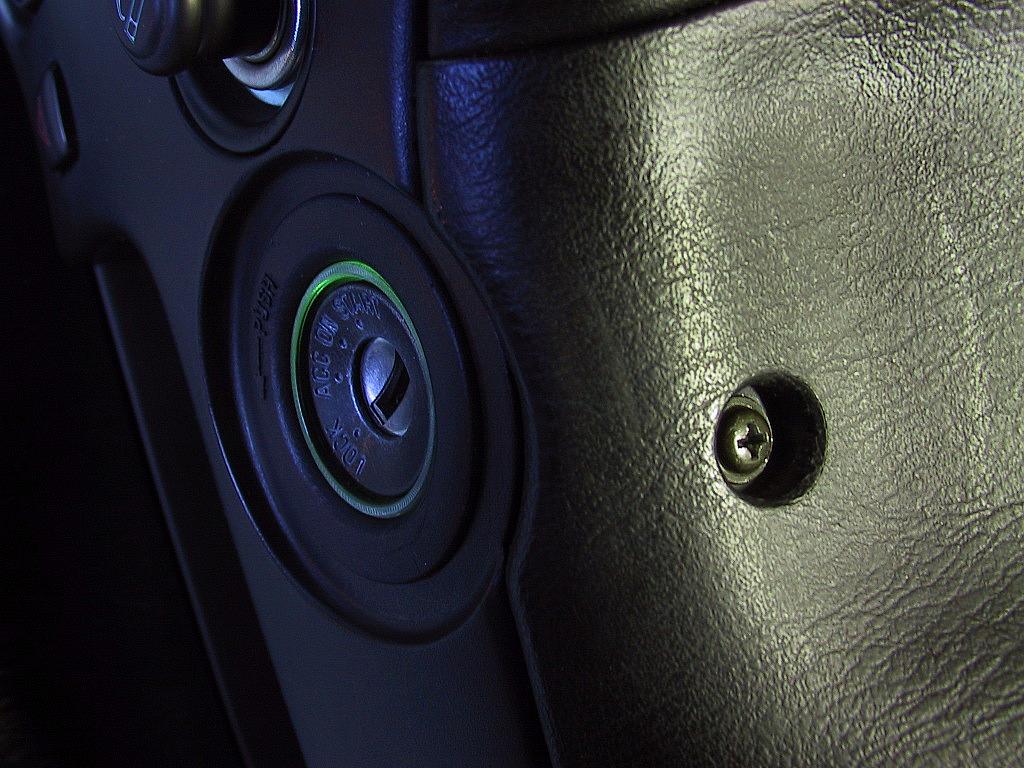
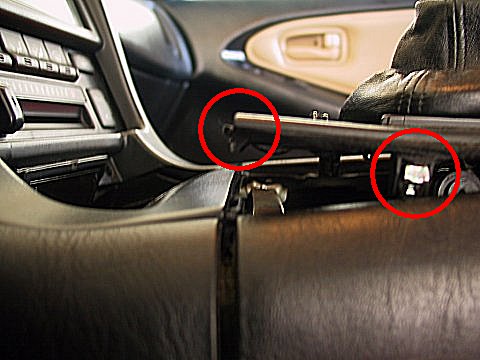
Just when it seems like it won't come out, it will come free. Just be careful, and keep working it free. The first time I removed this panel, I was amazed at the simplicity of the design, and how much access it provides.
NOTE: I had previously removed the heater/AC knobs and the power knob for the stereo. Only the stereo knob will need to be removed prior to disassembling the CD unit.
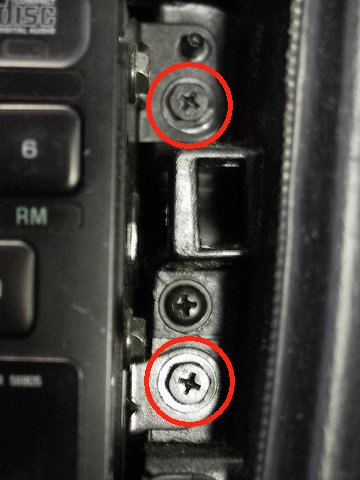
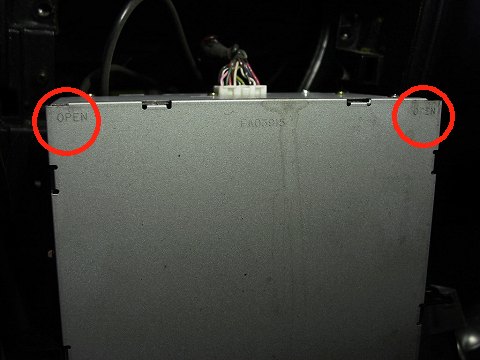
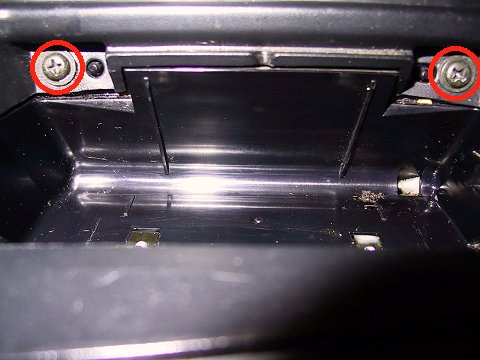
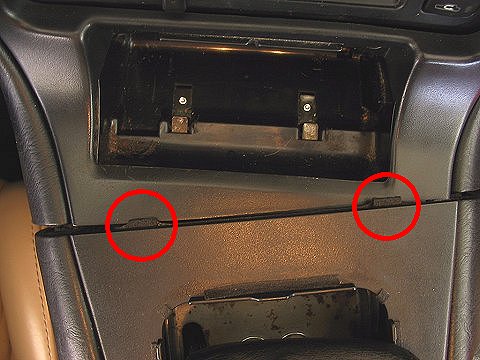
Slip a flat-bladed screwdriver at the spots that say "OPEN", and pry the cover off.
Page
![]() 1 2
1 2
![]()